
Seed Starting 101: How to Grow Strong, Healthy Plants in Your Greenhouse
Seed starting — both exciting and overwhelming, right? It can be. But, it doesn’t have to be!
If you’re anything like me, you’ve stared at those beautiful little seed packets with big dreams of overflowing garden beds and perfect seedlings. And if you’ve ever tried seed starting and ended up with a tray of sad, leggy, or moldy seedlings (yep, I’ve been there – especially when I was growing my seedlings in my kitchen before I had my greenhouse!), then this post is for you.
Today, I’m sharing my personal seed starting routine inside my greenhouse, along with the lessons I learned the hard way — so you don’t have to make the same mistakes! Grab a cup of coffee and let’s talk seeds because a greenhouse changes everything.

Why I Love Starting Seeds in My Greenhouse
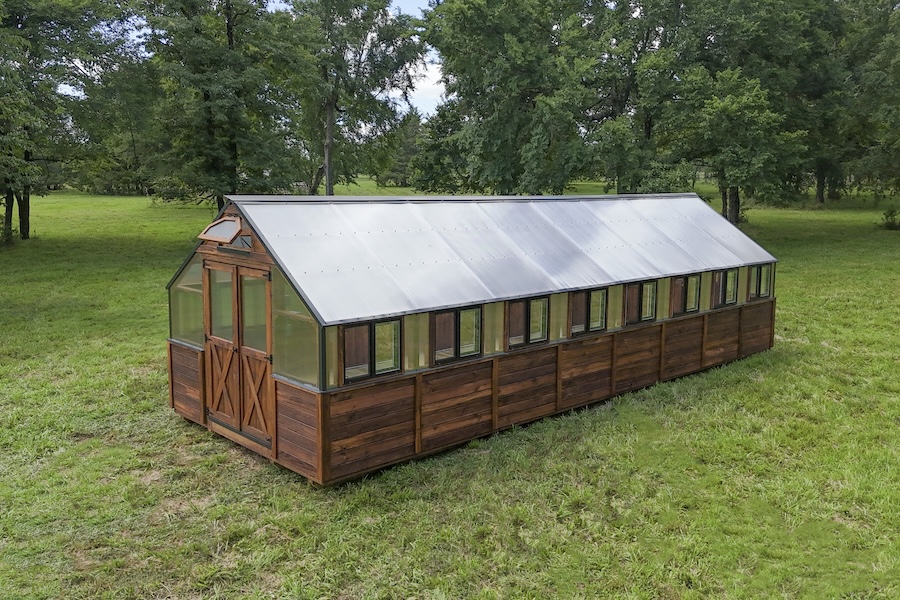
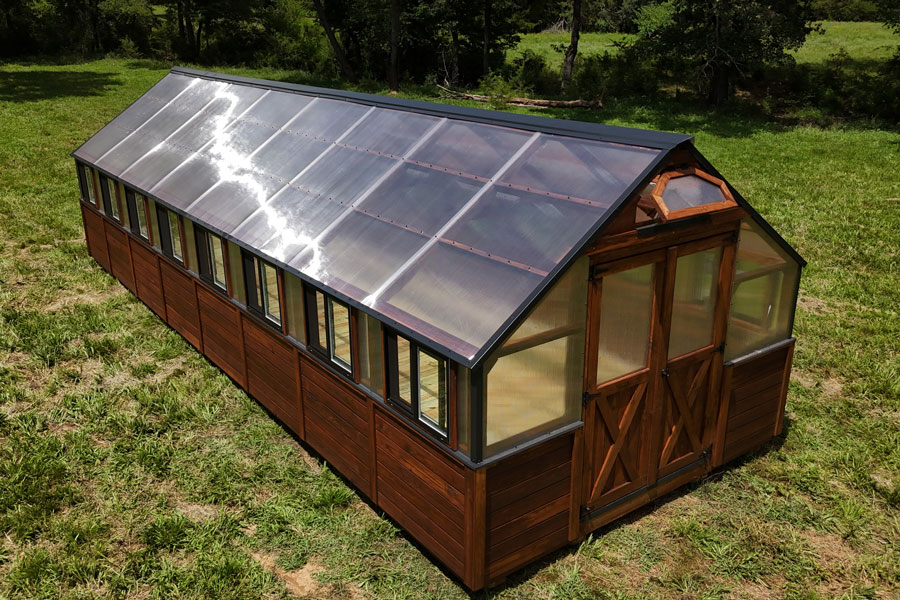
When I first got my Yoderbilt Greenhouse, one of the very first things I wanted to master was seed starting. I dreamed of filling every bed and pot with plants I had grown from seed. For years, before I had my greenhouse, my kitchen was overtaken with added shelving, grow lights, and dirty seed trays. Unfortunately, this takeover coincided with one of our son’s birthday parties as well as Easter dinner among other things. Having any of my boys’ friends over was a disaster waiting to happen. It was a mess, and it drove me crazy, but it was my only option. So we made it work and did it year after year even though I did not "enjoy the joy" of growing our own seedlings.
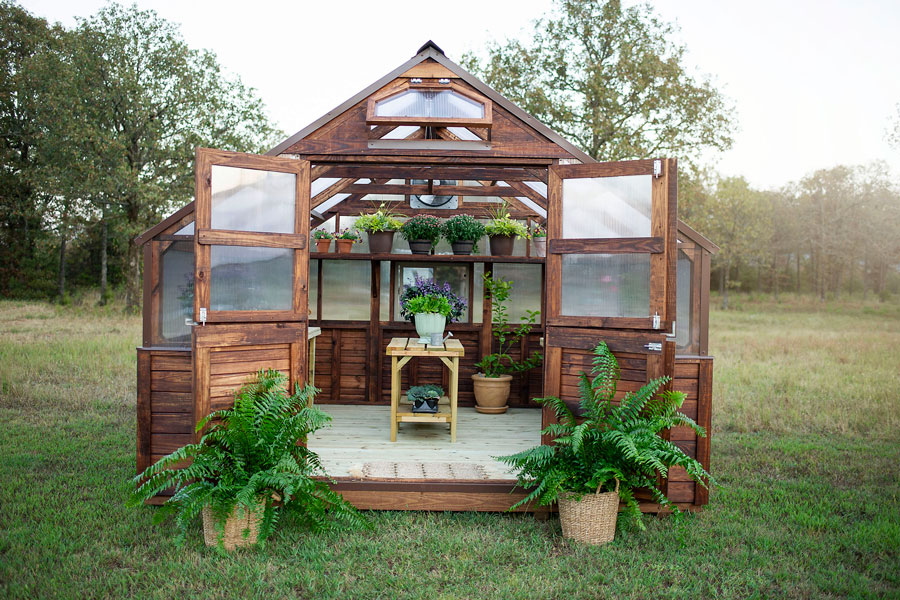
Enter my dream greenhouse. I was so excited but that first year, I was a bit overwhelmed. Could I really grow all the things? The answer is yes—I absolutely could. But my first year wasn’t without its challenges. I overwatered, underwatered, skipped the heat mats when they were needed, and then left the seedlings on them for too long when I finally did use them. My plants reflected every misstep. Most pulled through, but a few didn’t make it.
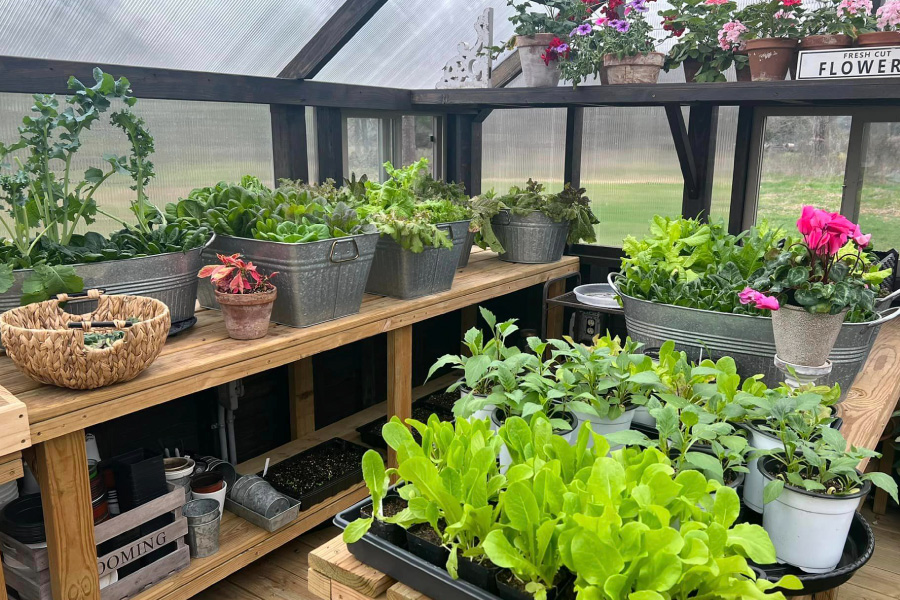
By the next season, I was confidently growing tomatoes, peppers, zinnias, herbs, and more—all from seed, right inside my greenhouse. There’s something incredibly satisfying about walking past rows of thriving seedlings and realizing—I did that. From the tiniest little seed, I harvesting baskets of food.


My Step-by-Step Seed Starting Process in the Greenhouse
Here’s exactly how I start seeds now — and I promise, if I can do this, you can too! It’s so easy and my kitchen remains a kitchen. Win-Win!
Step 1: Gather Your Supplies
Let me tell you, the first time I started seeds, I bought every gadget and tray on the market. And while some tools are helpful, you really only need a few key things:
Seed trays or soil block makers — I use soil blocks a lot now because they save space and reduce plastic waste, but trays with cells work great too.
Quality seed starting mix — Not garden soil! You want a light, fluffy mix that drains well. There are several great recipes out there if you want to make a bulk supply at a reduced cost.
Heat mat (optional) - Although these are optional, they're amazing for heat-loving seeds like tomatoes and peppers. Or, if you keep your greenhouse cooler at night.
Grow lights or natural sunlight — I only use my greenhouse’s natural light, but if you’re in a cloudy stretch, a small grow light can save your seedlings from stretching out.
Watering can ( or water hose with a mister setting or spray bottle) — You’ll need gentle watering.


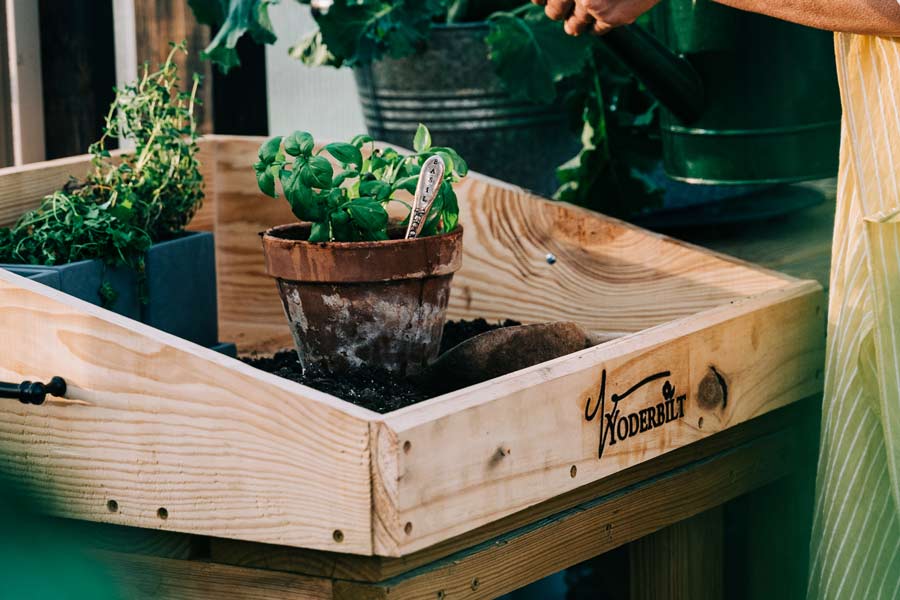
Step 2: Prep Your Soil and Fill Trays or Make Blocks
I always moisten my seed starting mix before filling trays or making soil blocks.
Why?
Because if you wait to water after planting, the soil can shrink away from the edges, and your seeds may not have good contact or you can simply wash away or knock your seeds out of place. The key is GENTLY watering.
Tip from experience:
I once planted an entire tray of zinnias in dry mix thinking I’d "just water it well after." Spoiler: most never germinated because the seeds weren’t making good soil contact!
Step 3: Plant the Seeds — Don’t Bury Them Too Deep!
This might sound obvious, but I used to plant everything way too deep — I thought “more soil equals better support.”
Wrong! Most seeds only need about twice their size in depth — or a light sprinkle of soil on top. For tiny seeds (like lettuce or snapdragons), I barely cover them — or sometimes not at all, just press them into the soil.
Example:
- Tomatoes/peppers — about 1/4 inch deep.
- Zinnias — 1/4 inch.
- Herbs like basil — a light dusting of soil or fine vermiculite.

Step 4: Water Gently
(Your seeds will thank you)
Oh, if I could go back and tell my past self one thing, it would be: STOP OVERWATERING!
I used to flood my trays thinking I was helping — and all I did was drown the seeds. Now, I use a fine mist spray bottle for watering right after planting and only water enough to keep the soil moist, not soggy.
Tip from experience:
I primarily bottom-water sometimes (pour water into the tray below) to let the soil soak up moisture without disturbing the seeds. I also start so many seed trays, I have purchased a rechargeable spray mister from Amazon that I love!
Step 5: Provide the Right Temperature (Especially for Warm Crops)
This was a game-changer for me.
Some seeds germinate fast at 70-75°F but will just sit there and rot if it’s too cold.
- Tomatoes, peppers, and basil love heat mats (trust me, they’ll sprout twice as fast).
- Lettuce, spinach, and kale prefer cooler temps and don’t need extra heat.
In my greenhouse in early spring, I plug in my heat mats at night when it’s still dipping into the 40s.
_WEB")
Step 6: Watch for Germination and Adjust Light
This is my favorite part — when the first green shoots pop up!
Once they do:
- Make sure they are getting enough light — if not, they’ll get leggy and weak.
- In my greenhouse, I move them to sunnier spots after sprouting, and I use a small fan for airflow to help strengthen the stems.
Personal trick:
I sometimes rotate trays so all seedlings get even sun exposure (ask me how I learned this after growing a tray of sideways-leaning zinnias one year).
Step 7: Thin Out Seedlings
(Yes, It’s Hard!)
I hate thinning — it feels like choosing favorites. BUT if you don’t thin them, you’ll end up with spindly, overcrowded seedlings that don’t thrive.
So I pick the strongest looking plant in each cell/block and snip the others at the soil line (it’s gentler than pulling them out). BUT, if I have the time, I will gently remove them and plant them in another tray and if I’m gentle – it works every time.

My Top Mistakes & What I Do Differently Now
Here’s a little honesty — and what I wish I knew when I started:
Mistake 1: Overwatering: Now I water only when the soil starts to dry on top, and I love bottom-watering trays.
Mistake 2: Not Using Heat Mats for Peppers & Tomatoes: Now I use them for the first 7-10 days, and my germination rate is SO much better.
Mistake 3: Planting Seeds Too Deep: Now I follow the "twice the size" rule — and if in doubt, I plant shallow and gently cover. Always follow the instructions on your seed packet.
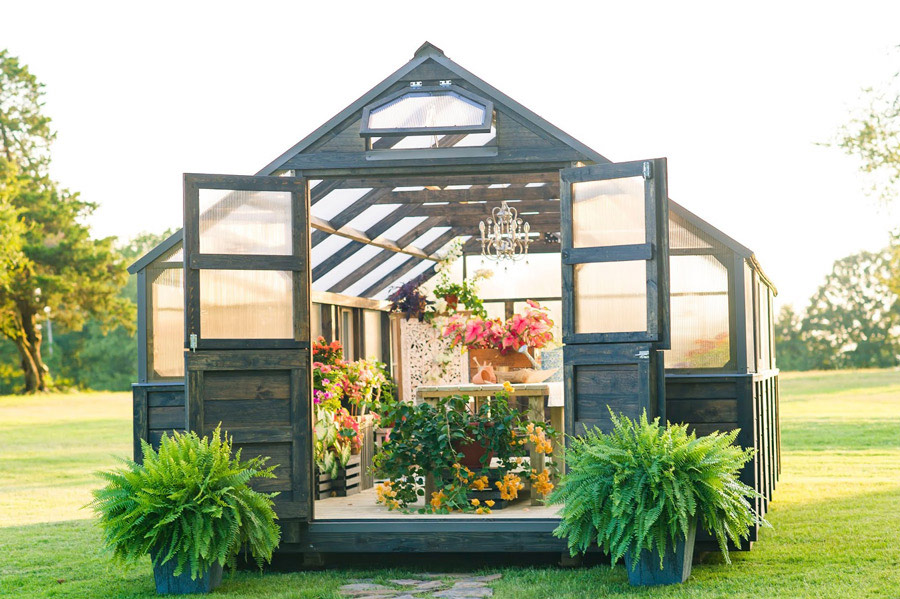
Seed Starting in a Greenhouse — it's worth it!
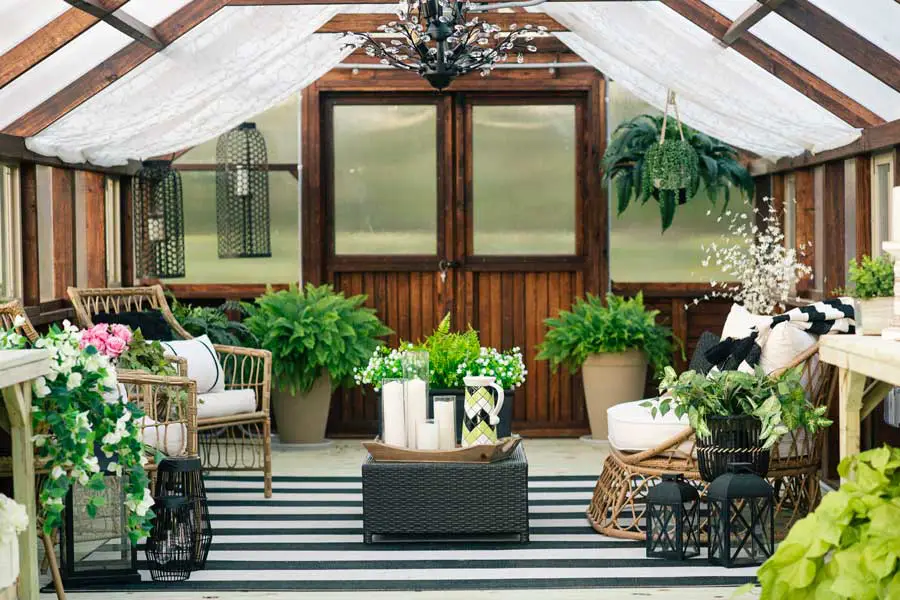
Even though my first year was full of mistakes, I’ve fallen in love with seed starting in my greenhouse. There’s something magical about watching life start from something so tiny.
And let me tell you—when you walk out to your greenhouse and see trays of healthy, strong seedlings that you nurtured from seed? There’s nothing like it. Well, until you start harvesting.