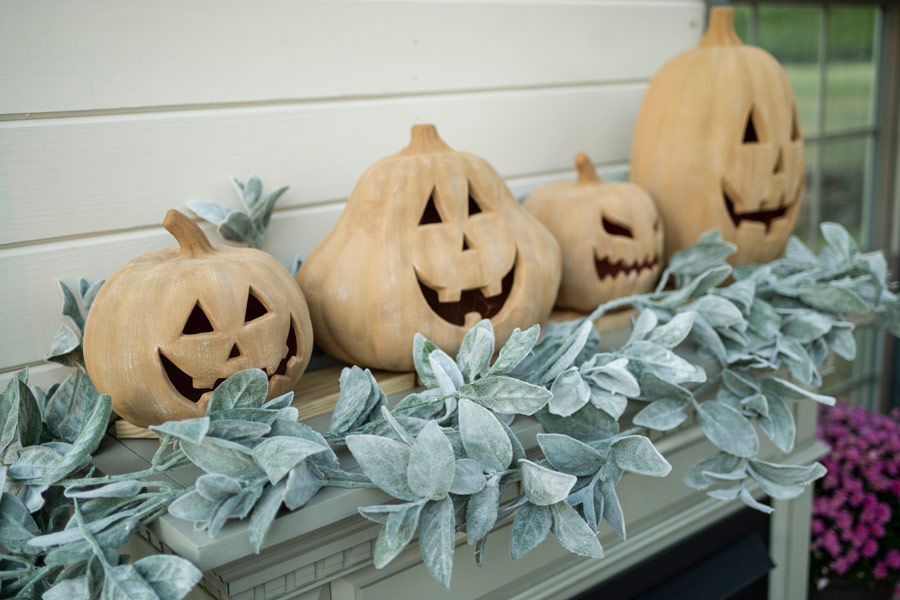
Easy DIY Terracotta Pumpkins: Pottery Barn Inspired Dupe for Fall Decor
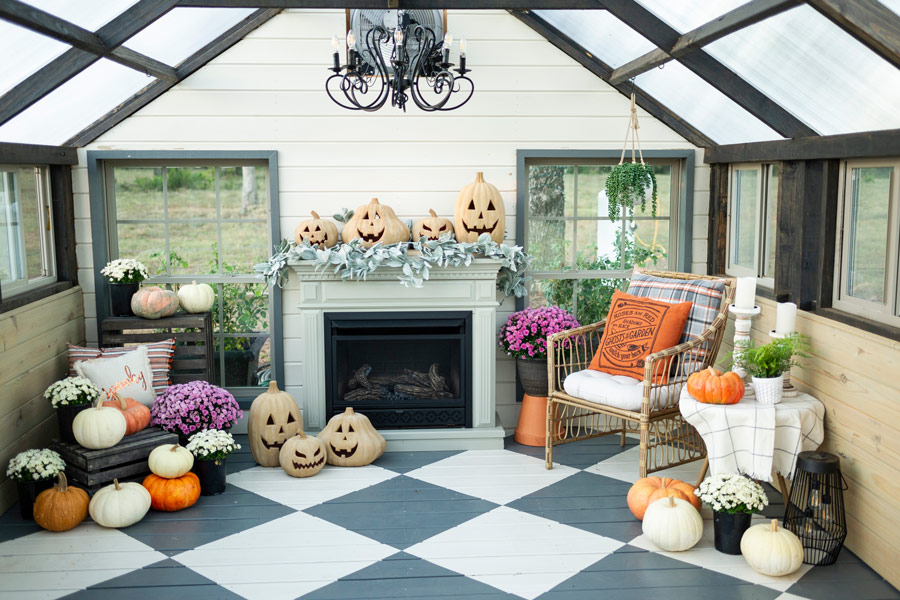
I had a friend tell me about the terracotta pumpkins that were trending from the Pottery Barn, so I started researching DIYs to make my own version. I found tutorials that used different techniques to get the effect. I found one that was my favorite, Cuckoo 4 Design, and did my own spin on it.
Getting Started
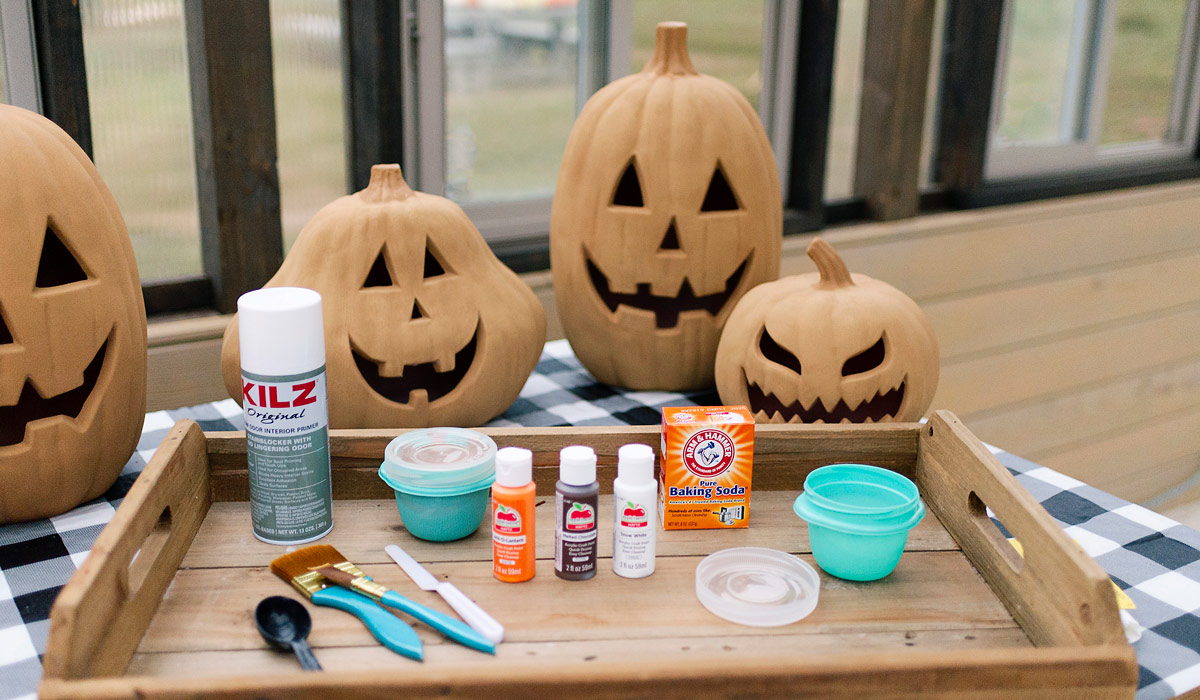
Materials Needed:
- Plastic pumpkins or Jack-o'-lanterns
- Baking soda
- Acrylic craft paint
- Kilz spray primer
- Paper towels
- 2 small bowls for mixing with a lid
- Craft paint brushes
- 1 piece of cardboard
- Painter's tarp or plastic tablecloth
- Mixing spoon
Step-by-Step Instructions
Step 1
Remove any electrical chords and light bulbs (if applicable). The pumpkins I purchased from Lowe's had an electrical cord come out of the back that I removed prior to painting.
Step 2
Make sure the pumpkins are clean. I used an old rag to make sure the pumpkins didn't have any dust on them.
Step 3
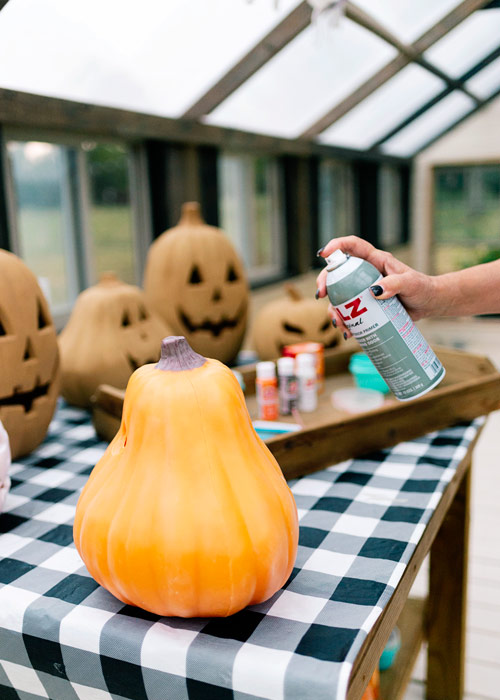
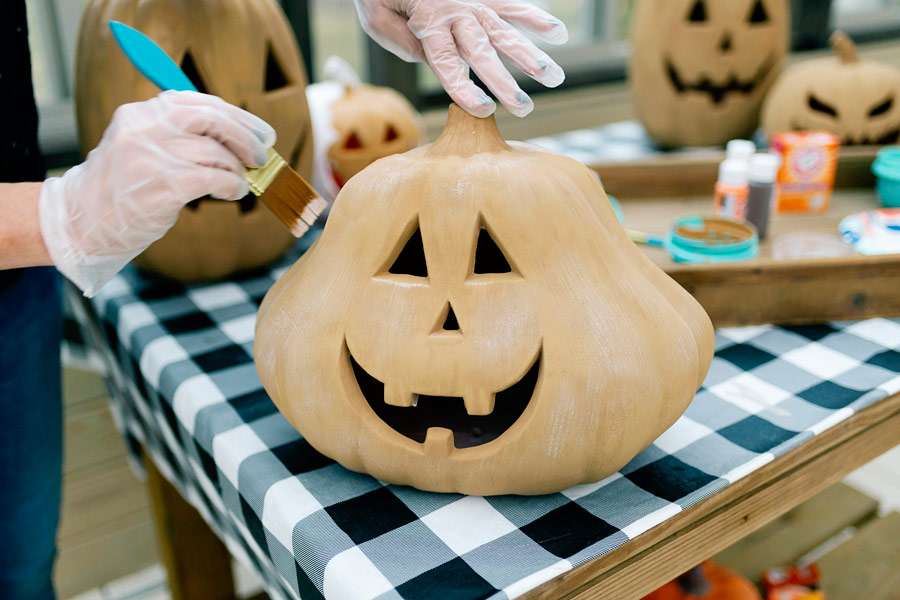
Place the plastic pumpkins on a flat surface on a piece of cardboard or cardboard box. Spray each pumpkin with Kilz spray and allow to dry. I did some touch-up spray on my pumpkins because there were a few spots that were still showing orange.
Important: We attempted to skip this step from another tutorial and it didn't go smoothly. We recommend not skipping.
Step 4
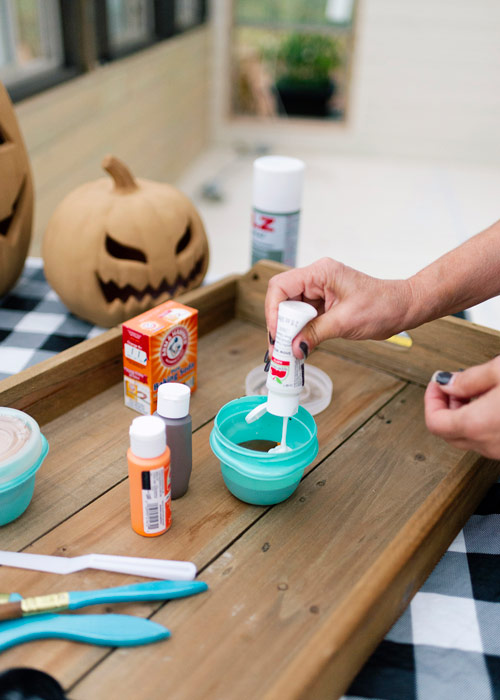
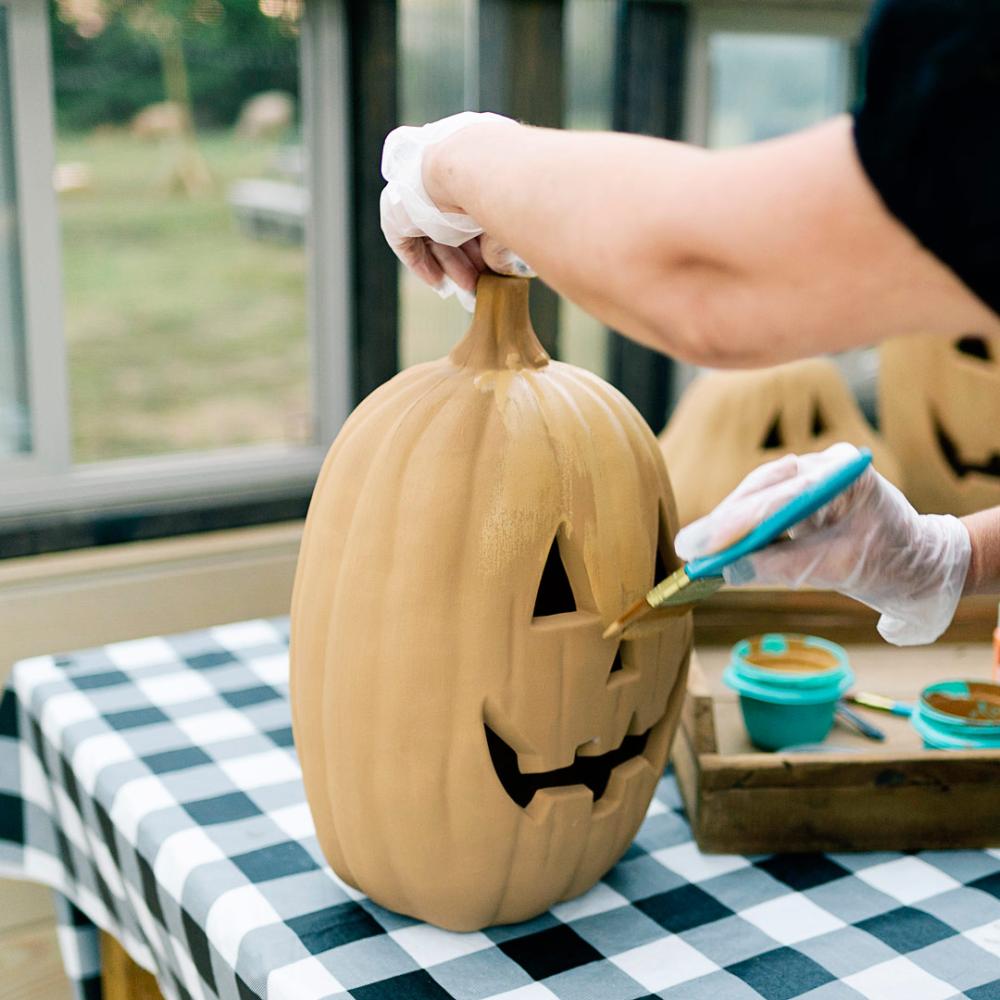
Mix your paint colors and then add baking soda. After the primer is completely dry, it's time to paint the pumpkins. I mixed 2 paint colors (one darker and one lighter).
Darker color: equal parts orange, white, and brown.
Lighter color: equal parts orange, white, and brown, with a little extra white to lighten.
I had a little less than 1 cup of paint for each color after mixing. I then added approximately 3 tablespoons of baking soda to each color.
Step 5
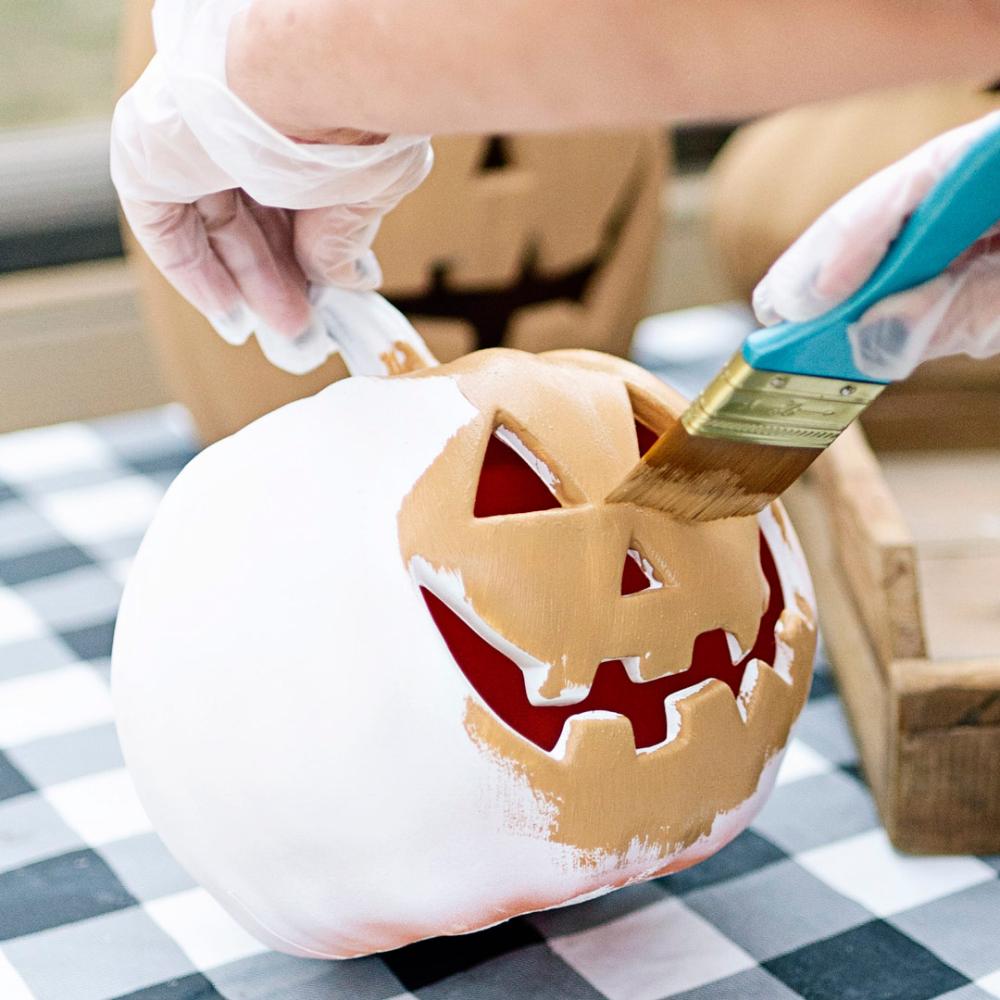
Apply two coats of the darker color and allow to dry. Then, add the second coat of the darker color and allow to dry.
Step 6
Apply two coats of the lighter paint. I did not cover the dark color completely, but allowed it to show through. I think this gives us more of that terra cotta texture.
Step 7
Thinly dry-brush white paint over pumpkins. After completely the paint steps above, it's time for the final touches! This step take very little white paint to add the white wash. If you thin you've added too much white, then go back and add a bit of the lighter or darker paint again.
Check out our full resource on how to DIY your own terra cotta pumpkins. I hope you enjoy this project. If you try it, please send pictures to info@yoderbilt. We would love to see your finished project.

