

Aging Your Terra Cotta Pots with Garden Lime
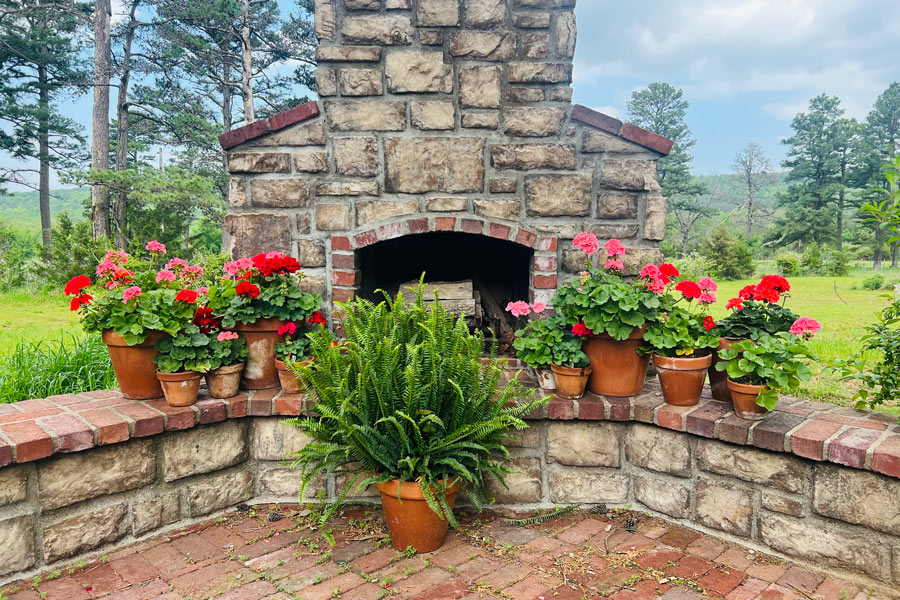
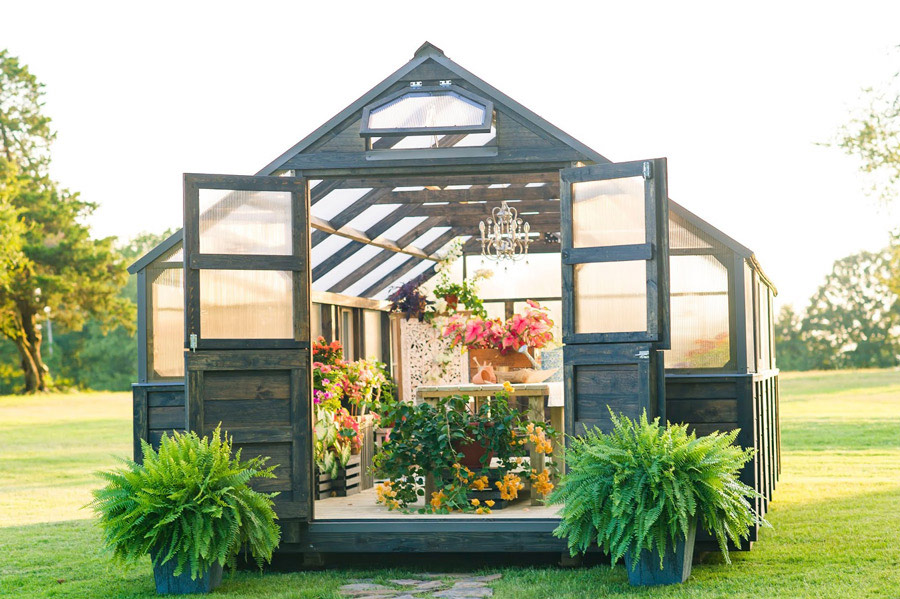
Terra cotta pots have long been a staple in gardens and greenhouses, but aged terra cotta pots hold a special charm – and my greenhouse is filled with them as is my patio. They evoke a sense of history and timeless beauty, reminiscent of classic English greenhouses. Their patina and weathered look add character and warmth to any garden setting. Naturally aged terra cotta can take years to achieve the desired look, but with a simple technique using garden lime, you can speed up the process and enjoy the aesthetic benefits almost immediately.

Why Aged Terra Cotta Pots are so Beloved
Aged terra cotta pots are highly sought after for several reasons:
Aesthetic Appeal
The weathered, mossy look of aged pots creates an old-world charm, adding a touch of elegance and authenticity to gardens.
English Greenhouse Feel
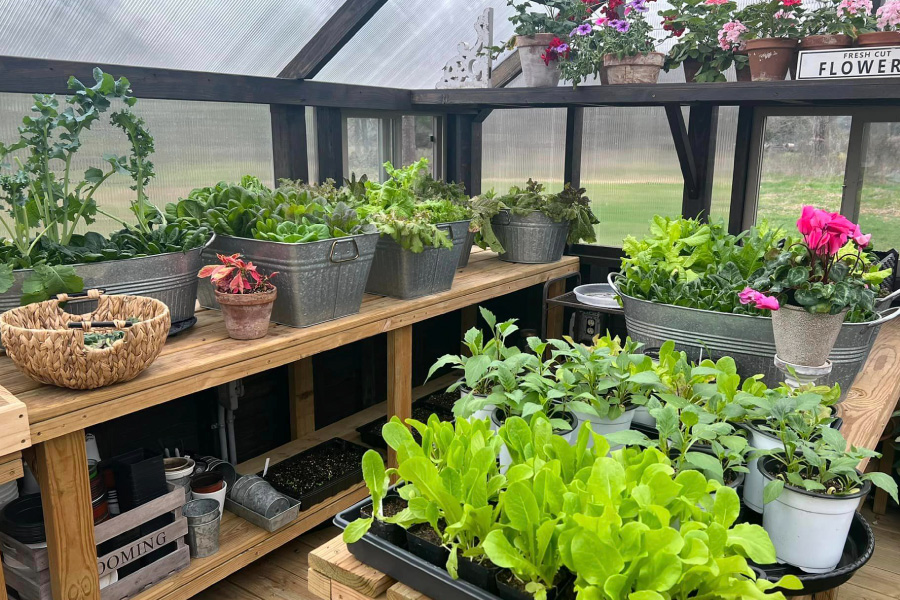
They bring a sense of the classic English greenhouse, where every pot tells a story and contributes to a cohesive, rustic aesthetic. And you’ll notice I use them for my new growing topiary collection that takes the entire feel a step further. It's those little “happies” that can bring so much joy.
Character and Texture
The patina on aged pots adds depth and interest, making them look like cherished heirlooms rather than new, mass-produced items.


The Natural Aging Process
Naturally aging terra cotta pots can take many years. The process involves exposure to the elements, including rain, sun, and varying temperatures, which gradually create a weathered surface. This slow transformation can result in beautiful, unique patterns and textures, but waiting for years might not be practical for everyone.
Speeding Up the Aging Process with Garden Lime:
Fortunately, you can achieve the look of aged terra cotta pots in a fraction of the time with garden lime. This method is not only effective but also allows for creative variations to suit your personal style.

Step-by-Step Instructions
Materials Needed:
- Terra cotta pots (I usually get mine at Lowe’s or Home Depot – although I’ve noticed Walmart has started carrying them as well)
- Garden lime (also known as agricultural lime or hydrated lime)
- Water
- Paintbrush or sponge
- Protective gloves
- Drop cloth or newspaper
1. Prepare Your Workspace: Lay down a drop cloth or newspaper to protect your working area. I age mine in the greenhouse and my favorite thing to lay down is an opened, flat old cardboard box. I wear gloves from this step on.
2. Mix the Lime Solution: In a container, mix garden lime with water until you achieve a thick, paint-like consistency. The ratio can vary, but a common mix is 1 part lime to 1 part water. I typically use a heavy-duty paper plate. At this point, play with the consistency and find out what you like. I typically have two plates of lime going, one with a thicker consistency and one pretty thin.


3. Apply the Solution: Using a paintbrush or sponge, apply the lime mixture to the terra cotta pots. You can cover the entire surface or focus on specific areas to create a more natural, uneven look.
4. Let it Dry: Allow the pots to dry completely. This can take a few hours to overnight, depending on the humidity and temperature


5. Repeat if Desired: For a more pronounced effect, you can apply additional layers of the lime solution, allowing each layer to dry in between applications.
6. Optional Distressing: To add more character, you can lightly sand some areas or use a damp cloth to wipe away parts of the lime mixture before it fully dries.


Variations
- Moss Addition: Mix a small amount of moss or yogurt into the lime solution to encourage moss growth, adding a green, lush look to the pots over time.
- Color Tints: Add a small amount of natural pigment or clay powder to the lime mixture to give the pots a subtle tint. I’ve used brown paint to “tap on a dirt look” in places.
- Texture Play: Experiment with different application tools like sponges, cloths, or even your hands to create varied textures. Play with this step, and you’ll soon find what you love the most, and the texture being added just takes them to the next level.


Other Aging Methods
If you’re interested in exploring other ways to age your terra cotta pots, consider these methods:
- Yogurt and Buttermilk Mixture: Coat the pots with a mixture of yogurt or buttermilk and let nature take its course. This encourages the growth of moss and lichen. I’ve never tried this but when I explored this method, I found that you can create quite an odor.
- Milk Paint: Use milk paint to create a soft, worn appearance. This eco-friendly paint adheres well to porous surfaces like terra cotta.
- Acrylic Paint Wash: Dilute acrylic paint with water to create a wash that mimics the look of age and wear. Apply in layers for a more authentic appearance. I have used this but prefer the Garden Lime.
Aging your terra cotta pots with garden lime is a delightful and rewarding process. It allows you to enjoy the beauty of aged pots without the wait, and with a little creativity, you can customize the look to perfectly complement your garden’s aesthetic.
Happy gardening!