
DIY Topiaries: A Complete Beginner’s Guide
Are you looking to add a touch of elegance and charm to your home, garden or greenhouse? Topiaries are a perfect way to do just that! Whether you want to create a whimsical garden or a sophisticated indoor arrangement, this complete beginner's guide will walk you through the steps to make stunning DIY topiaries at a fraction of the cost.
_WEB")
Materials You'll Need
Before diving into your topiary project, gather these materials:
- Your Plants: Choose a suitable plant for your topiary. For beginners, consider using small boxwood or rosemary plants.
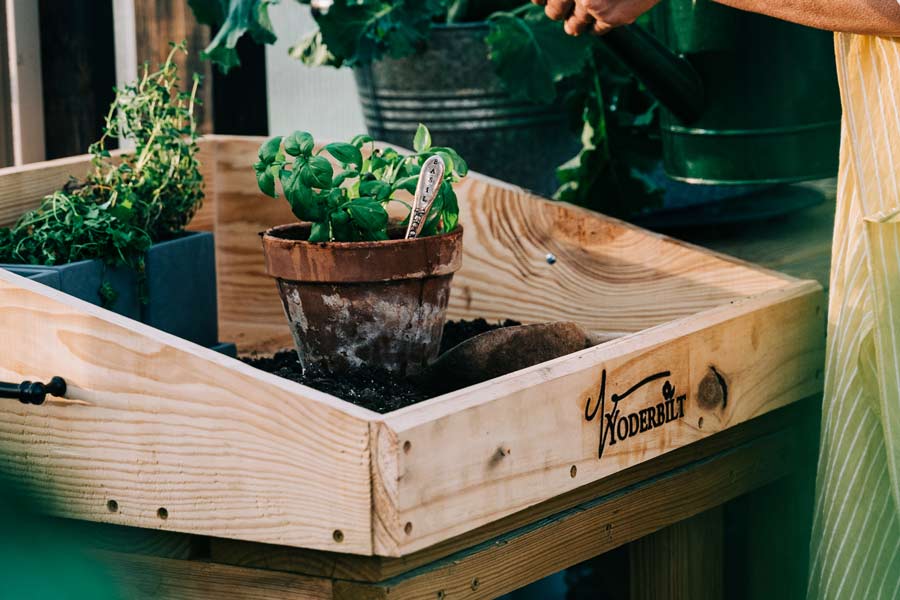
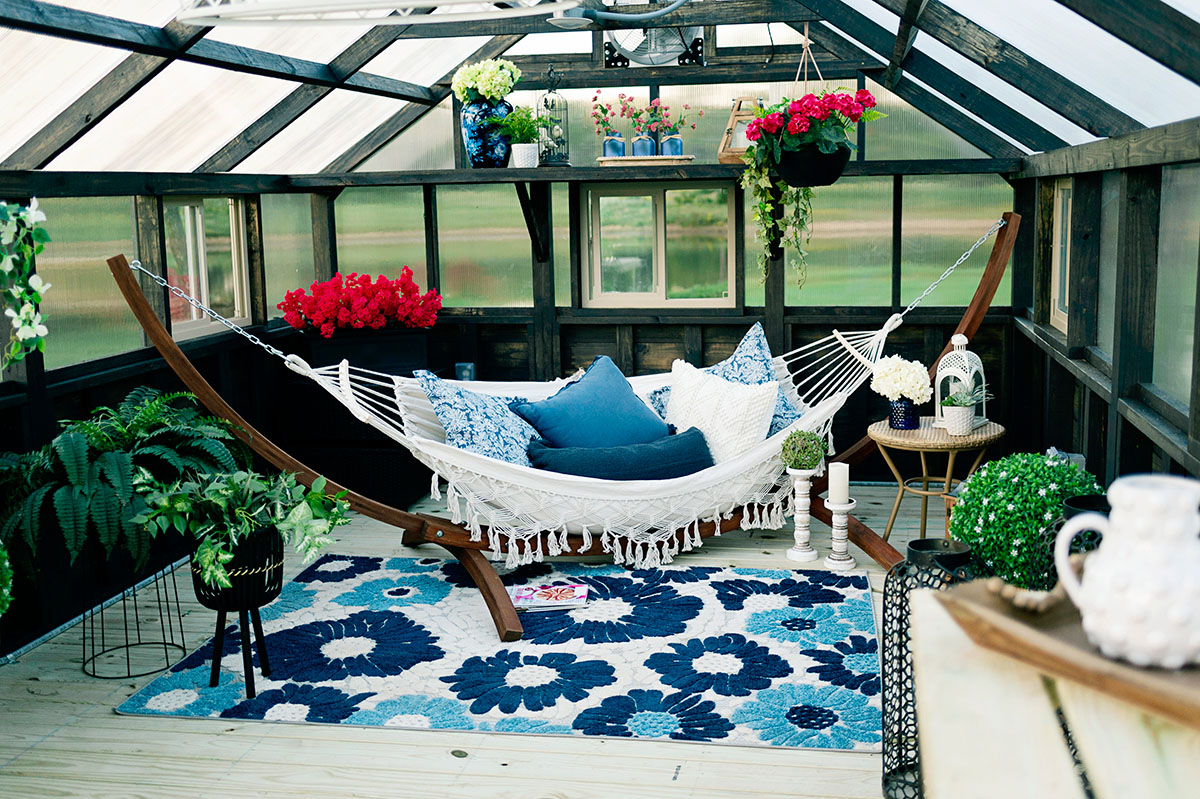
- A Planter: Select a decorative pot that complements your topiary design. I love the classic look of old terra cotta charm, so my topiaries reside in various sizes and shapes of terra cotta. And this look works well in any space as it’s so timeless.
- Potting Soil: Ensure you have quality potting soil to support your plants. I use a general potting soil mix.
- Scissors or Pruning Shears: Sharp tools are essential for trimming and shaping your plants.
- Moss or Decorative Stones: For finishing touches, consider adding moss or decorative stones to the top of the planter.


Step-by-Step Guide to Creating Your Topiary
Step 1: Choose Your Design
Start by deciding on the shape you want for your topiary. Common designs for beginners include balls, spirals, or even double balls.


Step 2: Planting
Fill your pot with potting soil, leaving enough space at the top for your plant. This is important because if you fill it with too much soil, your water will continuously run over creating a mess. I try to leave mine at least one inch from the top rim. Gently remove the plant from its container and place it in the pot, ensuring that the roots are well spread out. Often the roots will be bound, so I do loosen those to allow for easier adjustment and growth.


Step 3: Shaping the Topiary
Start with simple shapes. Begin shaping your topiary by carefully trimming the plant. Focus on the outer edges and work your way inward. Remember to keep your cuts angled to promote a bushy appearance. Take your time and step back occasionally to assess your progress. Remember less is more! You can always come back a few hours, days or weeks later to continue shaping. And, if you take off too much, no worries, it will grow back in no time!


Step 4: Maintenance
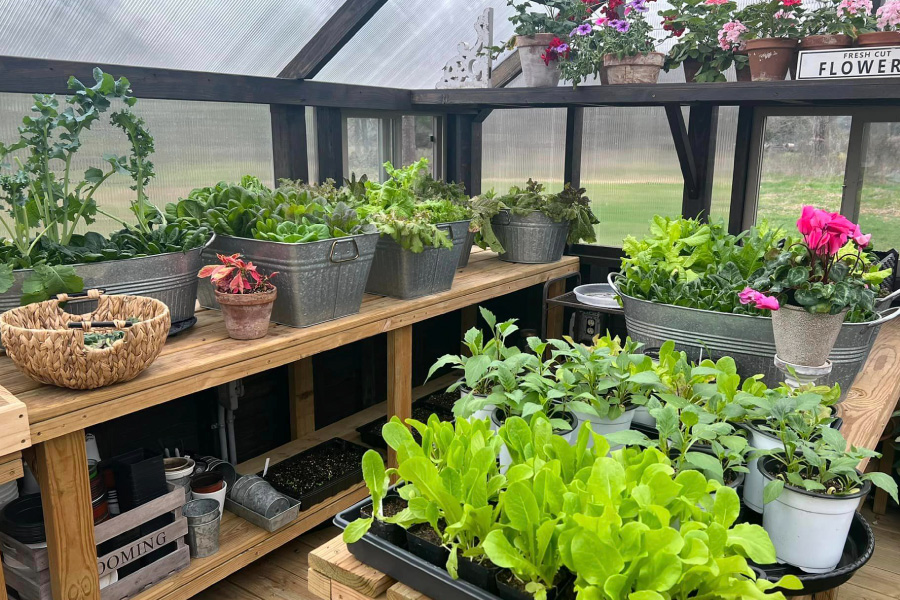
To keep your topiary looking its best, regularly water it and provide adequate sunlight. I have learned that they do well in some areas of my home and not so well in others. The same applies for my patio. But, with good watering, they easily thrive in my greenhouse. Prune your topiary every few weeks to maintain its shape and encourage fuller growth. Use a gentle fertilizer every few months to help your plant thrive.
_WEB")

Step 5: Add Finishing Touches
Once your topiary is shaped to your liking, add decorative elements like moss or stones around the base to give it a polished look. You can also incorporate ribbons or fairy lights for a whimsical touch.