A Guide to Starting Zinnias in Your Greenhouse: Part 1
Are you looking to add a burst of color and “happy” to your garden? If so, welcome - as we are writing a series on a favorite staple in our garden - zinnias. This first week will cover general information on growing zinnias. The weeks to follow will include exactly how we start them by seed in the greenhouse and more information on why, the importance of pinching them back, transplanting them out to our gardens and beds. We’ll also update you throughout the summer on the beauty of all that started as a seed.
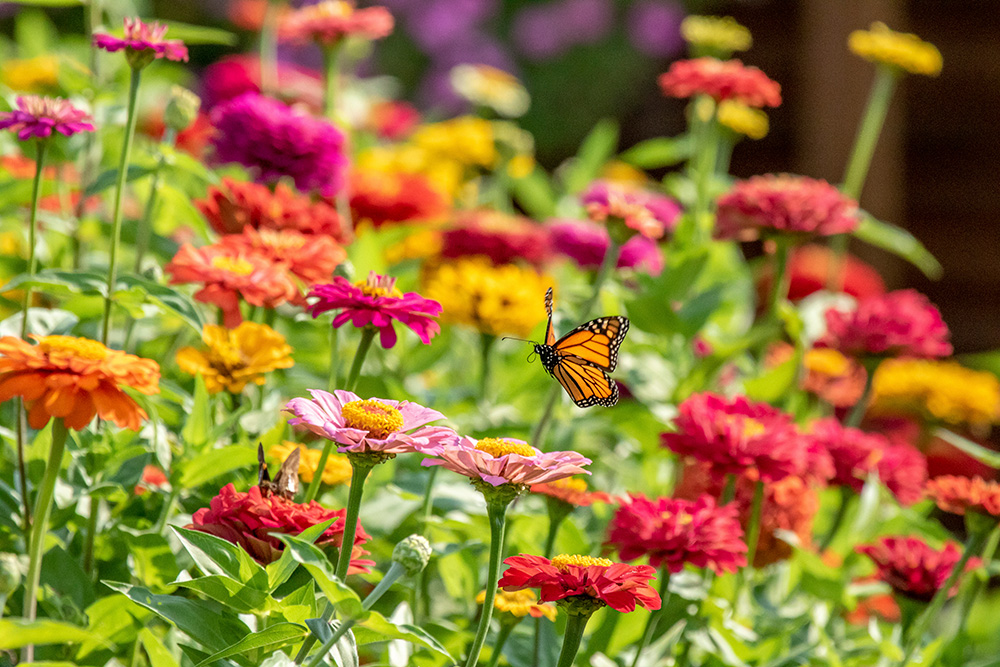
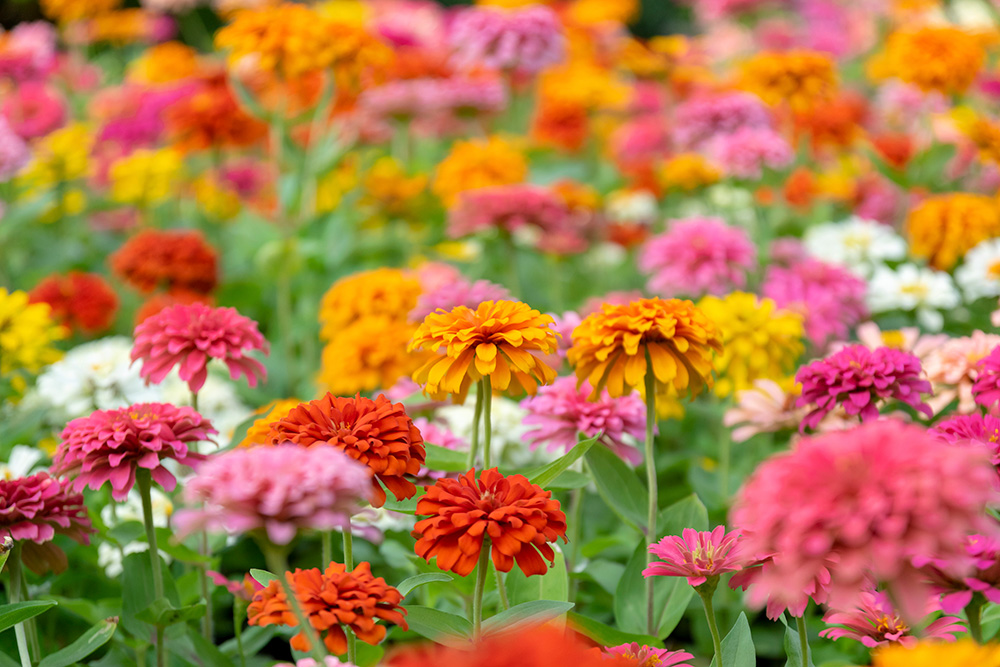
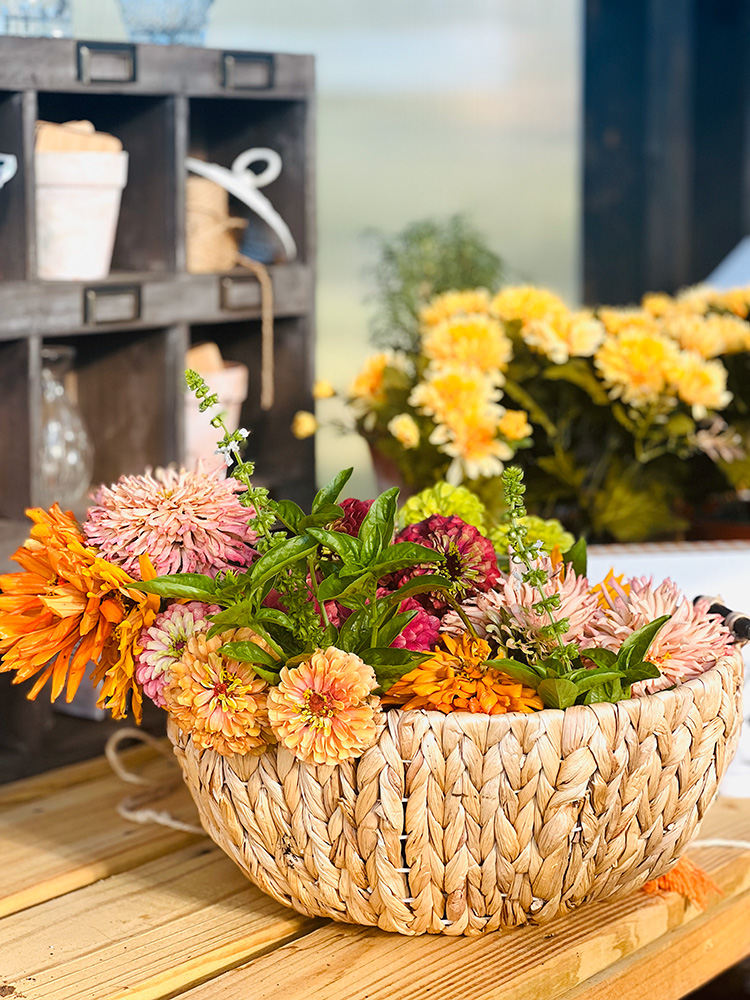
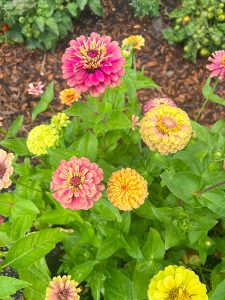
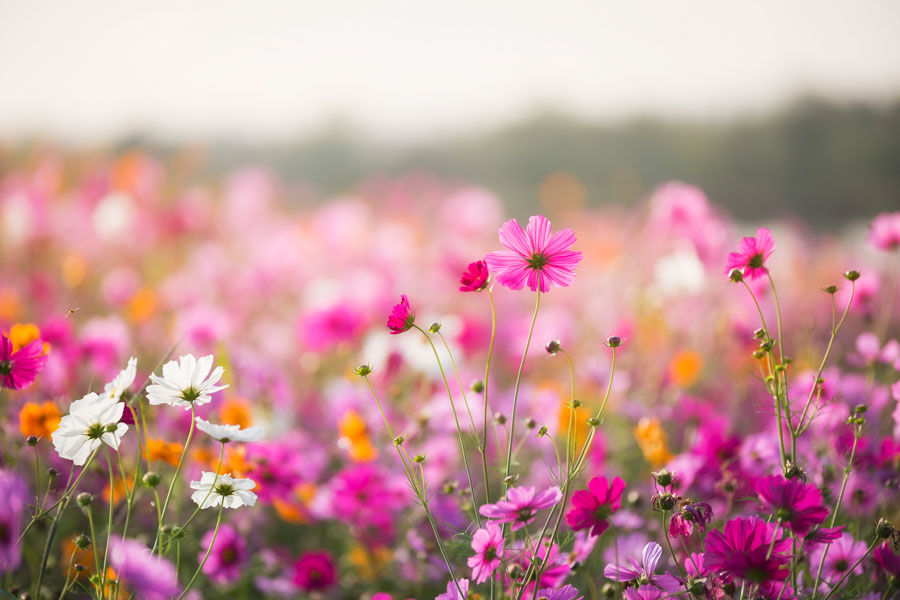
Zinnias are the perfect pick for an easy, no-fuss cutting garden for both the beginner and seasoned gardener. These delightful flowers come in a variety of shapes, sizes, and hues, making them a favorite among gardeners everywhere. One of the best things about growing zinnias is enjoying their beautiful blooms all season long. Whether you're cutting them for bouquets, attracting pollinators to your garden, or simply enjoying their vibrant colors, zinnias are sure to bring joy to any space. We’ll walk you through everything you need to know to grow an abundance of these beautiful blooms.
Choosing the Right Variety
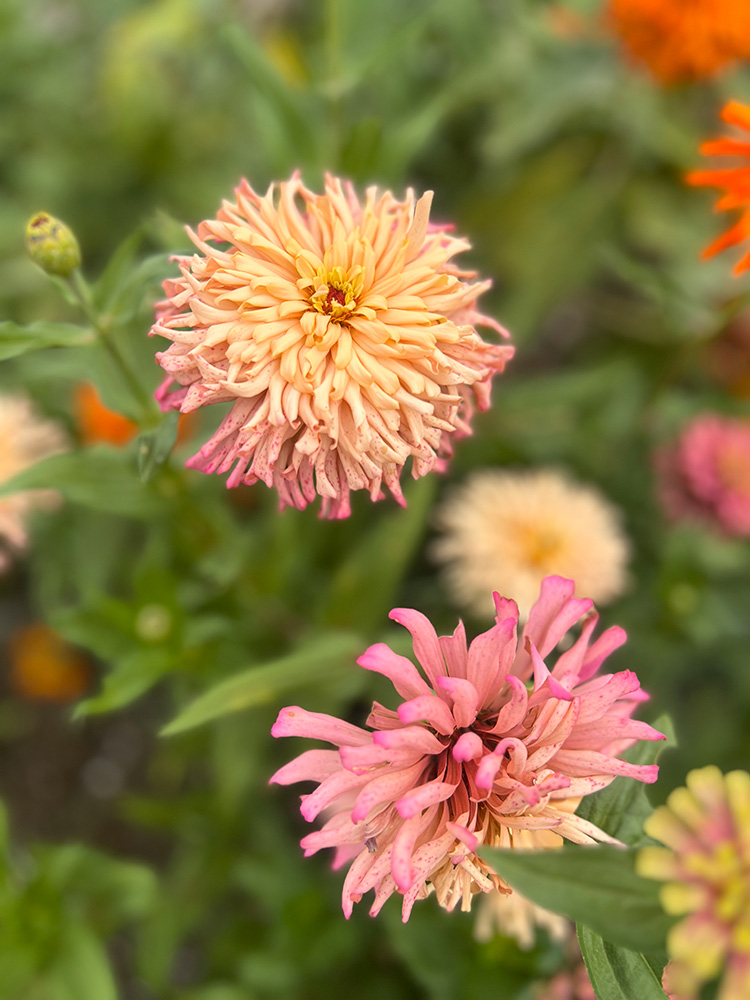
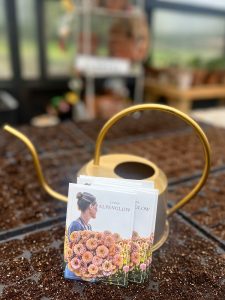
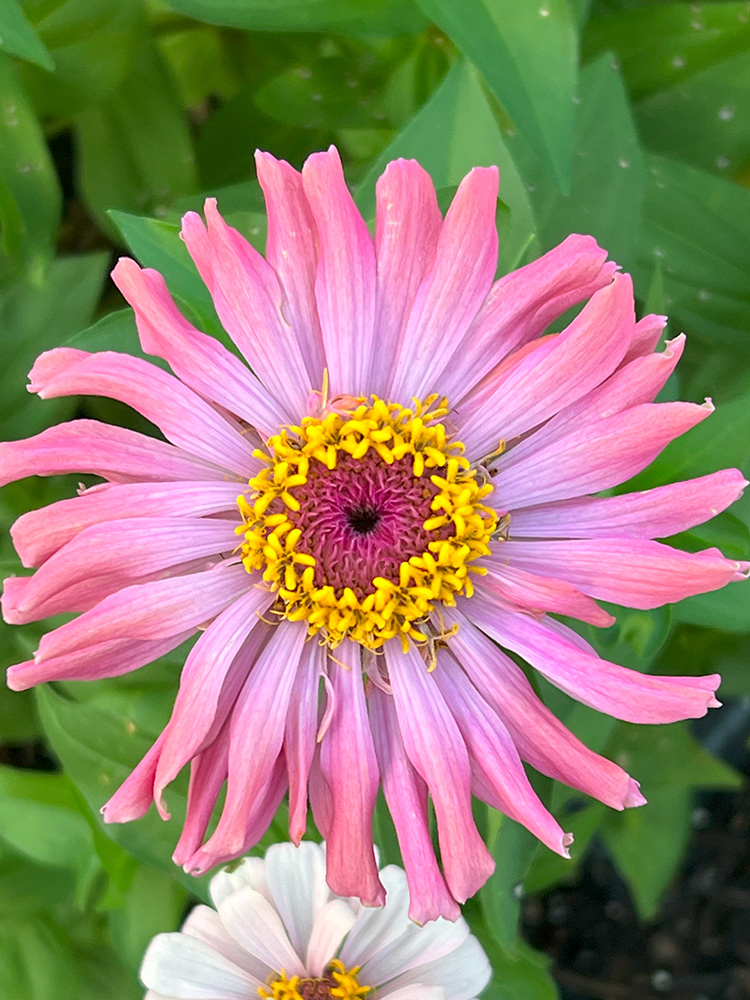
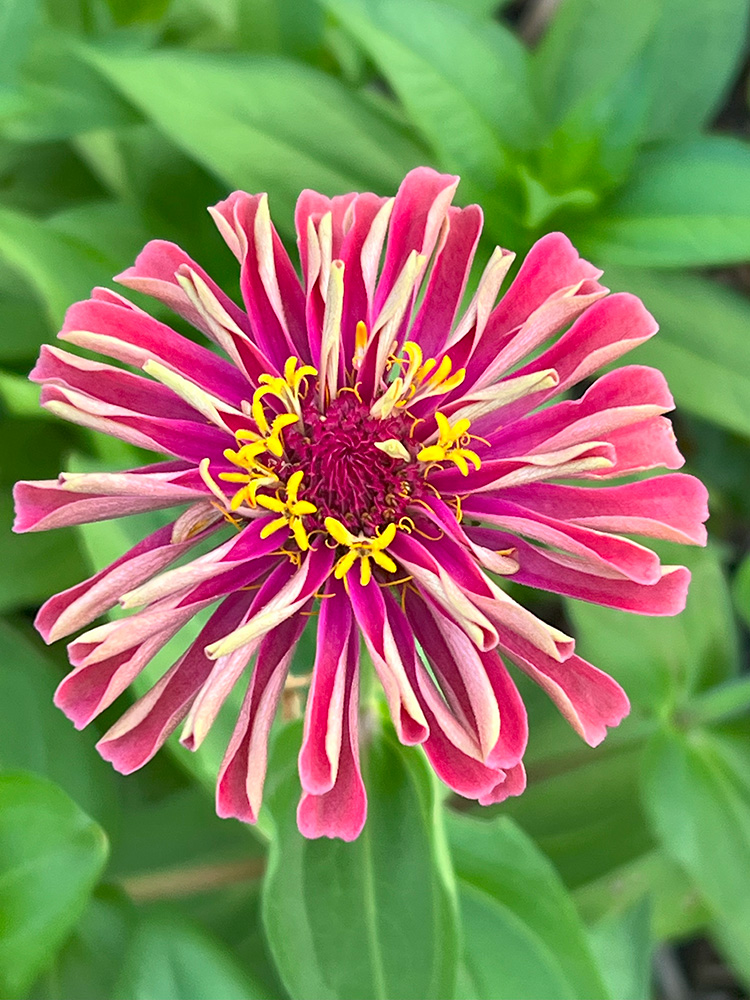
Before you start growing zinnias, it's essential to select the right variety for your garden. Zinnias come in various types, including dwarf, medium, and tall varieties. Dwarf zinnias are perfect for borders and containers, while taller varieties can make stunning backdrops or cut flowers for arrangements. Some of our favorites include Cactus, State Fair, and Floret Originals.
Selecting the Perfect Spot
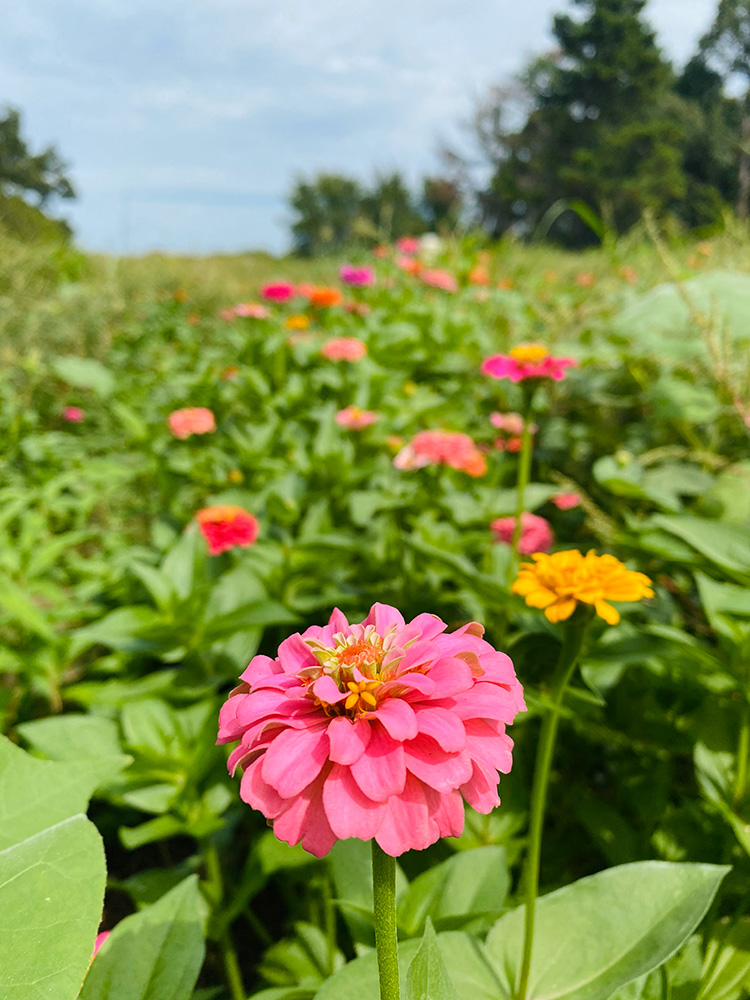
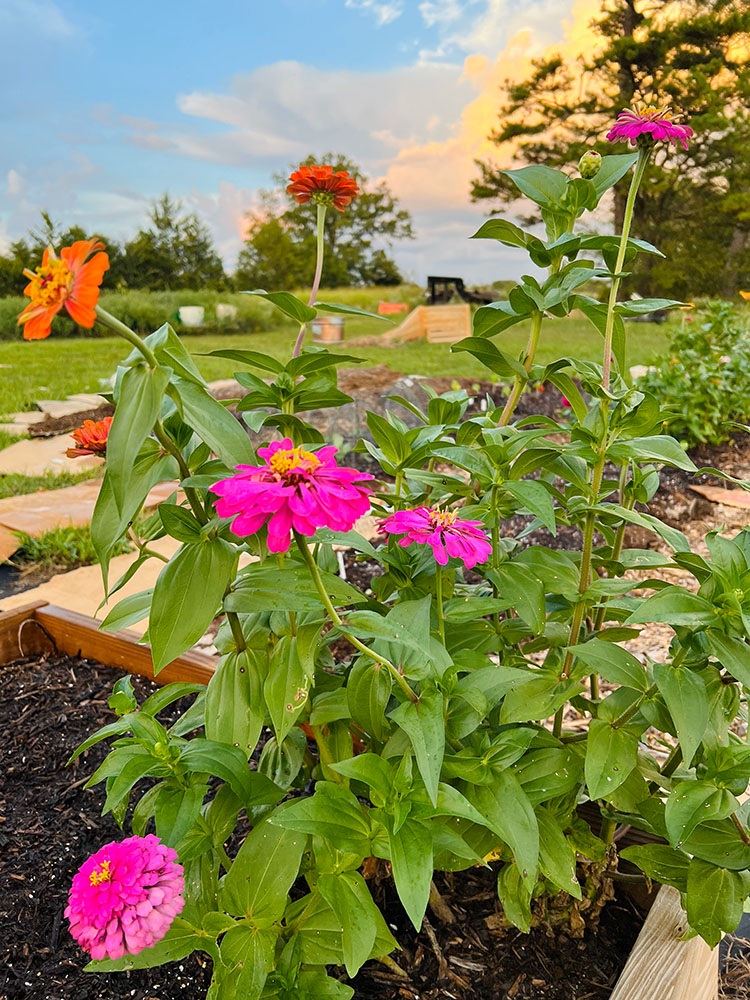
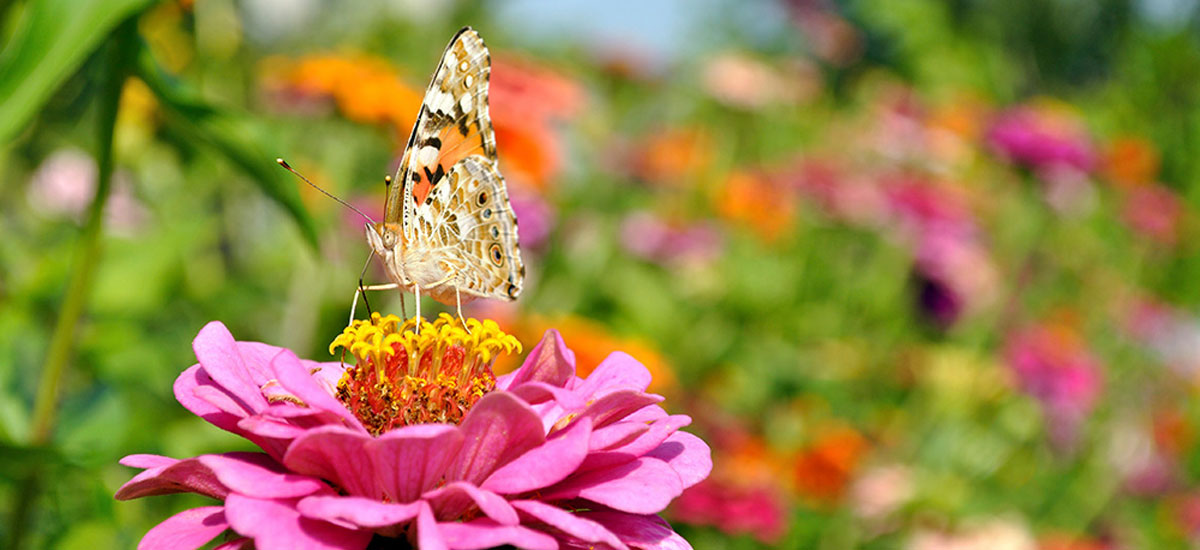
Zinnias thrive in full sun, so choose a spot in your garden that receives at least 6-8 hours of sunlight per day. Ensure the soil is well-drained, as zinnias don't like to sit in waterlogged soil. If your soil is heavy or compacted, consider adding organic matter such as compost to improve drainage and fertility. I have a huge flower patch of zinnias that I use as a backdrop for my photography business. My first several years, I did not lay down weed barrier fabric, but will be doing so this year. I am using fabric with precut holes for the flower aisles and solid fabric for the walkways. I have three of these patches and will also have zinnias in my raised garden beds, no-till bed and containers. You just can’t have too many!
Game-Changer for Getting Blooms Early: Starting Seeds in the Yoderbilt Greenhouse
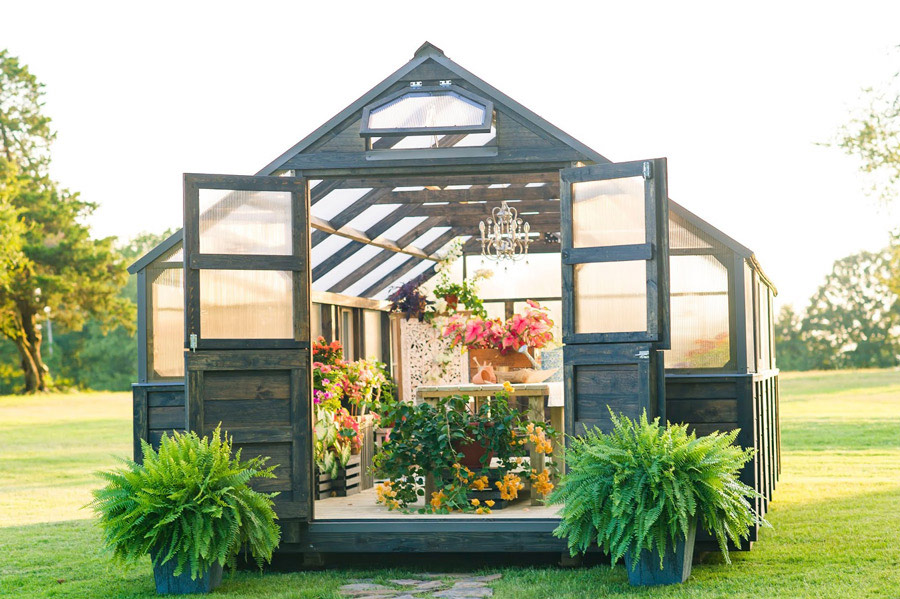
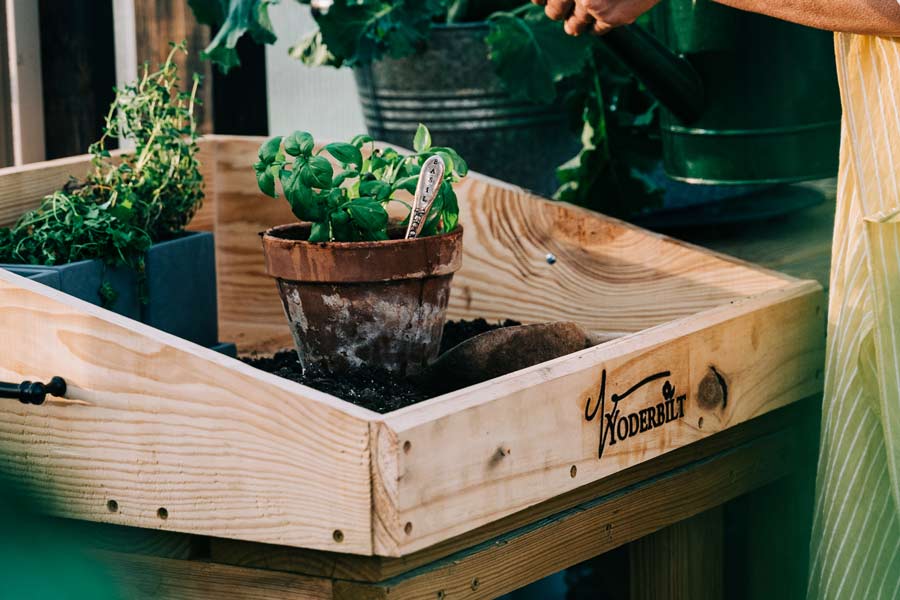
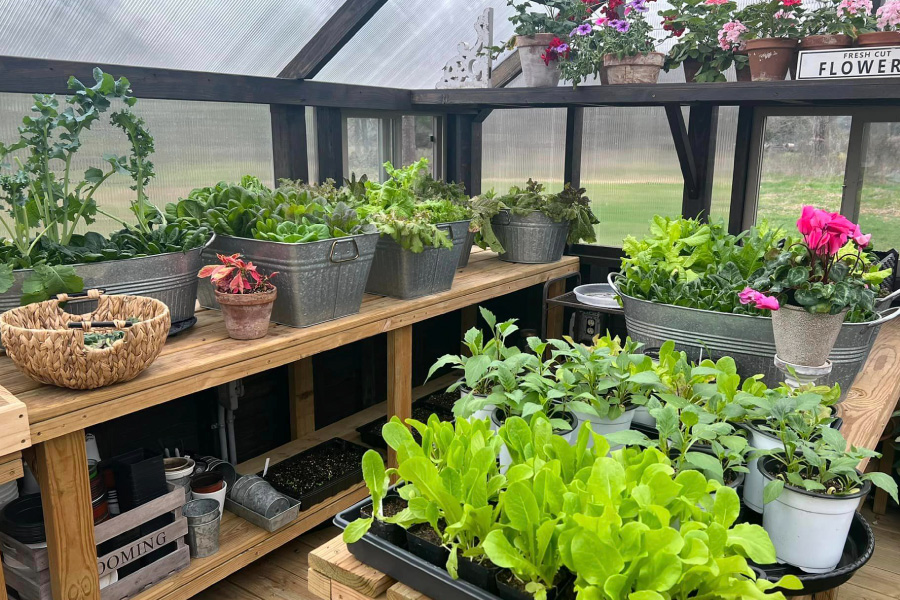
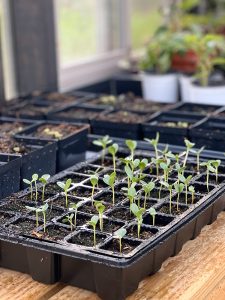
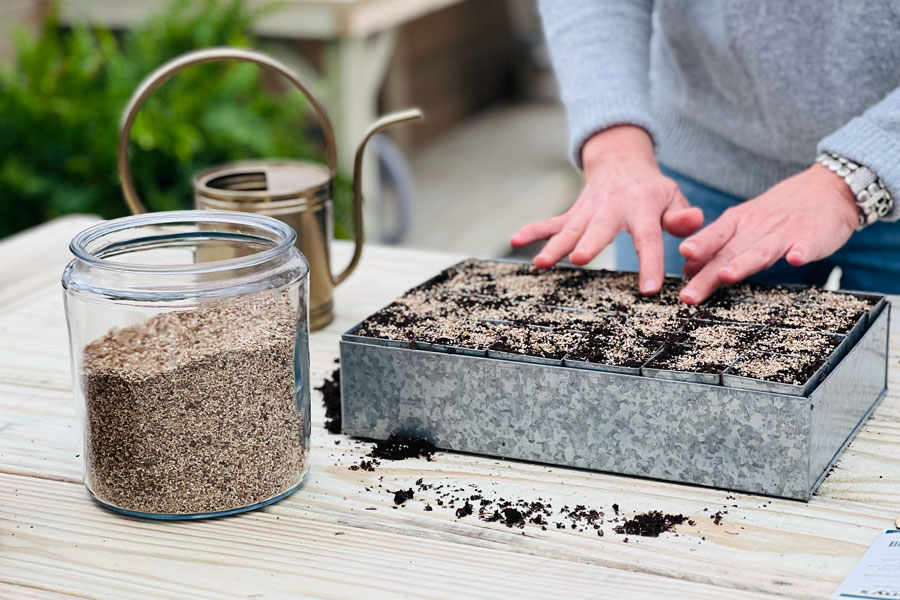
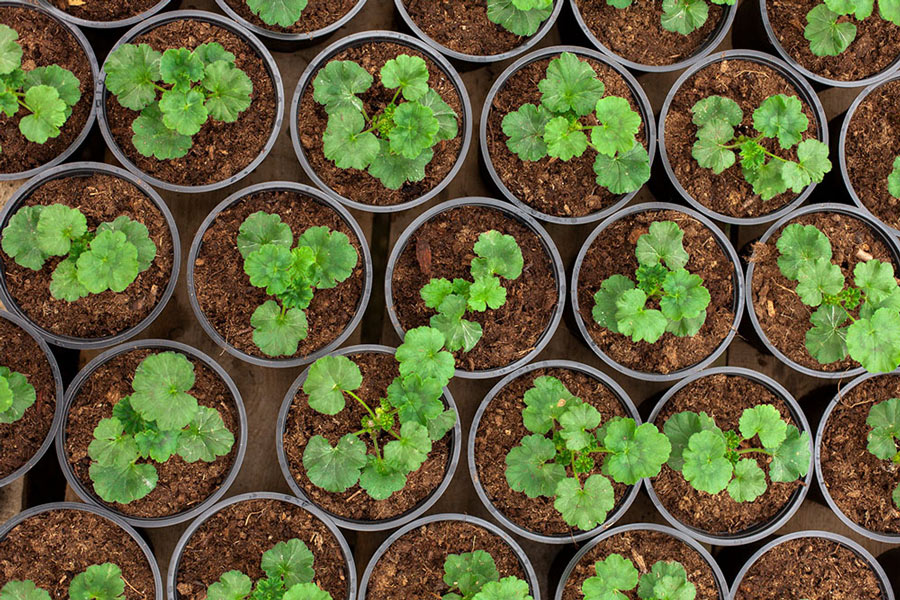
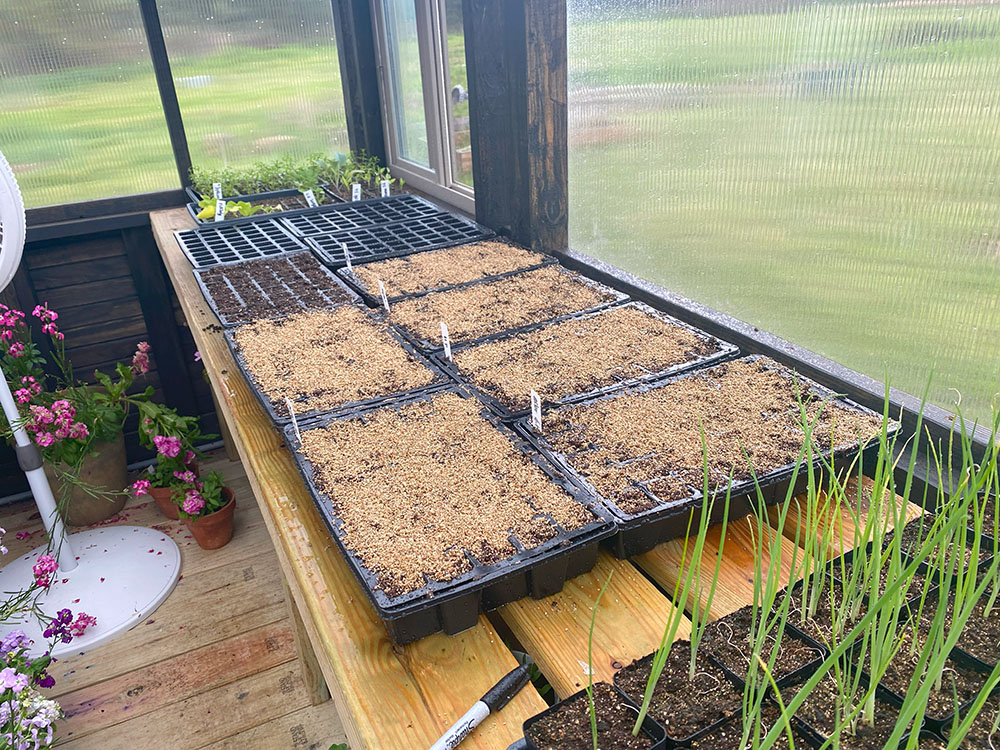
To give your zinnias the best start and protect them from unpredictable spring weather, all of our initial zinnia crops are started from seed in our greenhouses. The controlled environment will shield your seeds from spring storms, prevent them from being washed away by heavy rains, and safeguard them against late frosts. Plus, the greenhouse provides a cozy space for your seedlings to establish strong roots before transplanting them into the garden. It is well known that zinnia seeds are an easy direct sow. Although for me, that may be true later in the season when it's dry and hot. But, I want the earliest blooms and strongest plants possible. Because of that, I will always start them in my Yoderbilt giving me such a jumpstart to the season.
Planting Zinnias
Once your seedlings are strong and the danger of frost has passed, it's time to transplant them into the garden. If you're growing zinnias from seeds directly in the garden, wait until after the last frost date to sow them. Remember to space the seeds according to the variety's recommendations, typically 6-12 inches apart depending on the size of the mature plant. In my flower patches, I typically space them about 9 inches apart. I use these locations from June-October for my photography sessions, to enjoy loads of bouquets and simply enjoy seeing them around our property. I don’t plant them as tightly as I could because I do want good airflow throughout the season in an attempt to keep powdery mildew at bay. And, so far, it’s worked great.
Caring for Zinnias
Zinnias are relatively low maintenance once established, but they do benefit from regular care to ensure healthy growth and abundant blooms. Here are some tips for caring for your zinnias:
- Watering: keep the soil evenly moist but not waterlogged. Water at the base of the plants if you can to avoid wetting the foliage, which can lead to fungal diseases. I have used sprinklers in the past, but I try to do that in the morning when I know it will be hot and potentially windy to allow them to dry out before night. I haven’t had any issues during my summer months.
- Fertilizing: zinnias are light feeders, but a balanced fertilizer applied every 4-6 weeks can help promote robust growth and blooming. I have never applied fertilizer and have had such healthy and abundant plants and blooms. I also don’t have the best soil, but they thrive with simple waterings when needed. However, if you notice you aren’t growing healthy plants or blooms, you may consider fertilizing.
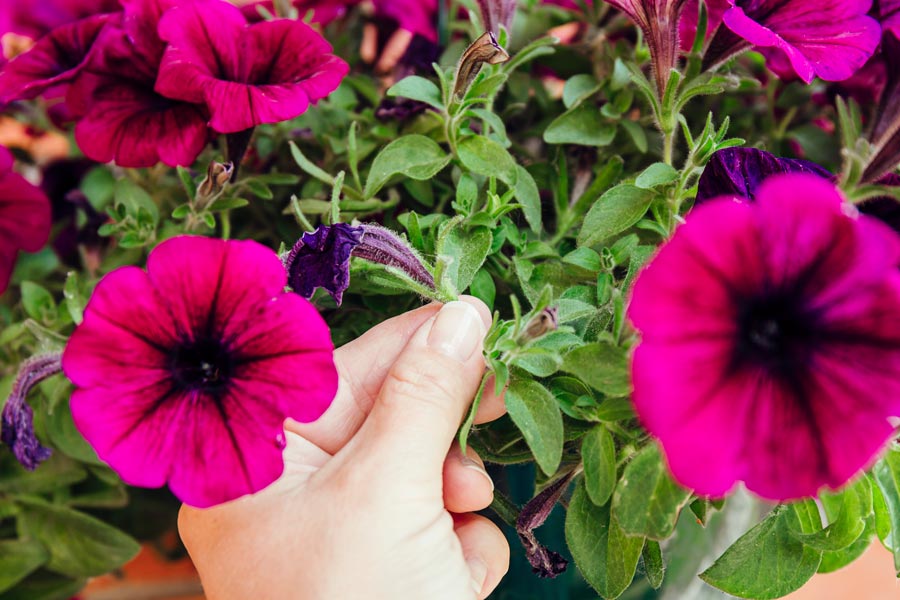
- Deadheading: remove spent flowers regularly to encourage continuous blooming throughout the season. This process, known as deadheading, redirects the plant's energy into producing new flowers rather than setting seeds. I deadhead as often as I can, and it makes such a difference.
- Pest and Disease Control: keep an eye out for common pests such as aphids, spider mites, and powdery mildew. Use organic pest control methods or insecticidal soap to manage infestations and ensure good air circulation around the plants to prevent fungal diseases. I have never had an issue other than some powdery mildew in October when the dew is heavier and the nights are cooler, but by then, I’m ready to let the beds rest.
Come back next week and we’ll cover every aspect of how we start them by seed in our greenhouse and little tips and tricks we utilize to give them the very best start.

