A Guide to Starting Zinnias in Your Greenhouse: Part 2
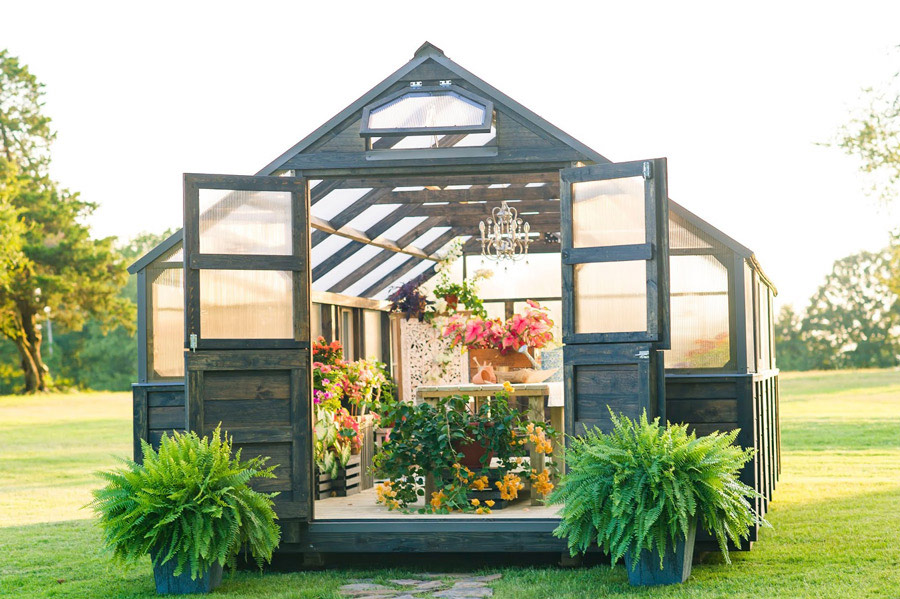
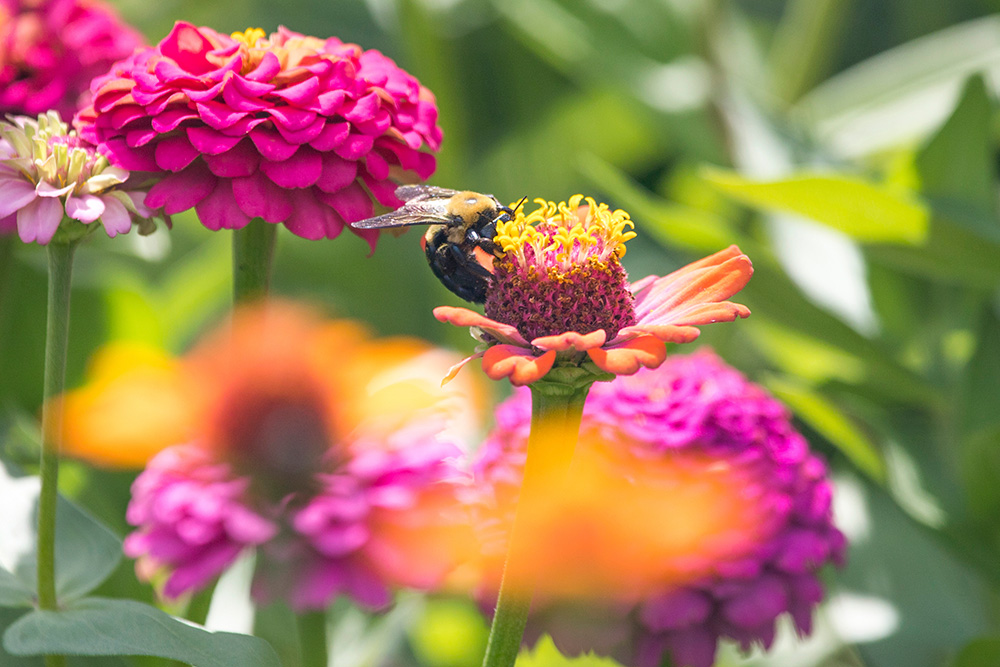
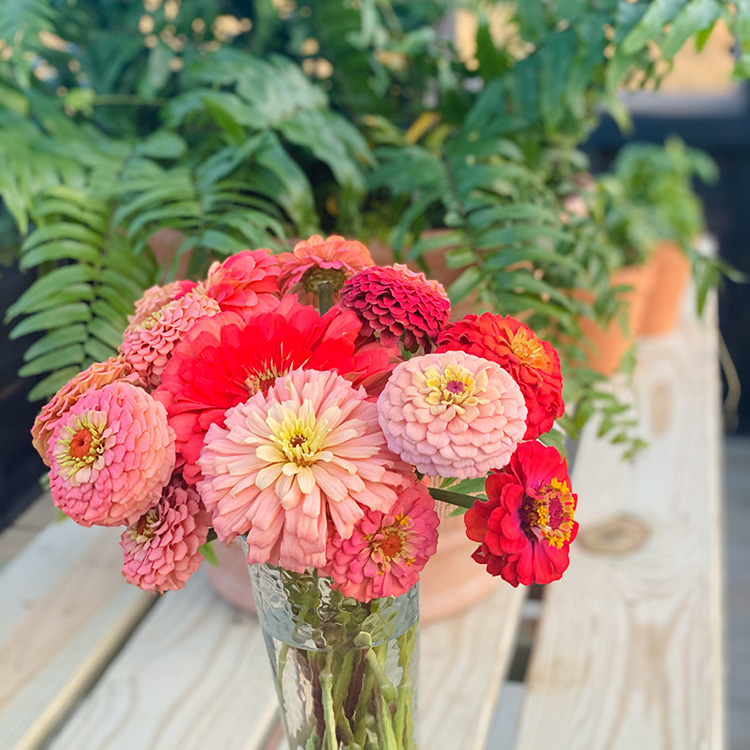
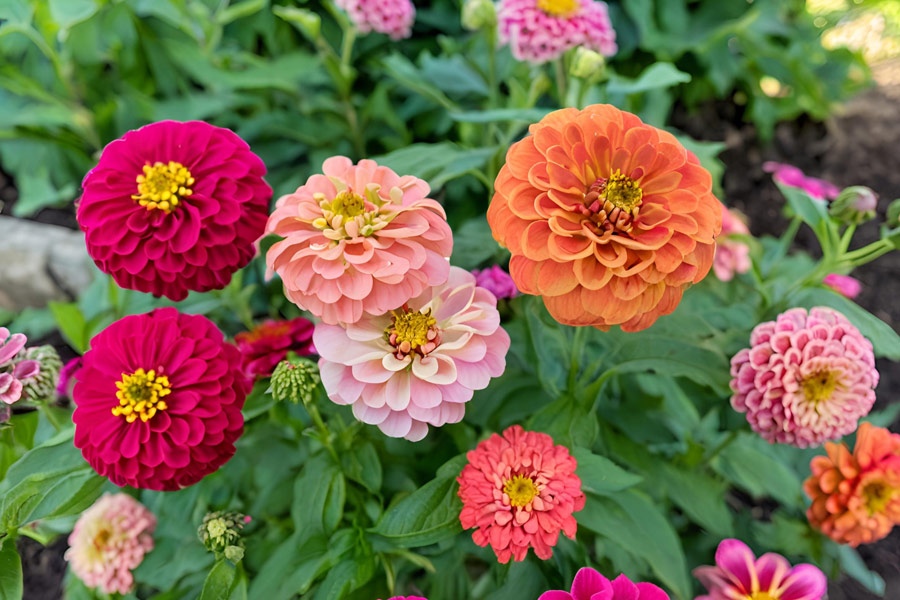
Zinnias are a summer favorite for so many and there are many reasons why; their vibrant colors, easy growth, and ability to attract pollinators, make them a favorite among gardeners. Starting zinnia seeds in a controlled environment like a Yoderbilt Greenhouse not only ensures successful germination but also provides a head start on the growing season.
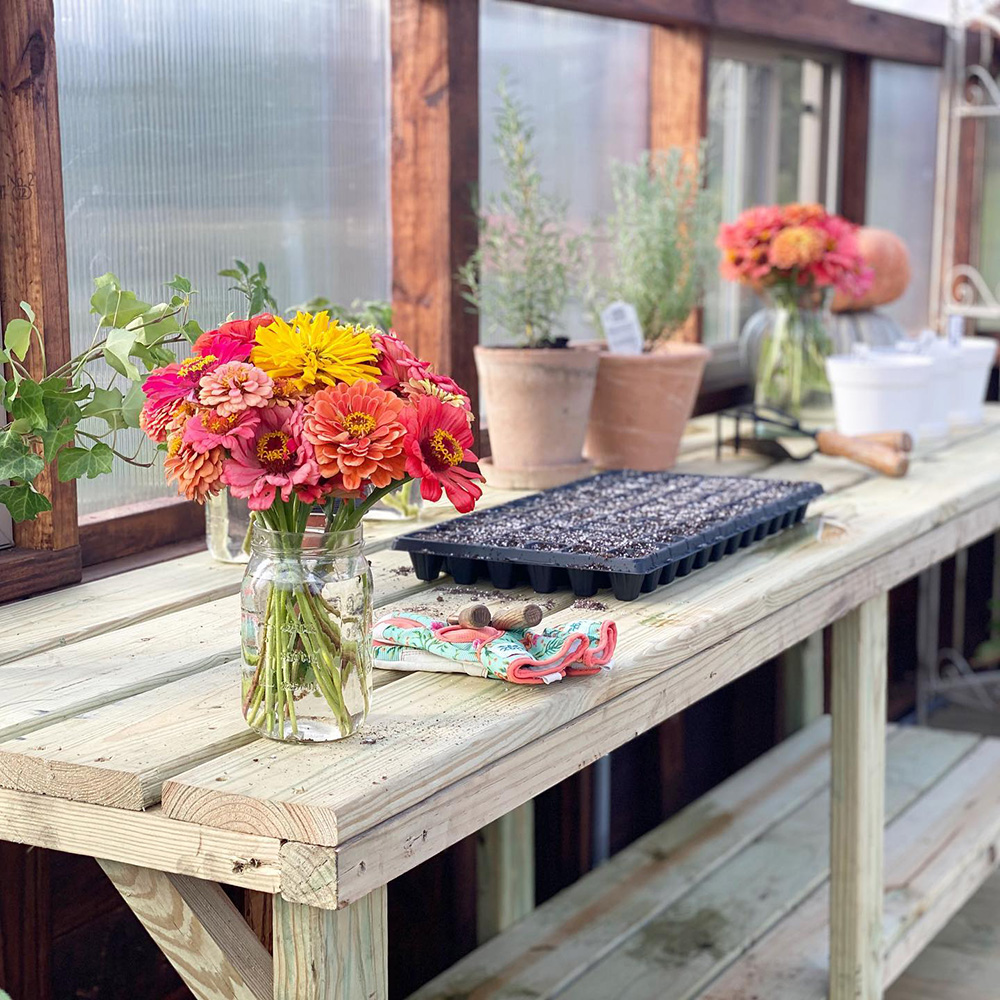
In this post, we'll explore the reasons for starting zinnias from seeds inside, the process of doing so in a Yoderbilt Greenhouse, necessary supplies, ideal timing, and when to transplant them for a summer and fall full of amazing blooms.
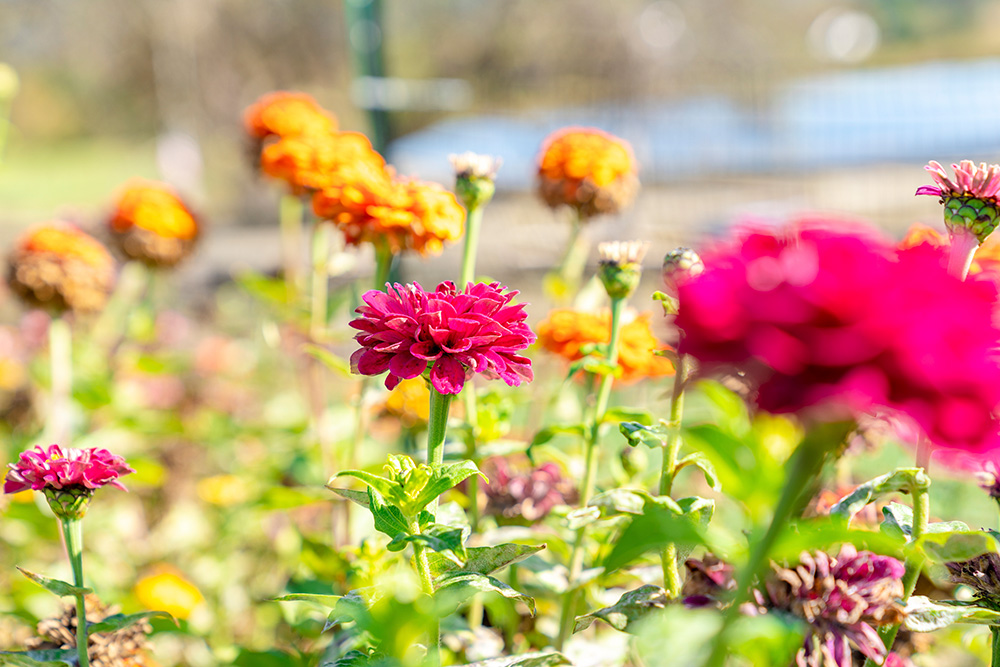
Why Start Zinnia Seeds in a Yoderbilt Greenhouse
Starting zinnia seeds in a Yoderbilt Greenhouse offers several advantages:
Controlled Environment
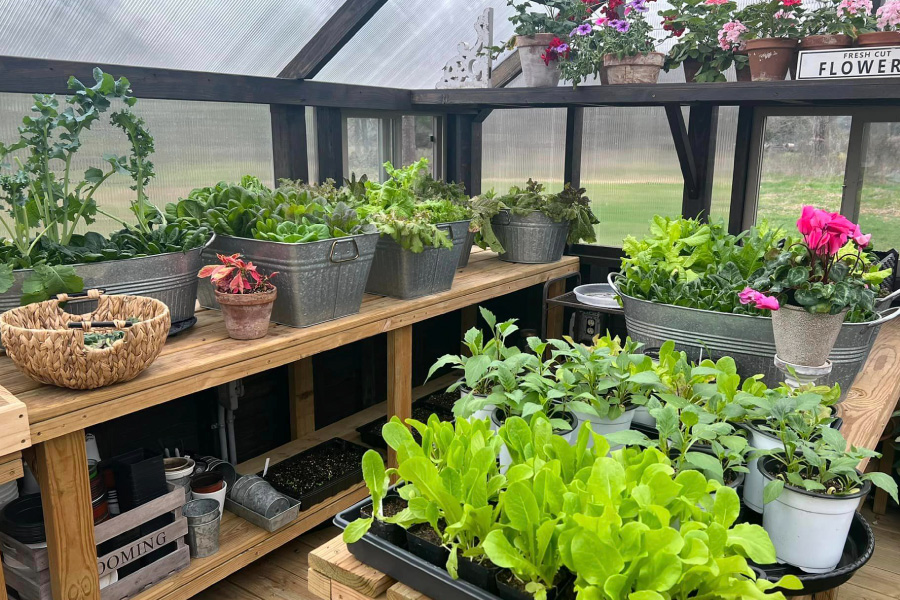
Greenhouses provide a stable environment for seed germination, shielding young plants from adverse weather conditions, pests, and diseases. I have personal experience with three different direct sows of zinnia seeds being washed away from spring rains. And, even in my raised beds, most of my seeds, including zinnias get eaten by something. I’ve never figured out what but suspect small insects or rodents. So, I use greenhouse transplants for all of my flower patches, raised beds, no-till beds, and even containers.
Extended Growing Season
By starting seeds indoors, gardeners can extend the growing season, ensuring earlier blooms and a prolonged display of zinnias in the garden. This is a game-changer if you want the earliest blooms possible.
Cost-Effectiveness
Starting seeds from scratch is more cost-effective than purchasing established plants, allowing for a larger variety and number of zinnias. I recently saw a small container that housed two zinnia plants at a local big box store and the price was $7,98. I plant thousands of zinnias, so it will always be seeds for me.
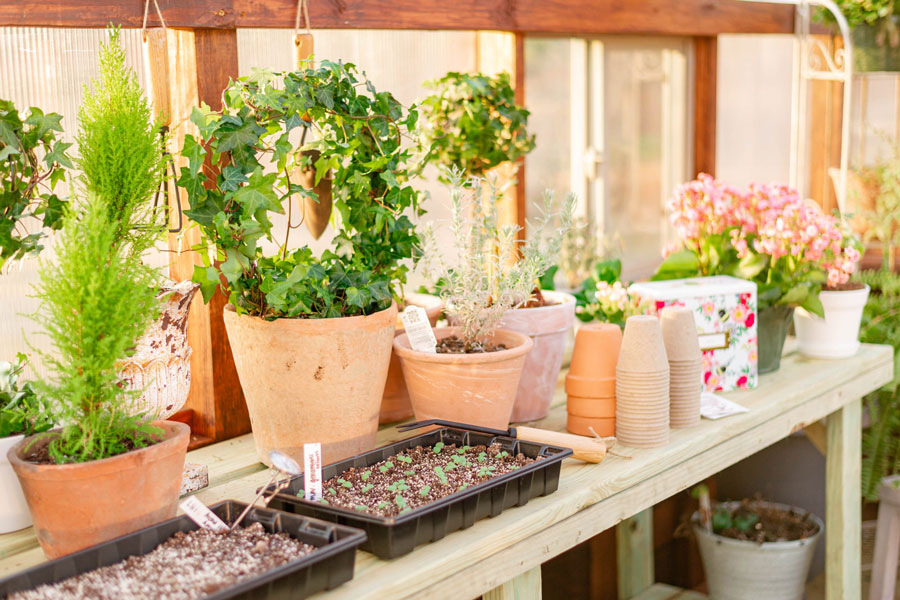
How to Start Zinnia Seeds in Your Yoderbilt Greenhouse
Supplies Needed
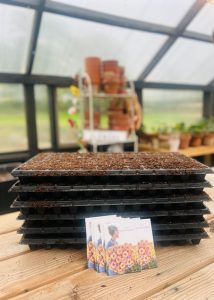
- Seed trays or small containers
- High-quality seed starting mix
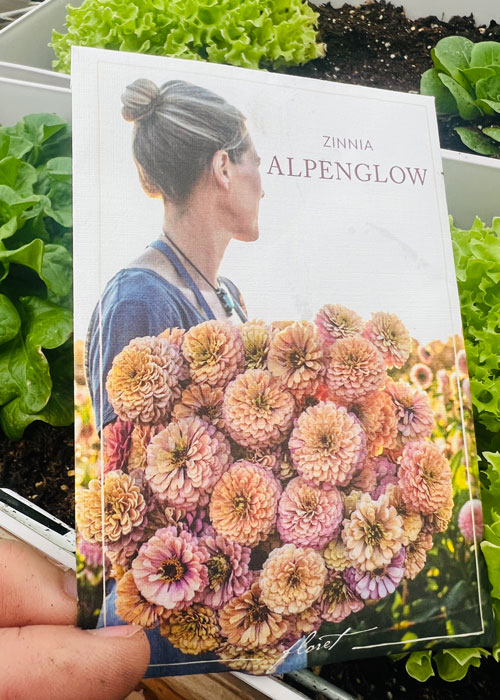
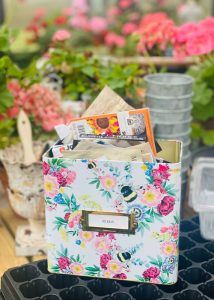
- Zinnia seeds of desired varieties
- Propagation mat or dome
- Watering can, misting bottle or a misting setting on a garden hose sprayer.
1. When to Plant
Zinnias do not like chilly temperatures and thrive best when planted in warmer conditions. We are in Planting Zone 7b, and I typically start my seeds around the first to mid-April. Make certain you know your planting zone and last predicted spring frost as you don’t want them to have to stay in the greenhouse too long if you plant them too early. We opt to jumpstart their summer blooms by sowing the seeds in the greenhouse roughly 4-6 weeks before our last predicted spring frost.
2. Prepare Seed Trays
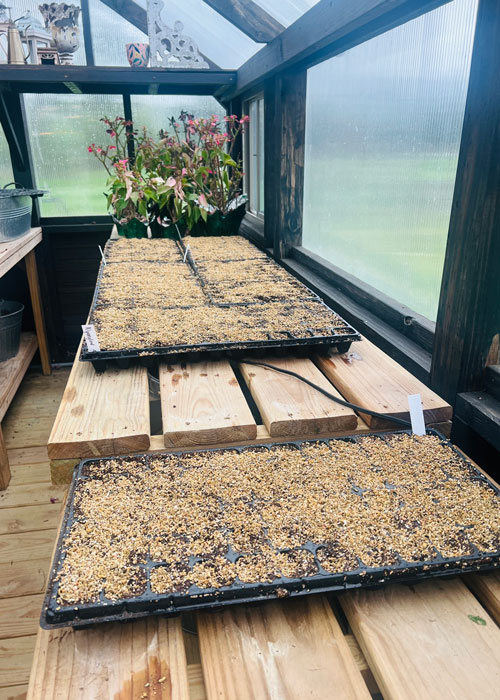
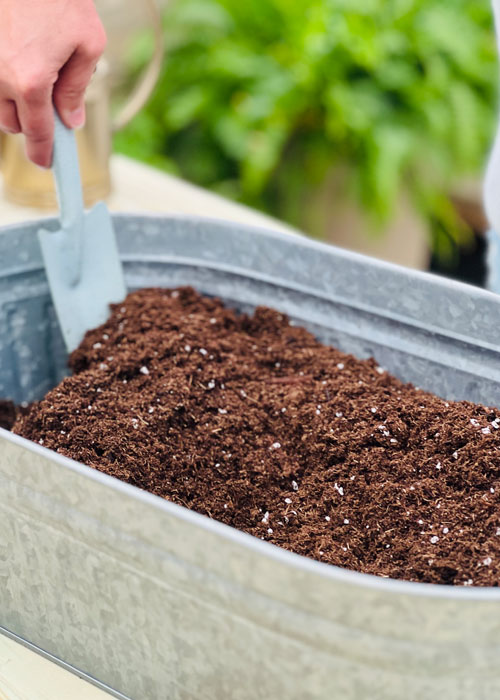
You can use any container, but I prefer to use 72-cell seed trays with a solid bottom tray that does not have drain holes. Ideally, you would also use a plastic covering to increase humidity and speed up germination. If you are using old trays, make sure you sanitize them first by washing them in a 10% bleach-water solution and rinse well. Then, it’s time to add a high-quality seed starter mix. These unique blends are formulated with precise ingredient proportions to guarantee that seedlings receive an optimal start. They are finely tuned to accommodate even the tiniest seeds, facilitating their root system development as they effortlessly push through the mix. Currently, my favorite is Jiffy Organic Seed Starting Mix, I recently picked mine up at Home Depot.
3. Sow Zinnia Seeds
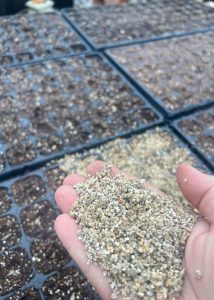
Ensure the mix is moist but not waterlogged – it should be about the same consistency as a moistened brownie mix. I then will fill my trays with the mix. I plant my zinnia seeds about ¼ inch deep in the prepared trays. I place one per cell to avoid overcrowding in case the weather delays me from transplanting out. I lightly press the seeds into the soil. And, then sprinkle with a light covering of fine vermiculite. Vermiculite has become a must for me when starting seeds. It provides numerous benefits including moisture retention, improved air circulation, prevention of fungal infections and subsequent seedling dampening off.
4. Provide Adequate Light
Zinnia seeds require ample light to germinate. Place the trays in a well-lit area of your Yoderbilt Greenhouse and they will receive the appropriate amount of light in this functional space.
5. Maintain Optimal Temperature and Humidity
Zinnia seeds germinate best in warm temperatures (around 70-75°F) and high humidity. Consider using a propagation mat or dome to maintain consistent conditions.
6. Keep Soil Moist
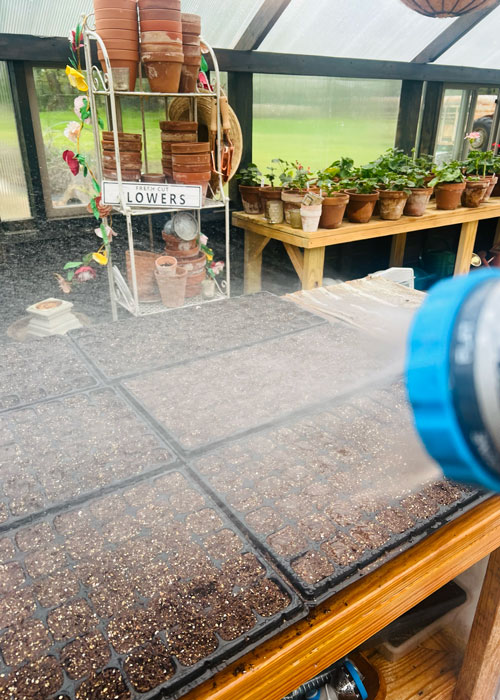
Water the trays gently to keep the soil consistently moist but not waterlogged. Avoid overwatering, as it can lead to damping-off disease. I will often bottom water or use a mister to keep the soil damp. When the temperatures heat up, I will check on the seedlings at least twice a day to mist if needed.
7. Monitor Germination
Zinnia seeds typically germinate within 7-10 days. Keep an eye on the trays and remove the cover once seedlings emerge.
When to Transplant Zinnias
Transplant zinnia seedlings outdoors after the danger of frost has passed and soil temperatures have warmed to at least 60°F. Harden off seedlings by gradually exposing them to outdoor conditions over 7-10 days before planting them in well-drained soil enriched with compost.
In conclusion, starting zinnia seeds in a Yoderbilt Greenhouse is a rewarding experience that allows gardeners to enjoy an abundance of colorful blooms throughout the growing season and removes the mess I created in my home when starting seeds before I had my greenhouse. By providing optimal conditions for germination and early growth, you can ensure healthy zinnia plants that will brighten your garden and attract pollinators earlier than ever and for months to come. So, roll up your sleeves, gather your supplies, and get ready to cultivate beautiful zinnias from seed in your greenhouse space.

