
My New Adventure with my Yoderbilt Greenhouse
Hey everyone, this is Shannon! While many of you may recognize my name, there are some that might not. I am Yoderbilt's photographer, and Angela Yoder and I have been best friends since junior high (we started in the same kindergarten class a long, long time ago). Everything I write in this blog series will be coming from the perspective of a new Yoderbilt greenhouse owner.


Like so many of you, I have a new greenhouse! And, along with that greenhouse, very little greenhouse gardening knowledge. I have dreamed of owning a greenhouse since the age of 12. I have always had a big love of gardening from an early age. This was cultivated (pun intended) from a combination of spending my earliest years in my beloved grandfather's garden on our family homestead to a sweet elderly couple that lived on a gorgeous farm up the road from me. During my childhood days, I would spend many summer hours with them tending to their multiple gardens and seeing the fruits of their labors blossom before my eyes.
Fast forward to 2020 and I decided that was the year I'd make my dream come true. My only regret is that I didn't get one sooner, and that's quite an understatement. I had planned to order one in the fall, but I decided to get ahead of the fall rush a bit and had it delivered by late summer going into fall. I was beyond thrilled and even giddy (according to my husband). But, I also felt a bit overwhelmed and pretty intimidated as I knew I was diving into greenhouse gardening without much knowledge.
There are very few years in my life when I didn't have a garden of some sort, but a greenhouse was a whole new world. However, what I had on my side, was Angela and Travis Yoder. It's never just a purchase with Yoderbilt. They have a solid reputation of working with you. From that initial phone call, they are there to answer your questions, ensuring that you have the information to get the most out of your greenhouse for years to come. This held true whether I was a Yoderbilt team member, or a brand new customer who called after seeing the Yoderbilt greenhouse a friend had.
Here's a glimpse into how it works. You may be months or years away from purchasing, but have some questions. Give them a call. Or, you may be ready to order, but you have a million questions—give them a call. They will walk you through the process in the easiest way imaginable.


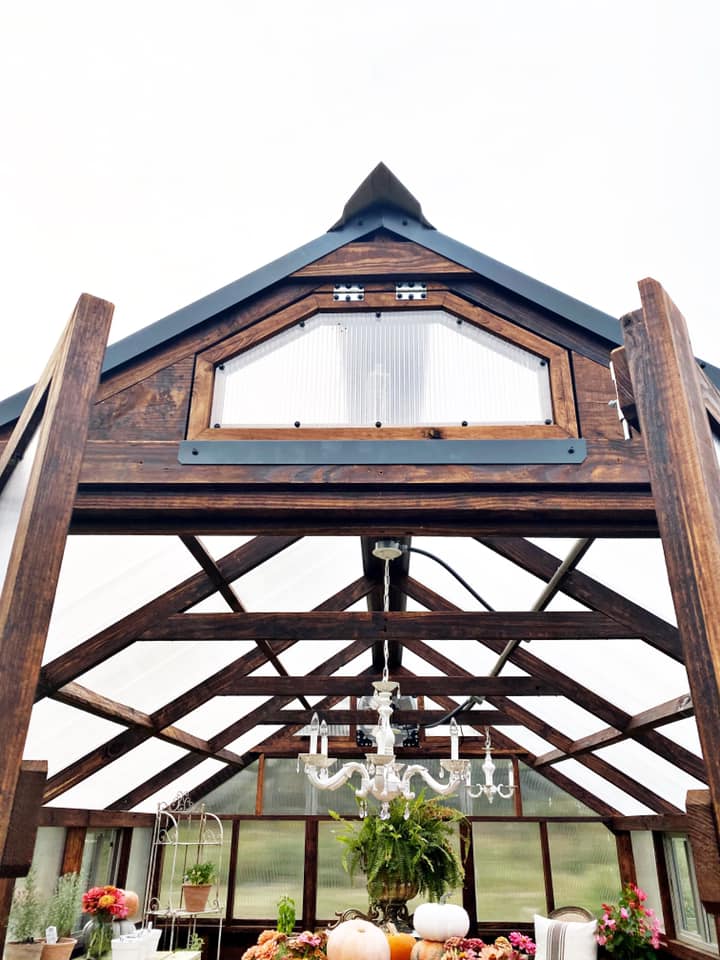
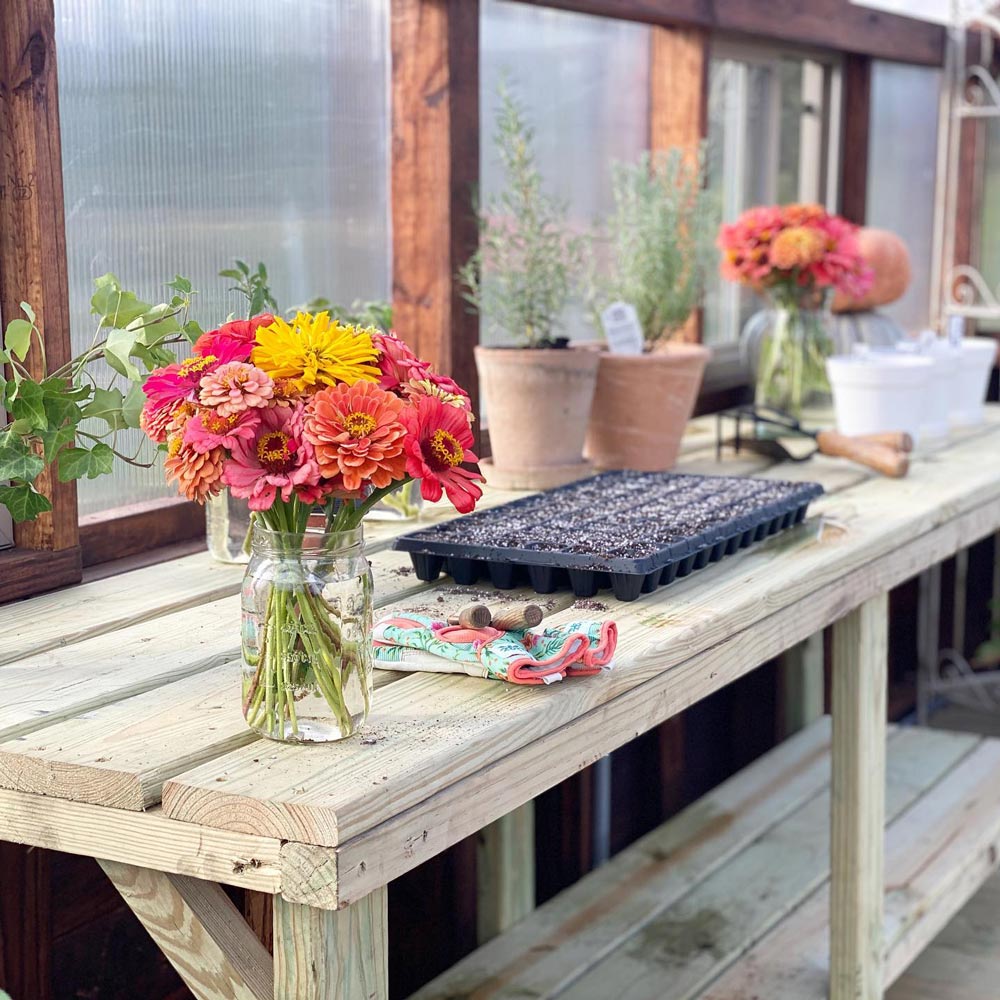
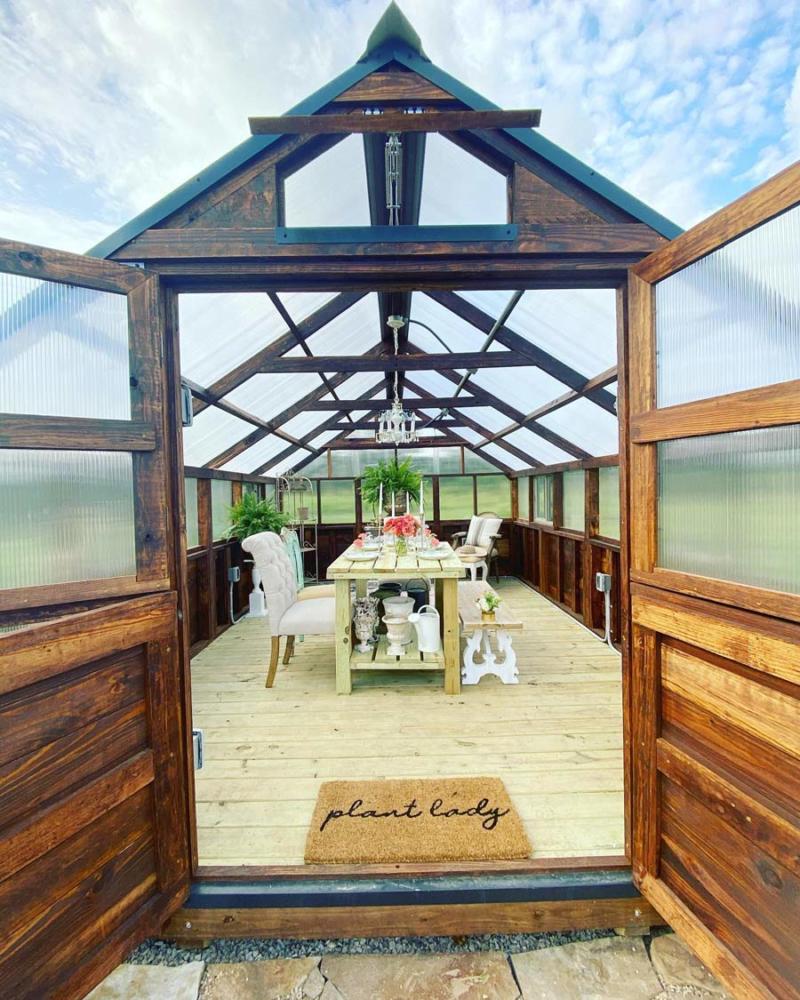
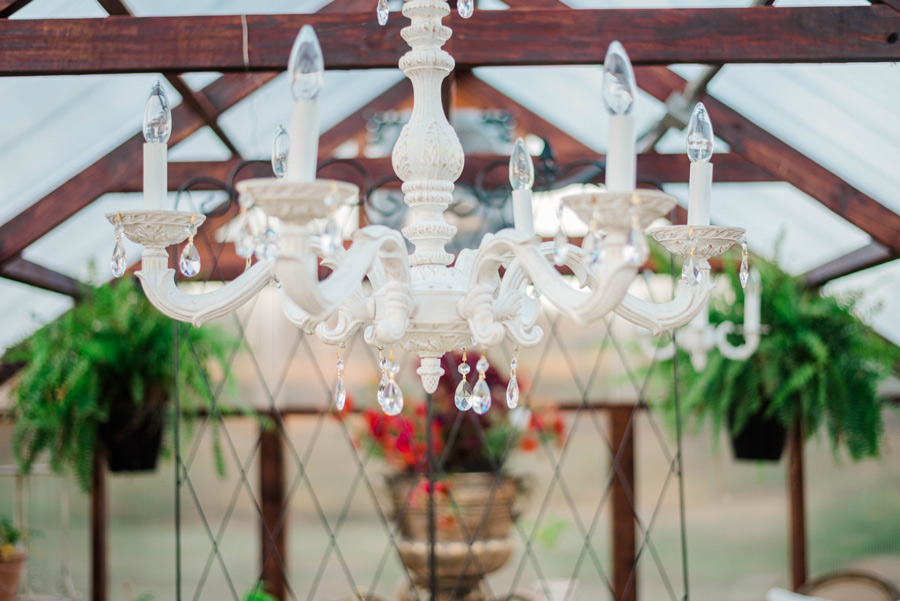
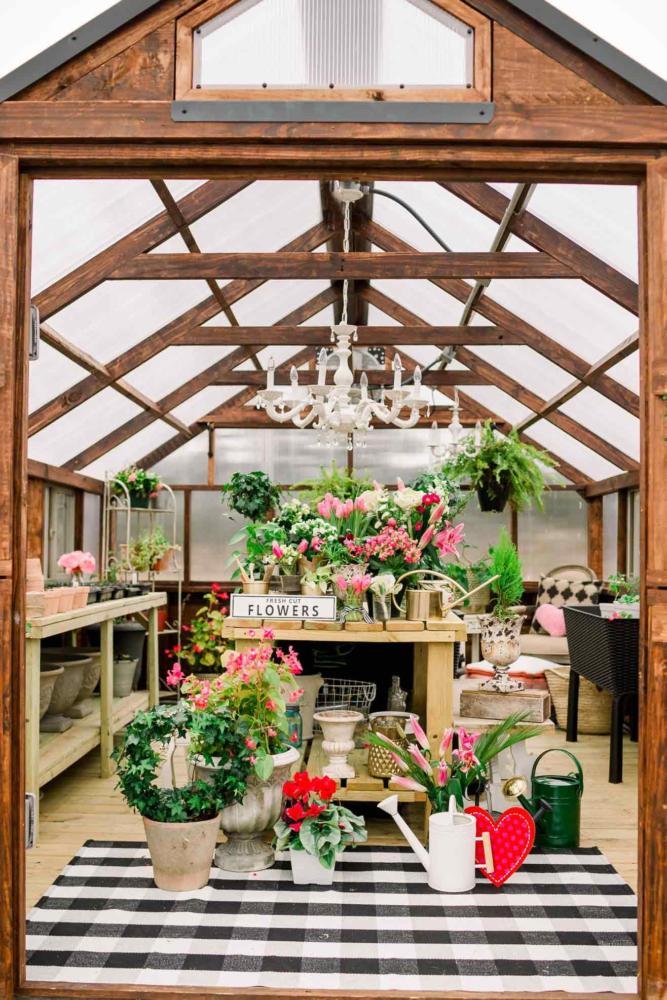
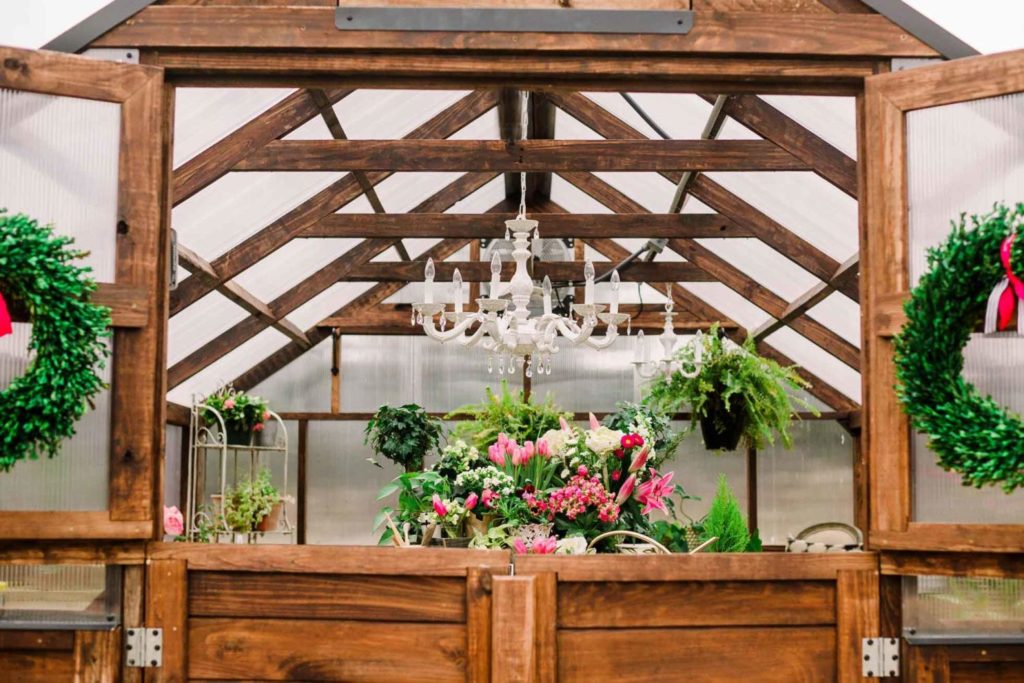
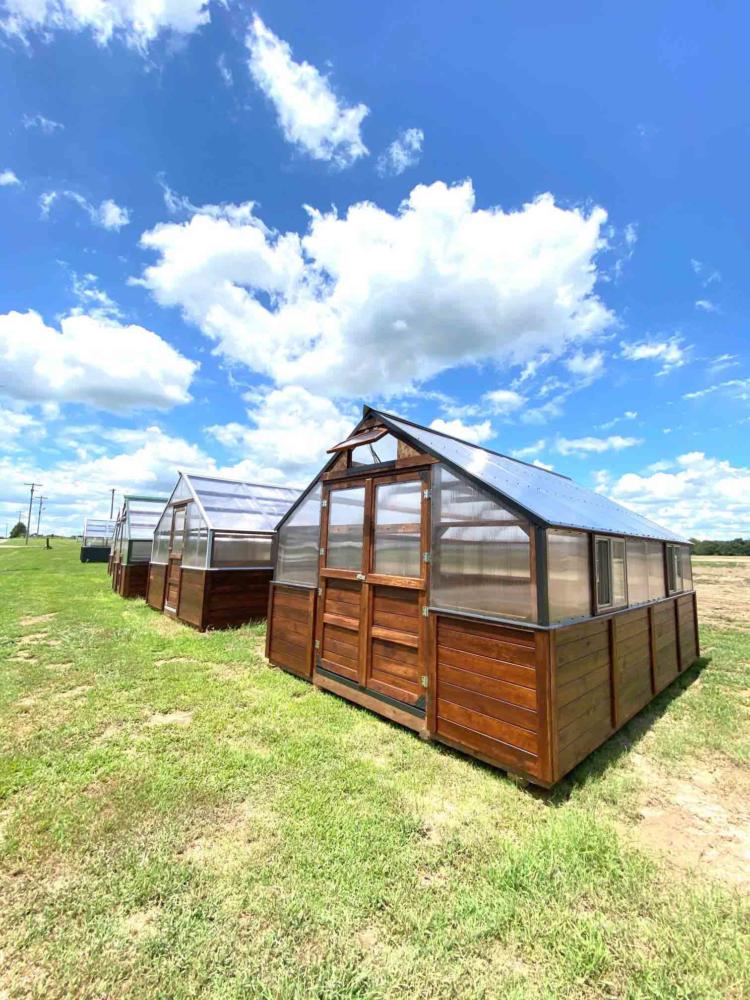
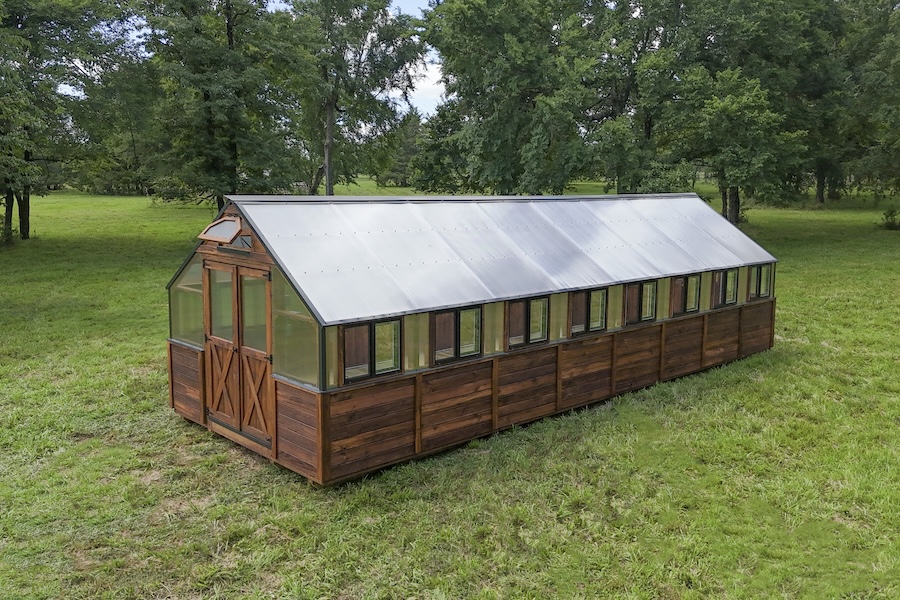
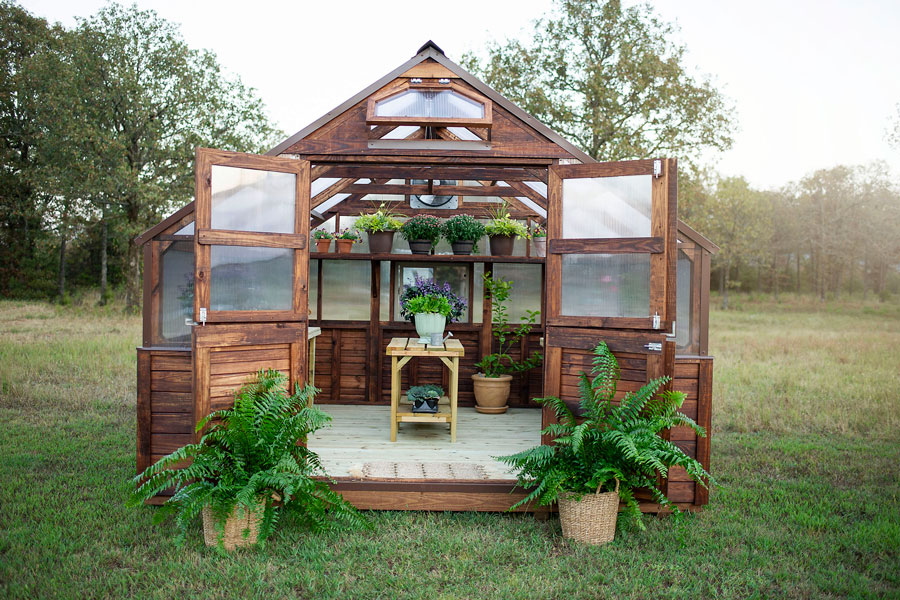
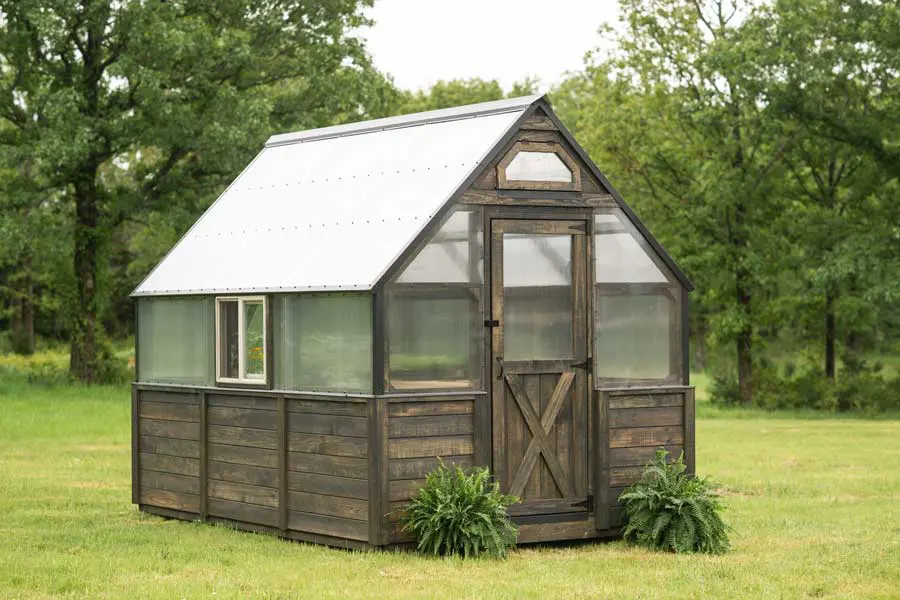
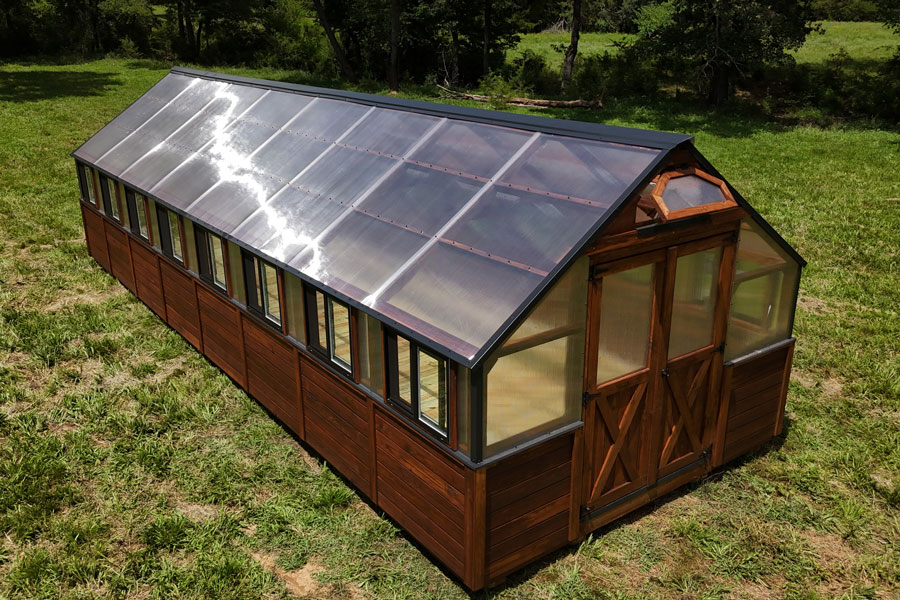
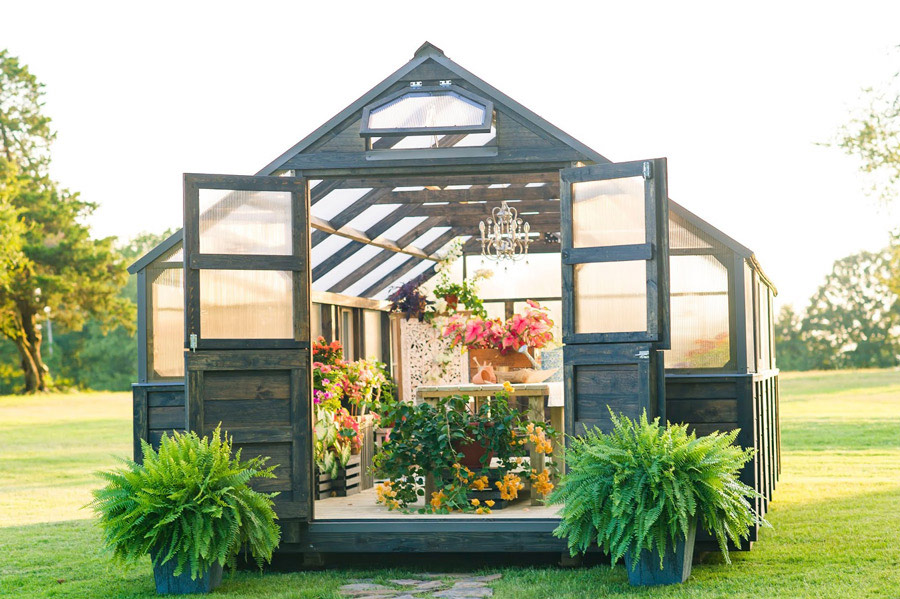
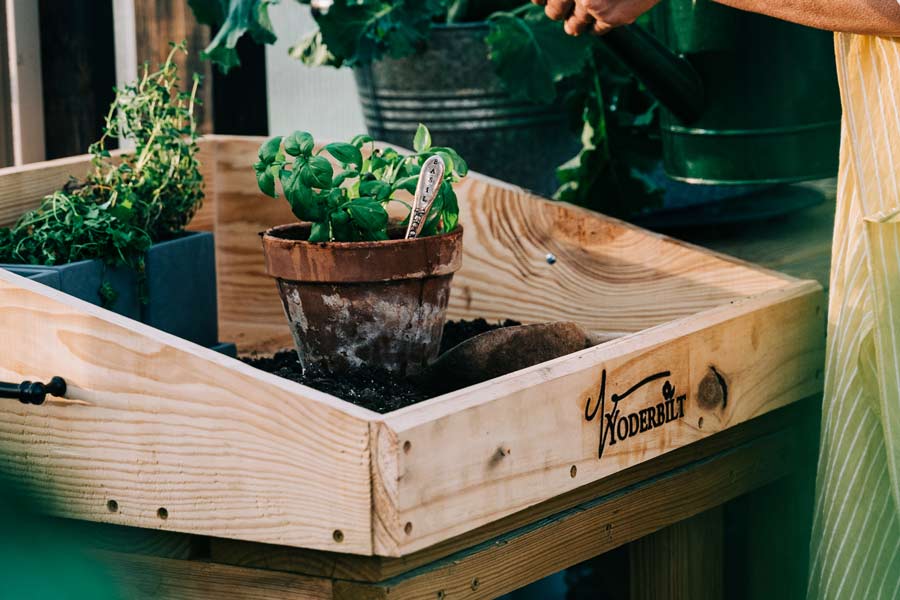
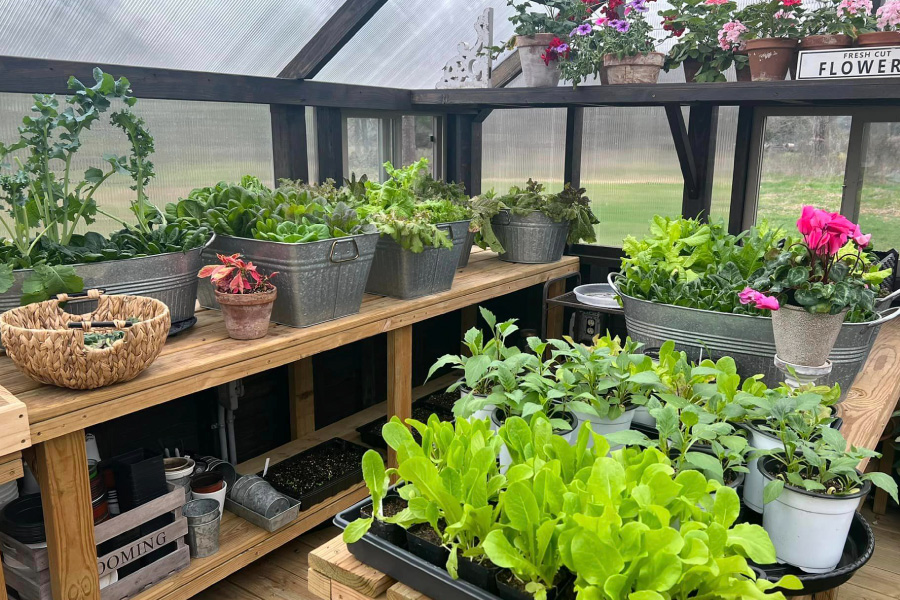
I did add several add-on features to customize it to meet my needs. I went with a 12x16 Yoder Brown with black trim to match my home. It sits to the left of my home near the garden—not in my backyard. I have a double Dutch door, which provides enough width for me to use my wheelbarrow in and out the doors. It also adds a tremendous amount of additional ventilation. I also have an auto vent in the front eve and an exhaust fan in the back eve with the electrical package. I have four windows (and I do wish I would have added one more to the back wall) as that drafting can help immensely with ventilation. I did add extra outlets. amps and a chandelier package. I started with a 3 x 4 island but quickly added the 2x8 moveable shelf, one of my favorite features. I use it all of the time.
Yoderbilt makes it such a simple process, and after you place your order, you will get busy selecting the site you want it placed (if you haven't already) and your foundation.
The greenhouses are built with treated runners underneath so they can actually be placed directly on the ground. However, they have recommendations of preferred foundation prep methods and will walk you through that process, even sending you videos. Their customer service is known to be top of the line.
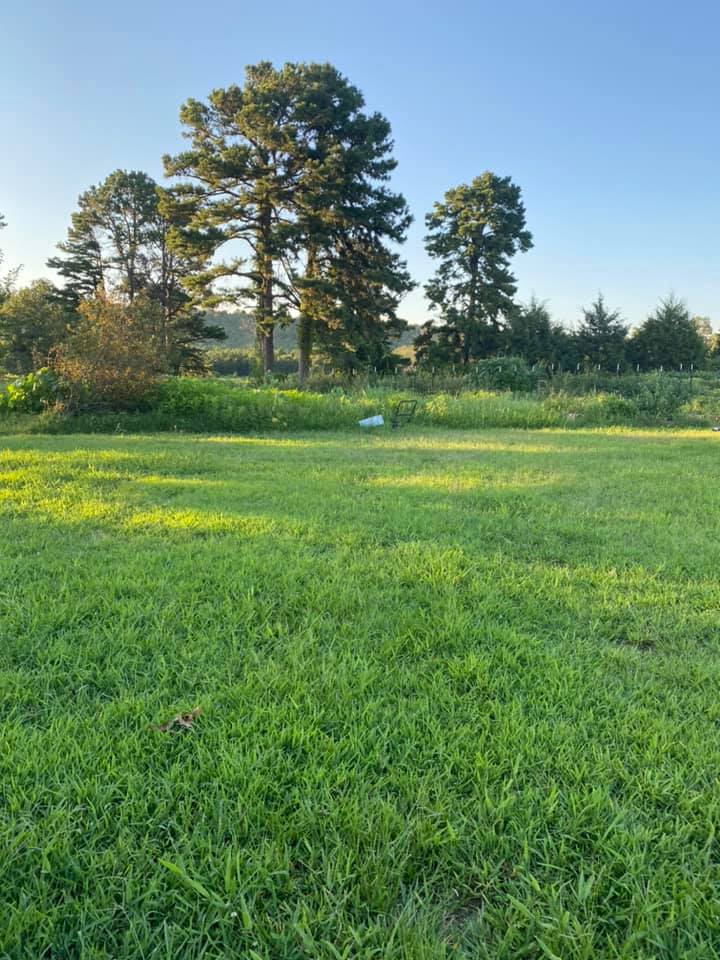
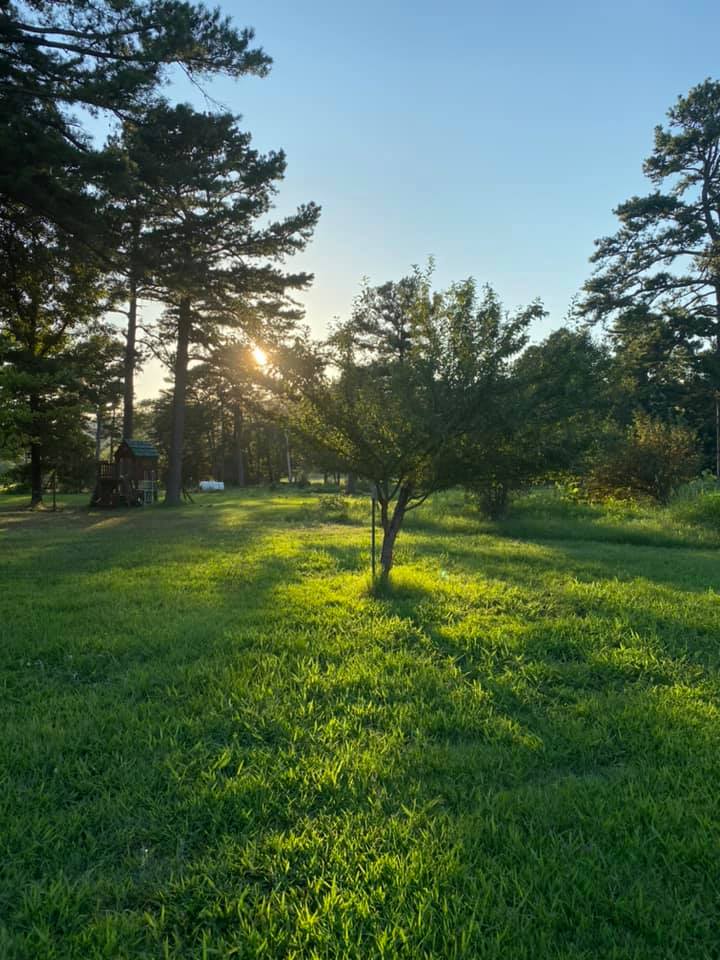
I personally chose a location near my garden that sits in direct sun. I wanted to utilize the most winter sun I could as I knew I would be growing seedlings for my spring and summer gardens. My double Dutch doors sit facing south. My garden sits behind the greenhouse in full sun as well.
I will be honest, it wasn't too difficult for me to decide on a location as I wanted it to be a focal point of my garden, to complement my home, maximize winter sun and be on a relatively flat spot.
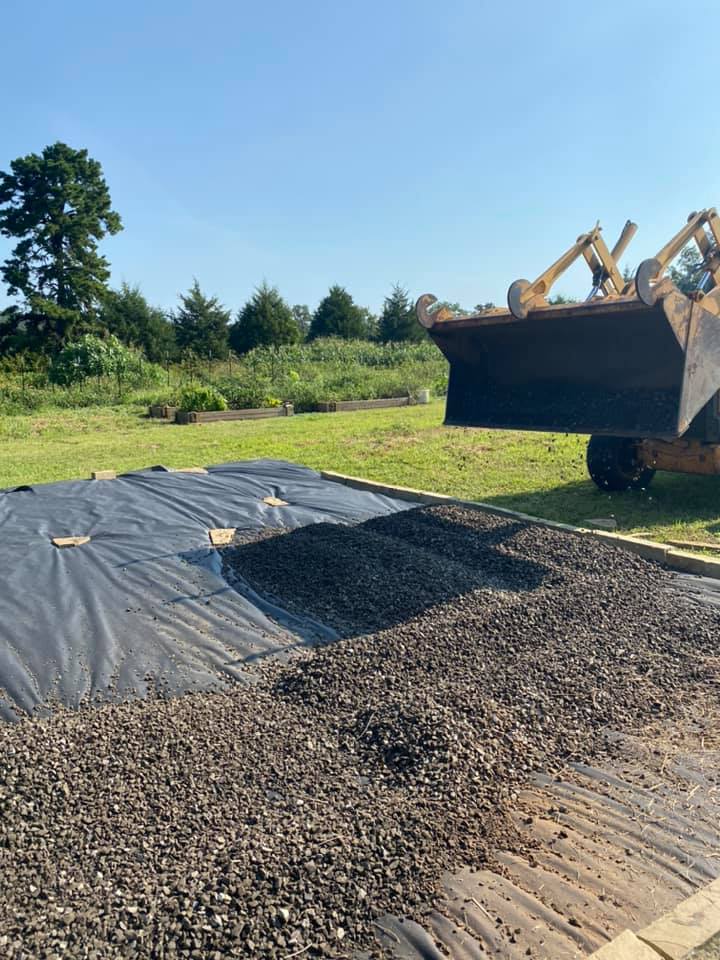
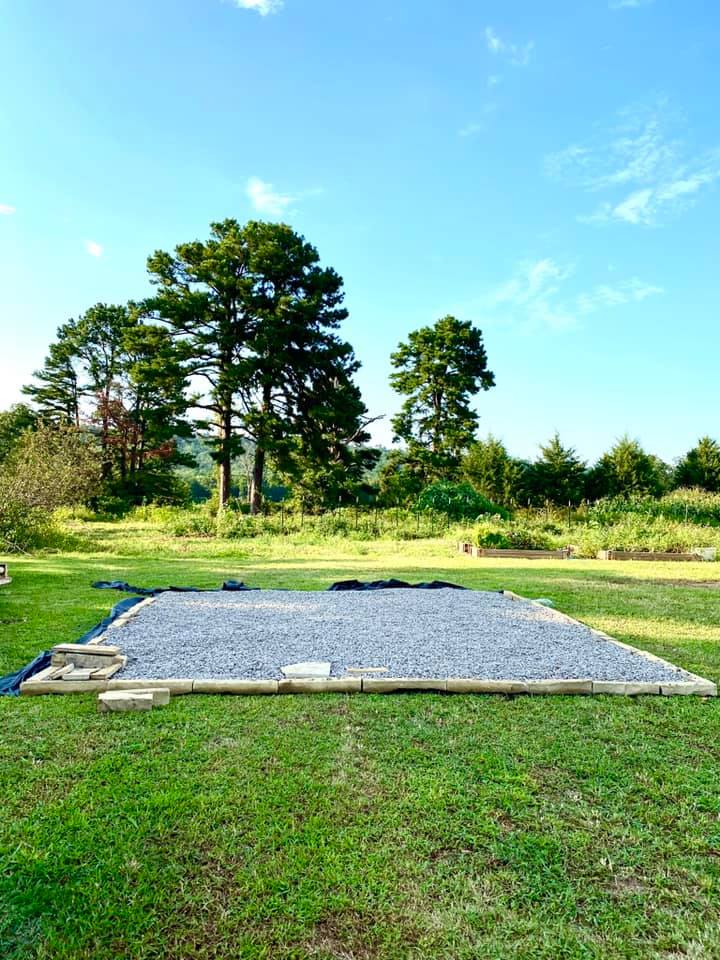
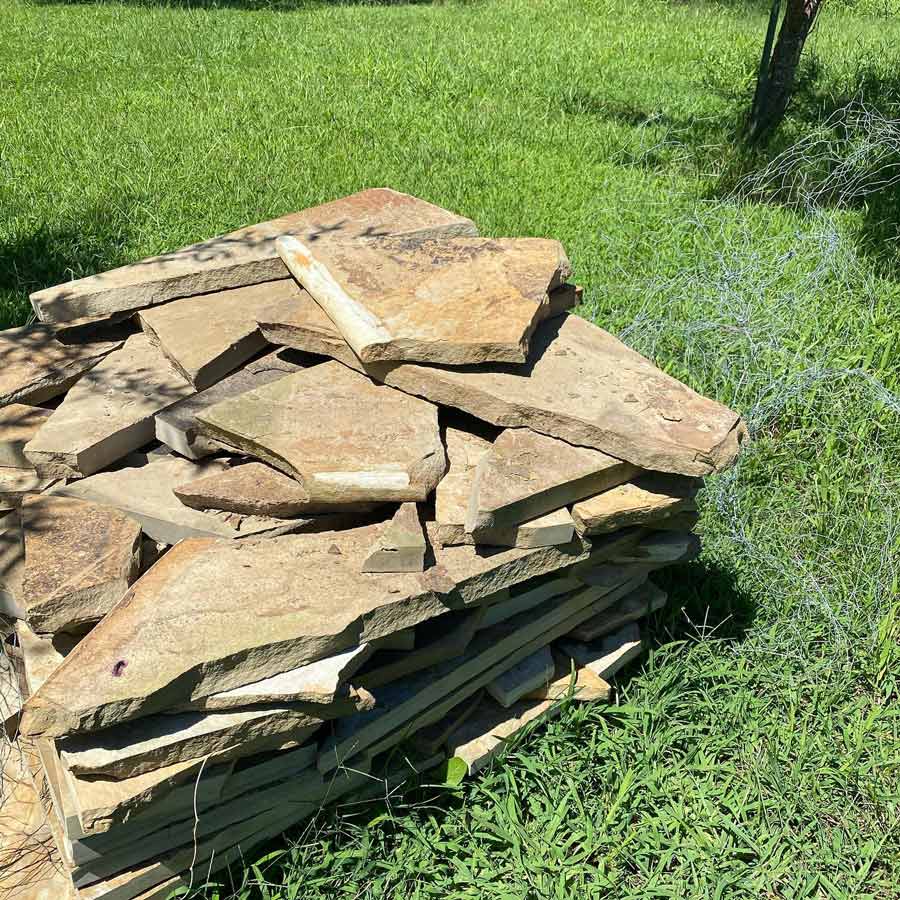
From that point, I followed Travis's recommendations on foundation prep. We thankfully didn't have to have any groundwork done as again, and it was very level. We did lay down a high-quality weed barrier fabric and had 3-4 inches of clean gravel brought in. We went to a local quarry and purchased flagstone and some block-like flagstone to trim it out once it was in place.
Next up, I will take you to delivery day! It was SO exciting and so impressive to watch.
xoxo,
Shannon