
The Ultimate Guide to Overwintering Ferns in Your Greenhouse
As the days get shorter and that cool autumn breeze rolls in, I find myself in a bit of a happy quandary: is it better to keep my beloved ferns safe through winter or to dream about the day I can walk out of my greenhouse in spring, carrying even bigger, more gorgeous ferns to brighten up my patios and porches? Honestly, I can’t decide! There’s just something magical about watching these plants thrive during the chilly months and turning my greenhouse into a little green sanctuary. If you’re as passionate about ferns as I am and want to make sure they stay healthy all winter long, you’re in the right spot! Let’s dive into how to keep your ferns happy and thriving until spring so you can enjoy their beauty for even longer.

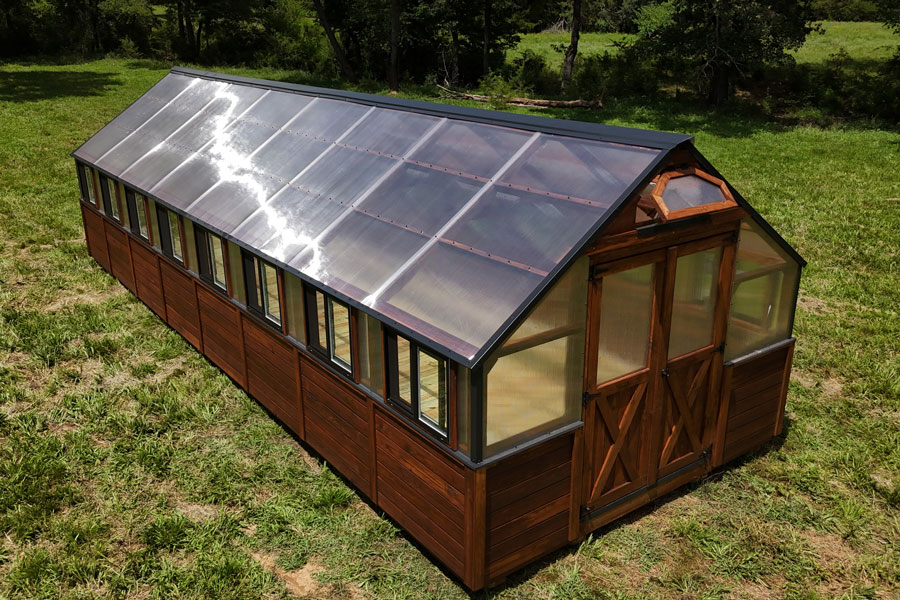
As the temperatures drop and winter approaches, it’s essential to prepare your ferns for the colder months. These beautiful plants can thrive in a greenhouse, but they do require specific care to ensure they survive and flourish until spring. This guide will walk you through everything you need to know to successfully overwinter your ferns in a greenhouse, including preparation, greenhouse conditions, winter care routines, and transitioning them back outdoors.


Preparation Before Bringing Ferns Inside
Inspect for Pests
Before moving your ferns indoors, inspect them thoroughly for common pests such as aphids, spider mites, and mealybugs. These pests can wreak havoc on your plants if not dealt with promptly. If you notice any signs of infestation, treat the ferns with an insecticidal soap, which is effective against many soft-bodied insects. Be sure to follow the instructions on the label for the best results.
Clean the Ferns
After addressing any pest issues, it’s time to clean your ferns. Gently rinse the leaves with water to remove any dirt, dust, and debris that could harbor diseases or pests. A clean fern is a happy fern, and this simple step helps improve photosynthesis and overall plant health.


Prune Back Dead Fronds
Next, trim off any brown or damaged fronds. Pruning not only improves the appearance of your ferns but also prevents pests from settling in dead or dying foliage. Use clean, sharp scissors to make clean cuts, which will help the plant focus its energy on healthy growth.
Check the Pot
Ensure that the pot has proper drainage holes to prevent water from accumulating, which can lead to root rot. If the soil is compacted or the plant has outgrown its pot, consider repotting it into a slightly larger container with fresh potting soil. This will provide your ferns with the necessary nutrients they need to survive the winter.


Greenhouse Conditions
Temperature Control
Once your ferns are clean and pest-free, it’s crucial to maintain the right environment in your greenhouse. Ferns prefer cooler temperatures, ideally between 50-60°F (10-15°C) during the winter months. Using a thermometer, regularly check the temperature and make adjustments as needed.
Humidity Levels
Ferns thrive in high humidity, making it essential to maintain moisture levels in your greenhouse. Aim for a humidity range of 50-60%. You can achieve this by using humidity trays filled with water and pebbles beneath the pots or misting the ferns regularly with a spray bottle. Investing in a hygrometer can help you monitor humidity levels accurately.


Air Circulating
Proper ventilation is vital to prevent mold and mildew, which can develop in stagnant air. Ensure good airflow in your greenhouse by opening vents or using fans to circulate the air. However, avoid placing fans directly on the ferns, as this can dry them out.
Light Requirements
Position your ferns in a location where they receive indirect, filtered light. Direct sunlight can scorch the delicate fronds, so consider using sheer curtains or placing them in a shaded area. Observing your plants will help you identify if they need more or less light as winter progresses.


Soil Moisture Management
Keeping the soil evenly moist is crucial for fern health. Water your ferns when the top inch of soil feels dry to the touch. Be careful not to overwater, as soggy soil can lead to root rot. Ensure your pots have adequate drainage to help prevent excess moisture buildup.
Winter Care Routine
Water Frequency
As winter sets in, the growth of your ferns will slow down, and they will require less water. Reduce your watering frequency accordingly, but continue to monitor soil moisture closely. Remember that different types of ferns have varying water needs, so adjust your care routine based on the specific requirements of your plants.


Fertilizing
During the winter months, it’s best to halt fertilization altogether. Ferns naturally enter a period of dormancy, and fertilizing during this time can lead to salt buildup in the soil and potential damage to the roots. Resume feeding with a balanced fertilizer once you notice new growth in the spring.
Pest Disease and Monitoring
Regularly check your ferns for any signs of pests or diseases, especially spider mites and scale insects, which can thrive in greenhouse environments. If you spot any issues, take action immediately to prevent further infestations. Maintaining good air circulation and humidity levels can help minimize the risk of disease.


Misting for Humidity
To keep your ferns happy during dry winter months, mist them regularly. This added moisture will help maintain the humidity levels your ferns crave. Just be careful not to overdo it, as excessive moisture can lead to fungal problems.
Repotting if Necessary
Spring is also a great time to assess whether your ferns need repotting. If they have outgrown their current pots or the soil appears depleted, consider repotting into a larger container with fresh, high-quality potting soil. This will set them up for healthy growth as they head into the growing season.


Transitioning Back Outdoors
Gradual Reintroduction
As spring approaches, it’s time to start transitioning your ferns back to outdoor conditions. This process should be gradual to avoid shocking the plants. Start by placing them outside for just a few hours each day in a shaded area, slowly increasing their exposure to light and temperature over the course of a week or two.
Repotting if Necessary
Spring is also a great time to assess whether your ferns need repotting. If they have outgrown their current pots or the soil appears depleted, consider repotting into a larger container with fresh, high-quality potting soil. This will set them up for healthy growth as they head into the growing season.

Additional Tips for Successful Overwintering
Epsom Salt for Health: Consider adding a small amount of Epsom salt (1 tablespoon per gallon of water) every few months to your watering routine. This can help keep your ferns lush and vibrant by providing essential magnesium.
Mulching in the Greenhouse: If your greenhouse temperatures tend to drop significantly, applying a layer of mulch over the soil can help retain warmth. Organic mulch can also provide additional nutrients as it breaks down.

In conclusion, overwintering ferns in a greenhouse may seem daunting, but with proper preparation, care, and attention to their specific needs, you can ensure that your ferns thrive throughout the winter months. By following this detailed guide, you’ll be well on your way to keeping your ferns healthy and vibrant, ready to greet the spring with fresh growth and beauty.