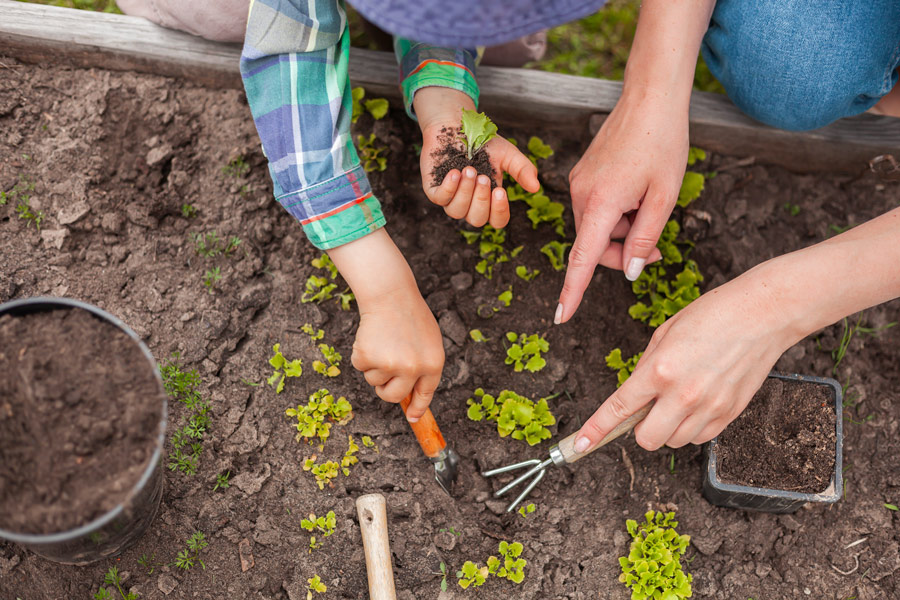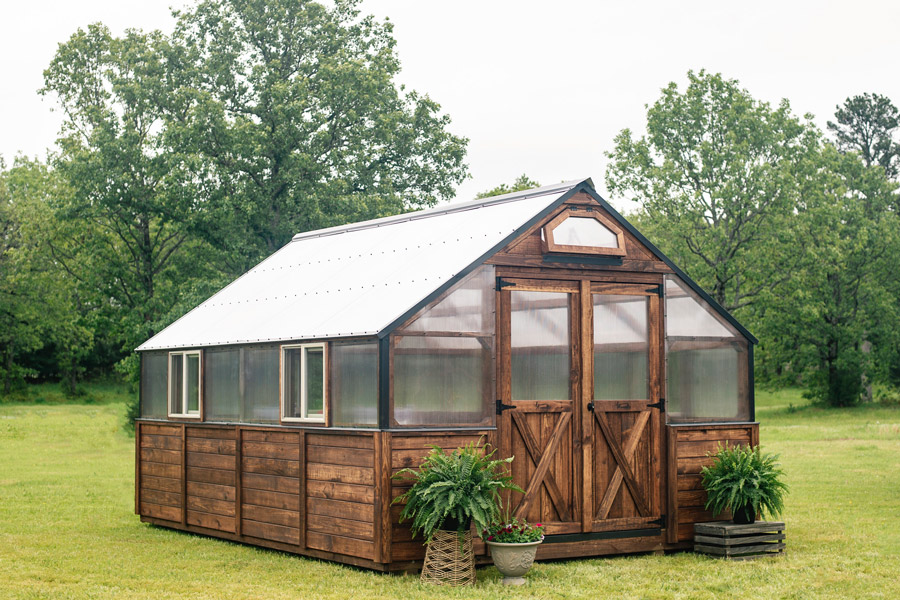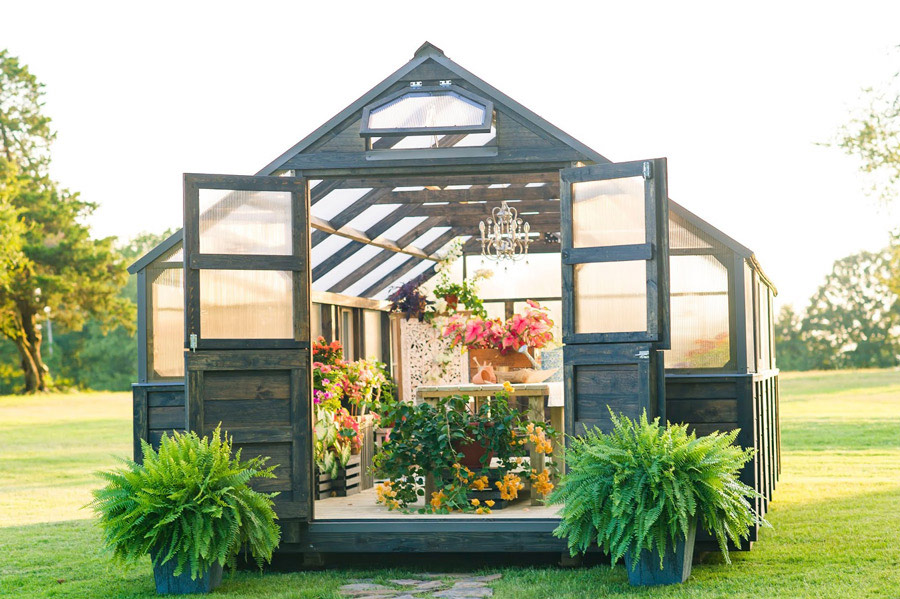


Soil Blocking: The Greenhouse Gardener’s Secret to Success
Soil blocking is an innovative method for starting seeds, revolutionizing the way gardeners, especially greenhouse growers, cultivate their plants. The process involves shaping your soil into a block shape and planting your seeds inside. It offers numerous benefits, both for the plants and the gardener. Here's a detailed look at soil blocking, including its advantages, the science behind it, the materials needed, and some potential drawbacks to be aware of.

The Benefits of Soil Blocking
Space Saving: One of the primary reasons I love soil blocking in my greenhouse is the space efficiency it provides. Unlike traditional seed trays, soil blocks can be packed closely together, making the most of every inch of your growing space.
Enhanced Plant Health: Soil blocks promote healthier root systems. Without the constraints of a pot, roots can grow naturally, leading to stronger, more resilient plants.
Air Pruning: The roots of seedlings grown in soil blocks are naturally pruned by exposure to air, preventing them from becoming root-bound and promoting a dense, fibrous root system.
Reduced Transplant Shock: When transplanting seedlings grown in soil blocks, there’s less disruption to their roots. This minimizes transplant shock and encourages quicker establishment in the garden.
Eco-Friendly: Soil blocking eliminates the need for plastic pots, making it an environmentally friendly option. I love this one!

Why I Do It?
For me, soil blocking is a game-changer in my greenhouse. The primary reason I switched to this method was to save space. In a greenhouse environment, maximizing every inch of space is crucial. Soil blocks allow for dense planting, making the most of my limited area.
Additionally, the health of my plants has noticeably improved. The air pruning effect prevents root circling and promotes robust growth. The convenience of transplanting seedlings without disturbing their roots is another significant advantage. Plus, I love the fact that I can reduce my plastic use and contribute to a more sustainable gardening practice.
Two More Reasons Why I Love Soil Blocking
Cost Efficiency: Since I don’t need to buy pots or trays, soil blocking saves money in the long run. The initial investment in soil blockers pays off quickly.
Customization: Soil blocks can be made in various sizes to suit different types of plants, allowing for flexibility depending on the specific needs of each seedling.

The Science Behind Soil Blocking
The key to soil blocking’s effectiveness lies in its structure. Soil blocks are made from a mixture of soil, compost, and other organic materials, forming a dense, cohesive block. This structure supports the seedling while allowing air to prune the roots. The air pruning process stops roots from encircling the block, encouraging the development of a healthy, fibrous root system.
When roots reach the edge of the block, they are exposed to air, which causes them to naturally stop growing and branch out within the block. This results in a dense root network that is ready to expand when transplanted into the garden soil.

Materials You Need
- Soil Blockers: These are tools designed to create uniform blocks of soil. They come in various sizes to accommodate different plants. I ordered mine from Amazon. And, blocking really does take practice, but you will pick it up quickly.
- Seed Starting Mix: A high-quality, fine-textured mix that holds together well when moistened. Several people mix their own soil blocking mix, I hope to give that a try this year. But, so far, I took a recommendation from a “professional” soil blocker and ordered what she recommended: Vermont Compost Company Fort Vee soil from Amazon.
- Water: To moisten the soil to the right consistency. Ideally, you'll moisten your soil mixture until it reaches the consistency of soft putty. When you squeeze the mixture, moisture should seep out between your fingers. You mix should be a bit wetter than what you would use for starting seeds in a cell tray.
- Seeds: The seeds you wish to start.
- Trays: To hold and transport the soil blocks. I ordered “lunch trays” from Amazon and then I had some trays from my home I wasn’t using that were patterned so I took a few of those out to the greenhouse and they worked well.


Disadvantages to Soil Blocking
While soil blocking has many benefits, there are a few disadvantages to consider:
Learning Curve: Soil blocking takes practice to perfect. Getting the right soil mix consistency and mastering the blocking technique can be challenging for beginners. But, just practice, practice, practice and you’ll get it! It’s so worth it!
Initial Investment: The cost of soil blockers can be a barrier for some gardeners, although the long-term savings often outweigh the initial expense. The soil mix I purchased was expensive, so again, I hope to find a DIY mix I love this year and start utilizing that.


Moisture Management: Soil blocks can dry out faster than traditional pots, requiring careful attention to watering. This isn’t necessarily a disadvantage, but more of something you need to be aware of. And, I'll be honest, getting the watering correct was a challenge for me at first, I let some completely dry out and I flooded others and destroyed them. Here are some tips:
Watering soil blocks correctly is crucial to ensure healthy seedling growth. Here’s a quick guide:


My Personal Experience
Despite these challenges, the benefits of soil blocking far outweigh the drawbacks for me. The space-saving aspect is a game-changer in my greenhouse, allowing me to grow more plants in a limited area. The improvement in plant health is evident, with stronger, more resilient seedlings that thrive after transplanting. Plus, the eco-friendly nature of soil blocking aligns with my commitment to sustainable gardening practices.
Soil blocking is an amazing technique for any gardener, especially those working in greenhouses. It promotes healthy root development, reduces transplant shock, saves space, and supports sustainable practices. While it requires some practice to master, the rewards make it well worth the effort. If you’re looking to take your seed starting to the next level, give soil blocking a try—you might just fall in love with it as I have.