
Starting New Zinnia Plants from Cuttings
Zinnias are beloved for their vibrant blooms and ease of care, making them a favorite in many gardens. While most gardeners grow zinnias from seeds, did you know that you can also propagate them from cuttings? This method is quick, rewarding, and offers a way to clone your favorite plants, ensuring you get the exact color and form you love.

Cost-Effective
Clone Your Favorites
Unlike seeds, which can result in plants that vary slightly from their parents, cuttings produce an exact replica of the original plant. This is ideal if you have a particular zinnia with perfect color, form, or growth habit that you'd like to replicate.
Faster Results
Starting zinnias from cuttings allows you to skip the germination process, giving you a head start on growth. You can enjoy blooms sooner than if you started from seeds.
Extend the Growing Season
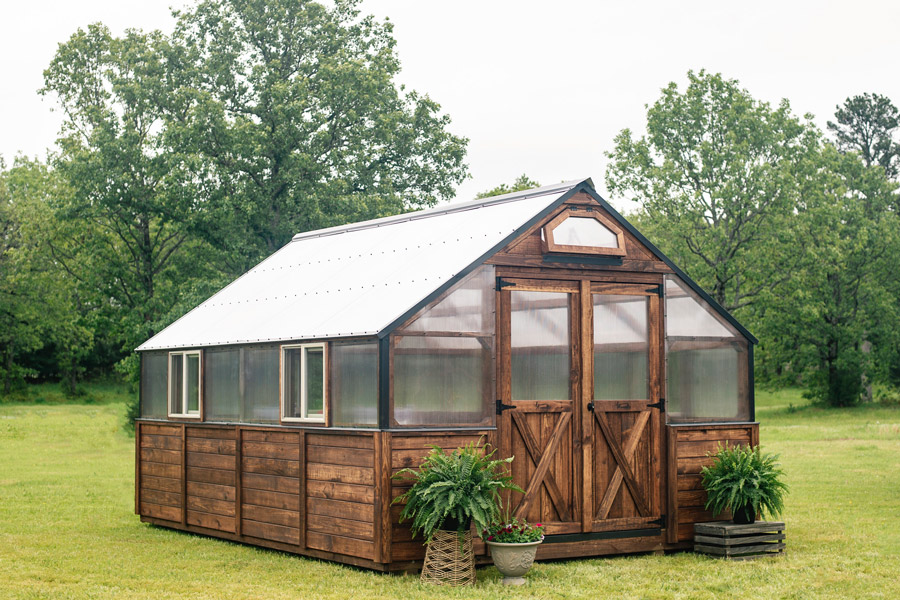
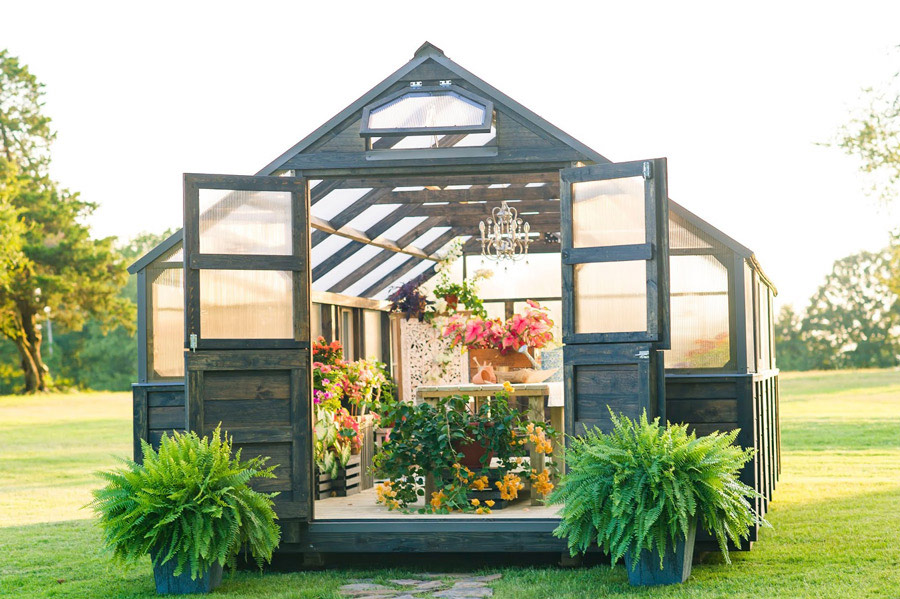
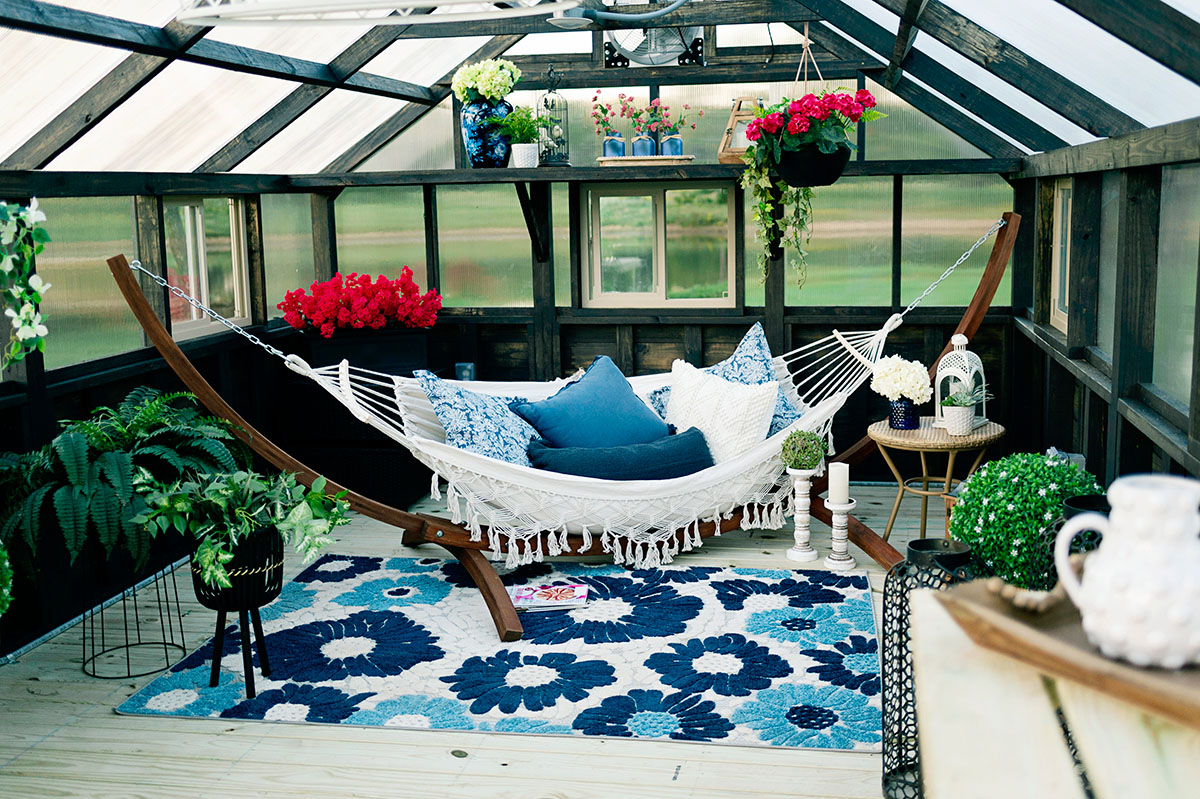
If you live in a region with a short growing season, taking cuttings can help you get a second wave of blooms. You can also take cuttings in late summer to grow indoors during the winter. I have cuttings growing in my greenhouse right now and plan to have blooms all winter long.


How to Start Zinnias from Cuttings
1. Select a Healthy Plant
Choose a strong, healthy zinnia plant for your cuttings. Look for a non-flowering stem that is firm and green. This will give you the best chance of success, as flowering stems tend to be weaker and focus their energy on producing flowers rather than roots.

2. Take the Cutting
Using sharp, sterilized scissors or pruning shears, cut a 4-6 inch section of the stem just below a node (the point where leaves attach to the stem). Make sure there are at least two sets of leaves on the cutting.


3. Prepare the Cutting
Remove the lower leaves from the cutting, leaving only the top pair. This reduces water loss and encourages root development. If you wish, you can dip the cut end in rooting hormone to boost the rooting process, though zinnias often root well without it. I did use rooting hormone and had roots in less than a week.


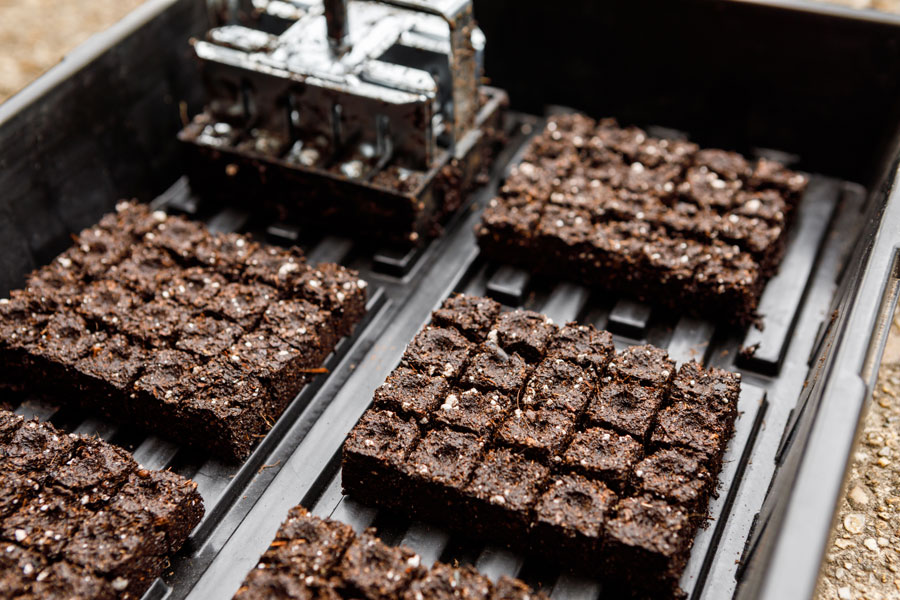
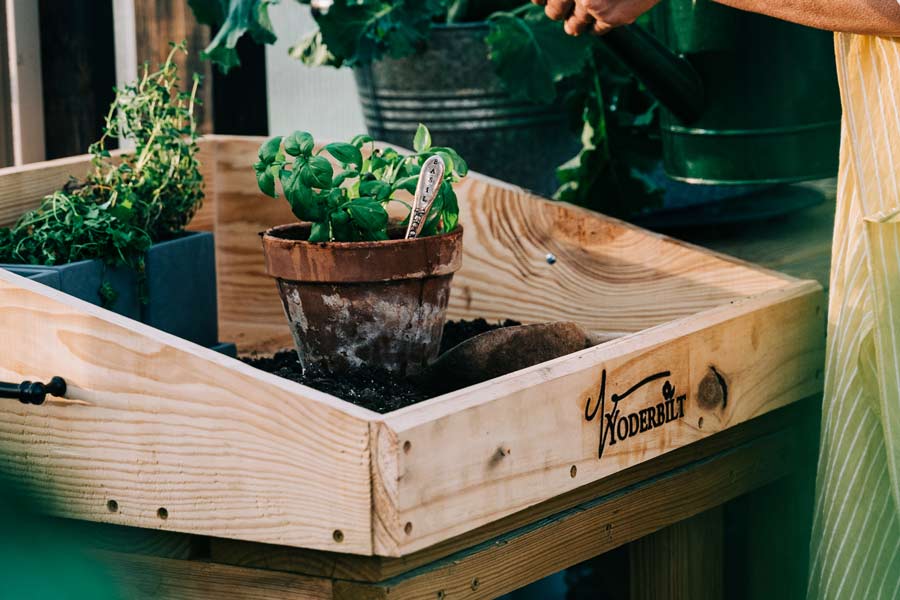
4. Plant the Cutting
Fill a small pot with well-draining soil or a seed-starting mix. Make a hole in the soil and insert the cutting, ensuring that at least one node is buried, as this is where roots will form. Gently press the soil around the stem to hold it in place.


5. Create a Humid Environment
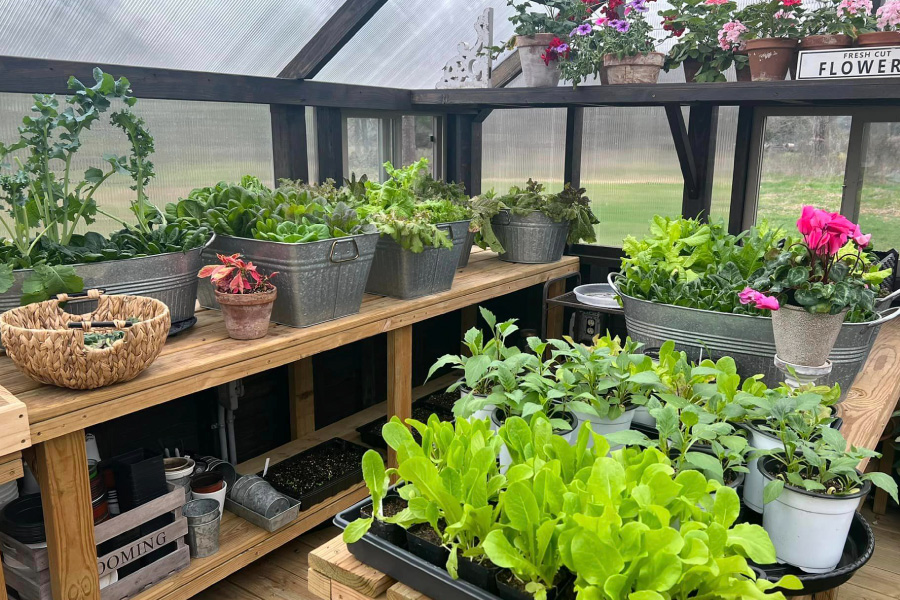
To help your cutting retain moisture, cover the pot with a clear plastic bag or place it in a propagator. Ensure the bag doesn’t touch the leaves. This mini-greenhouse effect will keep the humidity high, which is crucial for root development. I did not do this, since I have mine in the greenhouse, in the heat of August I might add. I do use a shade cloth, have fans, and open windows and doors.

6. Place in Indirect Sunlight
Put the cutting in a warm spot with indirect light. Direct sunlight can be too harsh and may dry out the cutting before it has a chance to root. I did have some leaves burn when I had one tray right next to a glass window, so I moved it to the center of my greenhouse where the polycarbonate provided increased protection from UV rays.

7. Water Lightly
Keep the soil slightly moist but not soggy. Overwatering can lead to rot, so be cautious. Mist the cutting regularly to maintain humidity. This step is important. As I was just starting this process for the first time, I did allow a few plants to stay too wet and they did rot. Now, I just lightly water every day as it is hot in the greenhouse.


8. Wait for Roots to Develop
In about 2-4 weeks, your cutting should develop roots. You can check by gently tugging on the cutting; if you feel resistance, it’s a sign that roots have formed. I started having roots develop within one week but I would definitely allow for 2-4 weeks if I were to transplant them out.


9. Transplanting
Once the cutting has rooted and is growing new leaves, it’s ready to be transplanted into the garden or a larger pot. Gradually acclimate it to the outdoor environment by placing it outside for a few hours each day, increasing the time over a week. Another important step!


Tips for Success
Timing is Key: Take cuttings in the morning when the plant is fully hydrated. This will give your cutting the best chance of survival.
Avoid Overwatering: While it’s important to keep the soil moist, too much water can cause the cutting to rot. Let the top inch of soil dry out slightly between waterings. You will soon learn the sweet spot.
Monitor for Pests: Keep an eye out for pests like aphids or spider mites, which can stress your cutting. Treat any infestations promptly to prevent damage. I did inspect each of my cuttings before bringing them into the greenhouse.
Patience Pays Off: Some cuttings may take longer to root than others. Be patient and continue to care for your cutting, even if you don’t see immediate results. This is absolutely true!

Starting zinnias from cuttings is a fun and rewarding way to expand your garden and ensure you have plenty of these cheerful blooms to enjoy all season long. With a little care and attention, you’ll soon have new zinnia plants ready to thrive in your garden or greenhouse! I mean what can be better than having a greenhouse full of zinnia blooms in January?