Starting Petunias From Cuttings in the Greenhouse
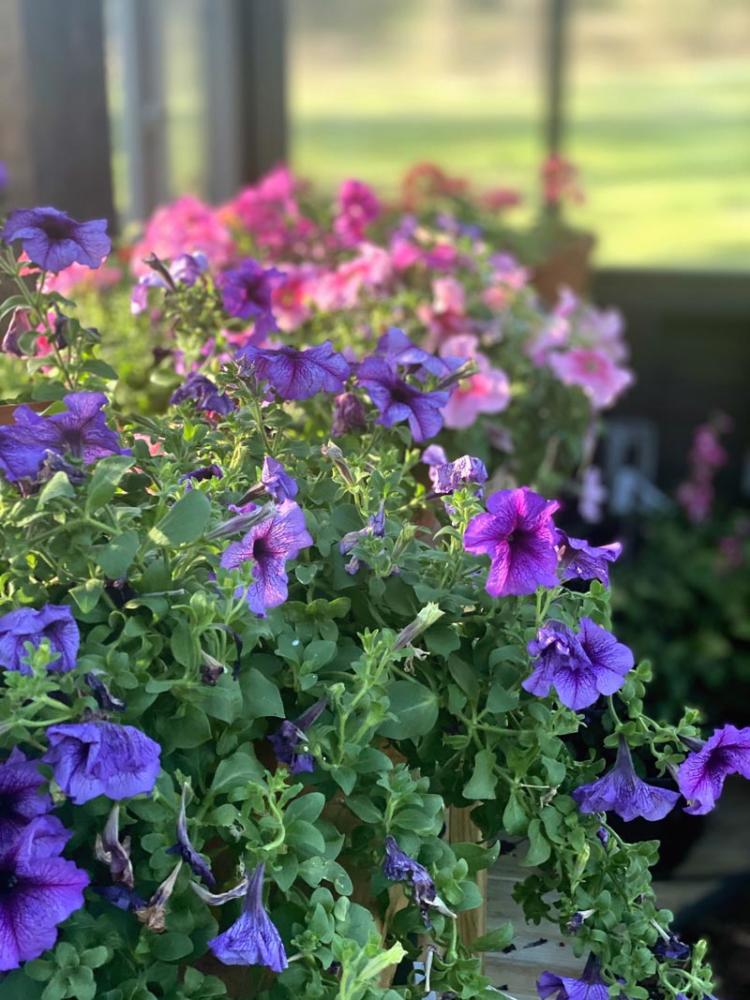
I have recently grown to love petunias. I always seemed to skip over them in the garden centers because they seemed a bit old-fashioned to me. However, last year in a mad dash to a local garden center to add some color to a photography shoot, I picked up a flat of mixed-colored petunias and headed out.
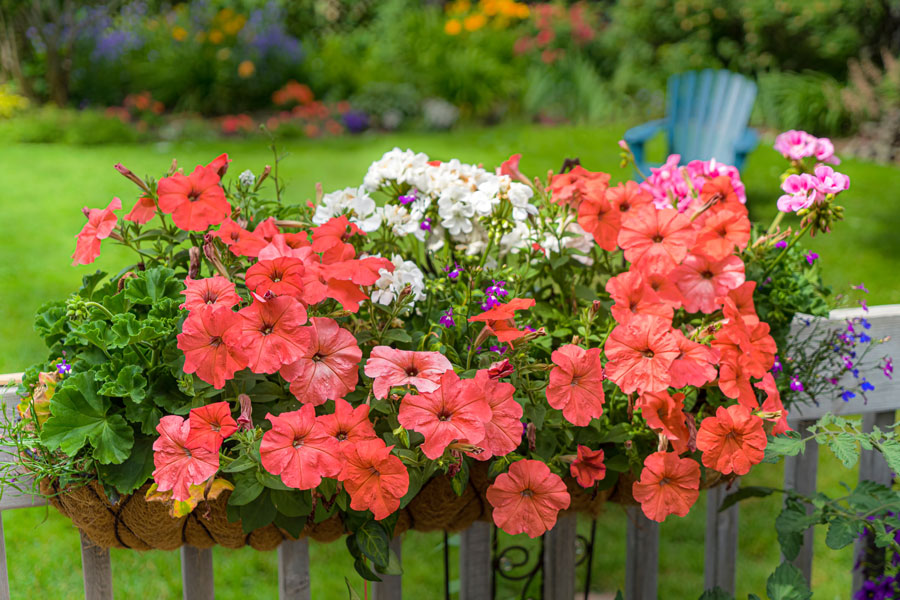
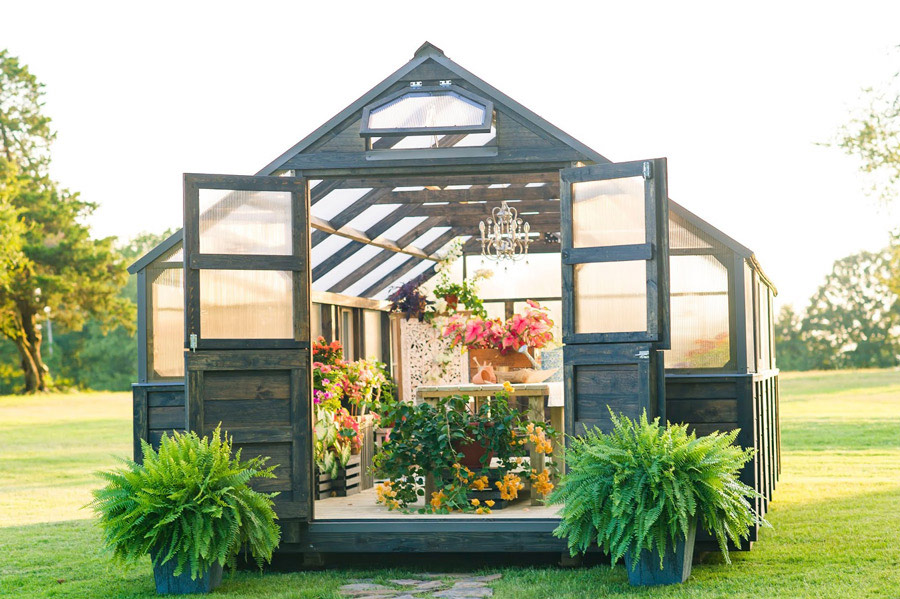
Since I've had my greenhouse, I have started new petunias by both seed and cuttings—the seed for colors I wanted to add to my collection; the cuttings to clone from my very favorite color that I had on hand.
I can't say I prefer one method over the other because I do them for very specific reasons. Yet, the ones from cuttings have so many advantages over growing from seed. Petunias are slow growers when started from seed. I have an ideal environment in my greenhouse, so I wanted to use that method to get more variety. But, the new cuttings had rooted and were blooming in 3-4 weeks.
It was so fast! That's a win in my book if I get blooms any earlier than what is typical. So, let's dive into starting new petunia plants from cuttings. It is simple:
- Cut the stem.
- Remove the leaves and blooms.
- Dip into a rooting hormone.
- Place it in the soil and water.
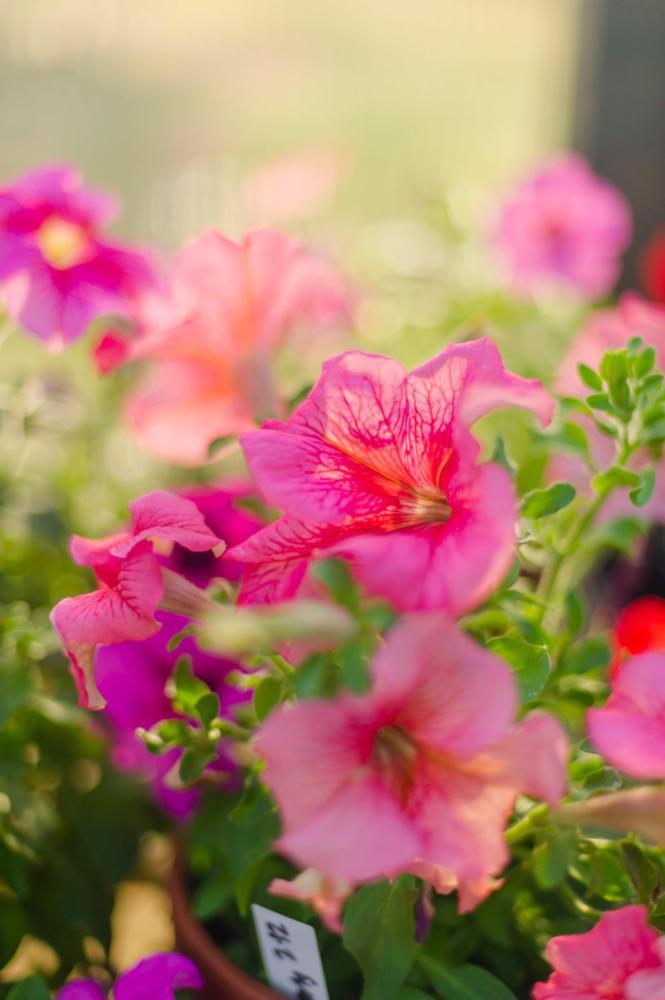
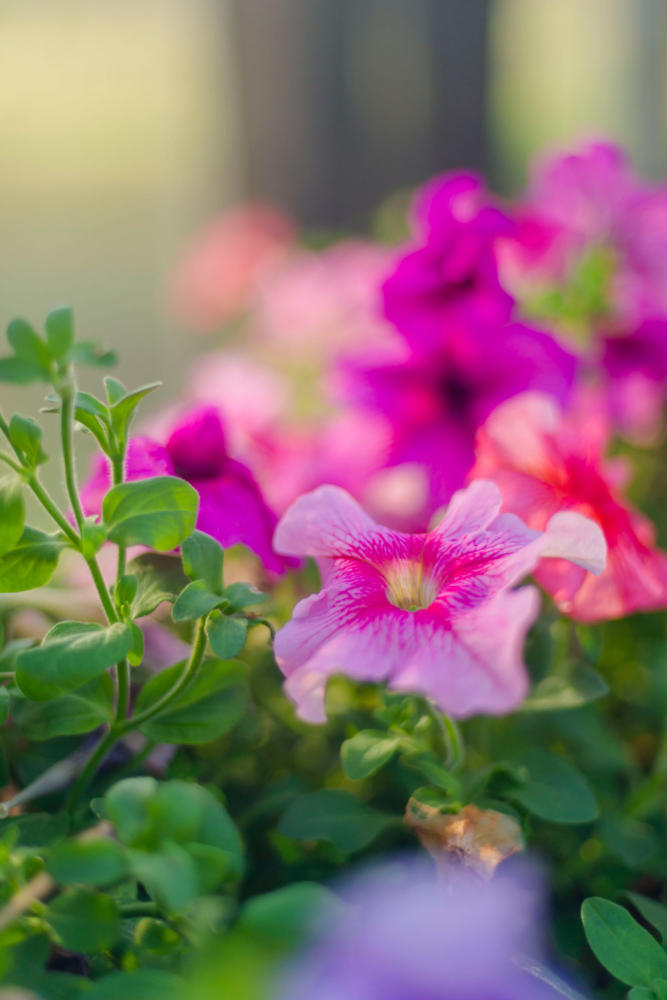
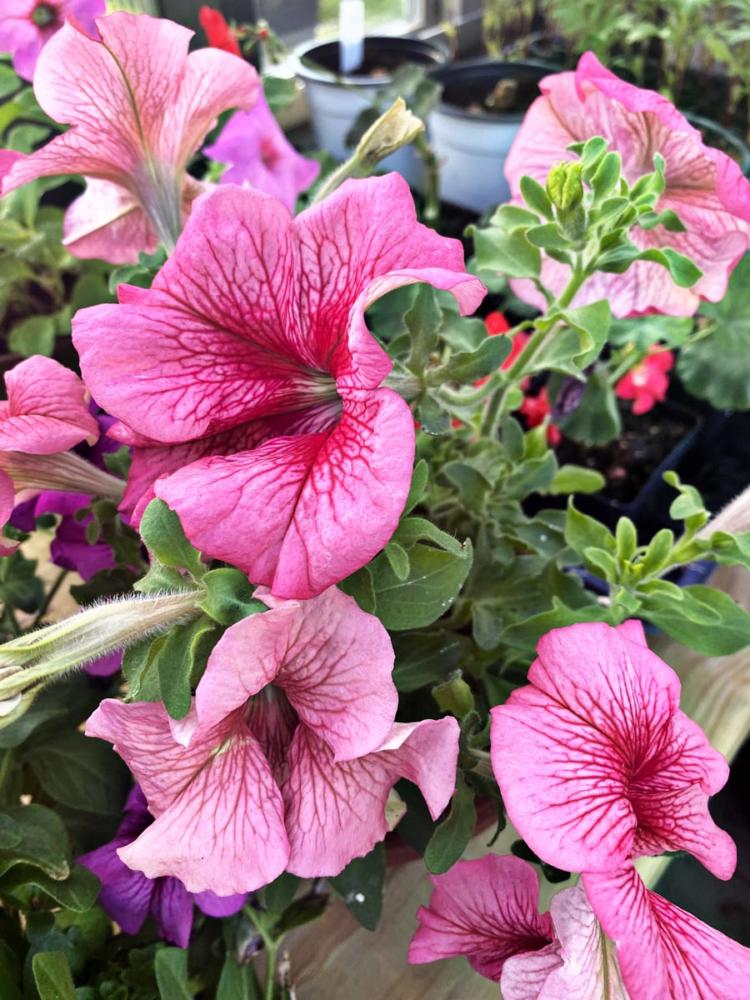
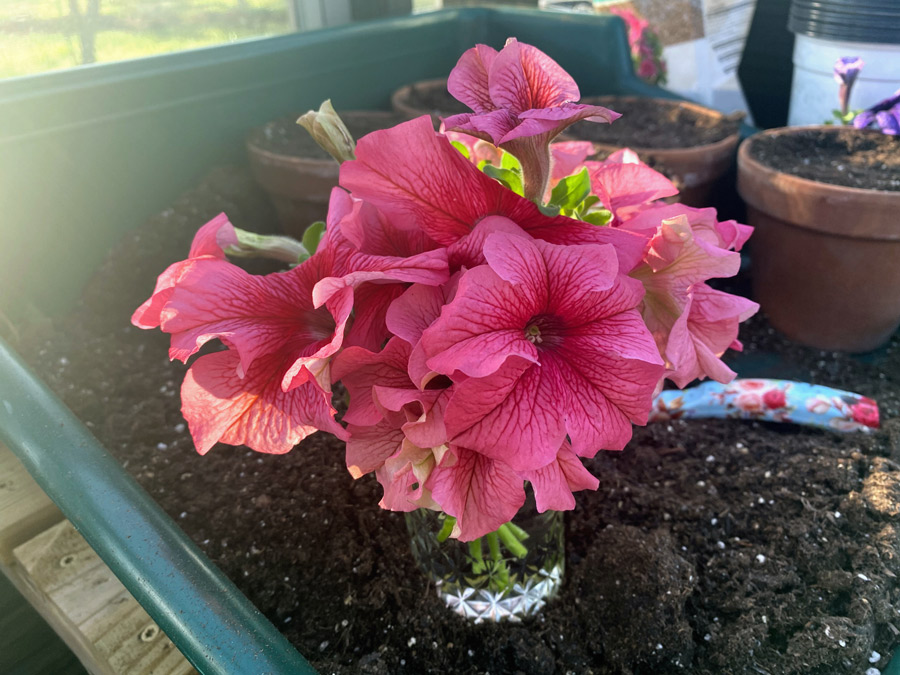
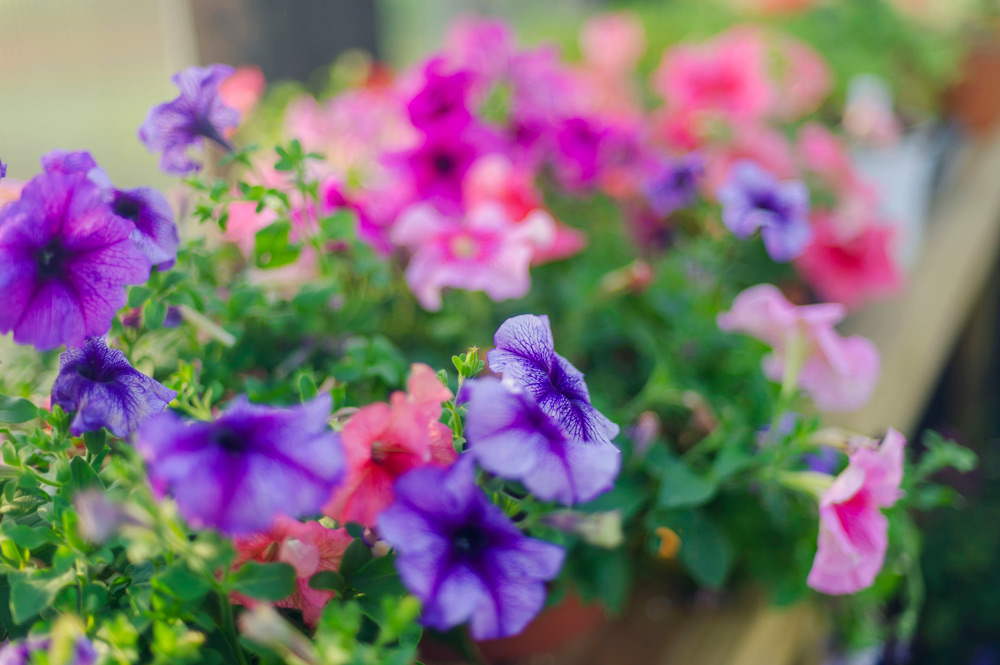
There was one color, in particular, I was crazy about. I could have saved it and collected those seeds. But, because of cross-pollination, I wouldn't have likely gotten an exact replica of that color. It would have pretty much been a surprise. Not that all surprises are bad, but I wanted alot more of the perfect pink I had so few of.
That's where cuttings can come into play. If I am cutting from the mother plant, my new start will be a clone of that mother plant. Thus, I will get that perfect happy color of pink I want.
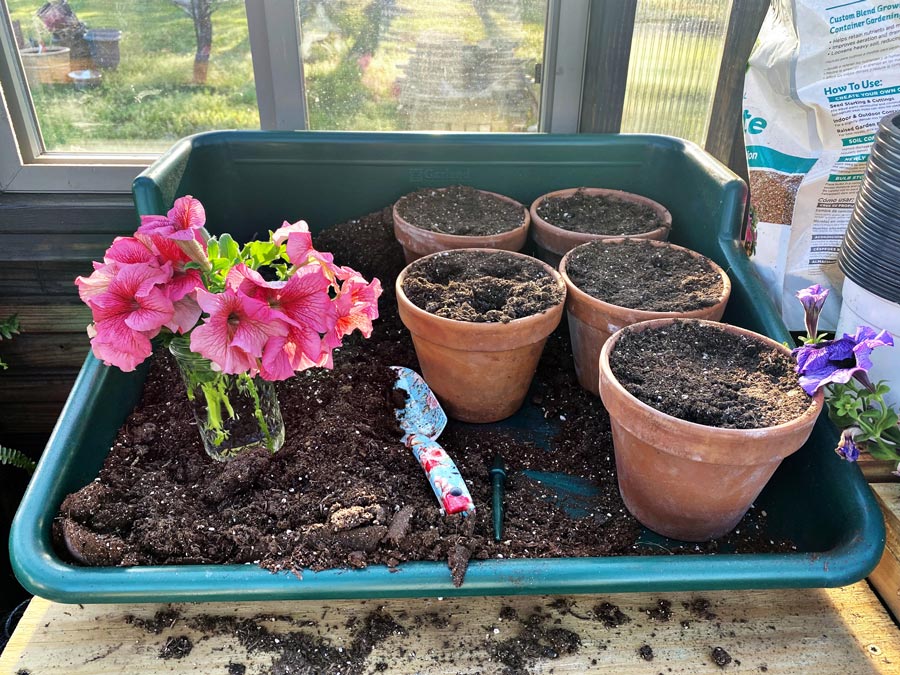
Things you will need as you prepare to take your cuttings:
- Soil. I use seed starter as I want the roots to have an easy medium to grow into.
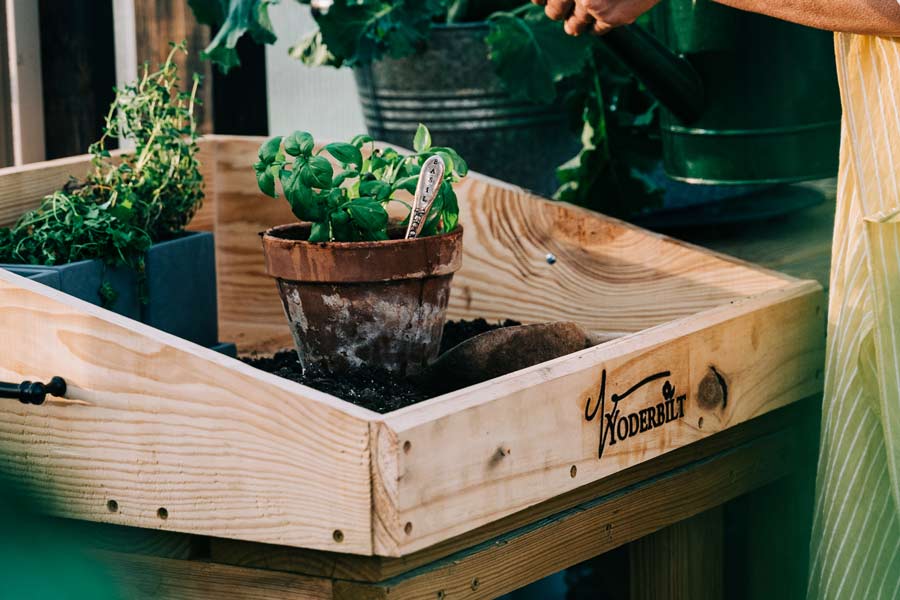
- A container of water. I like to take my cuttings and immediately place them in water until I can get to them to keep them fresh and avoid extra shock. This is especially a priority for me if my greenhouse is hot or there is a chance I can be pulled away from my gardening table. I use my 6-inch terra cotta pots for a potting container. But, anything with good drainage will work.
- Rooting hormone. I use rooting hormone for my petunias and have been 100% successful. Some do not use rooting hormone and are successful as well. I may give that a try to test it out. I'll let you know1
- A dibber or pencil to make a hole in the soil.
- Scissors, shears, or a knife - make sure they are clean and sharp.
- A healthy mother plant. I usually water mine well an hour before, but I take the cuttings. But, on occasion, I have skipped that step.
- Water.
This is an easy way to fill your summer containers full of petunias. Let me warn you now. Once you start, it's hard to stop. Moisten your soil well and fill your pots with the soil with about an inch of room left from the top of the soil to the top of the rim.
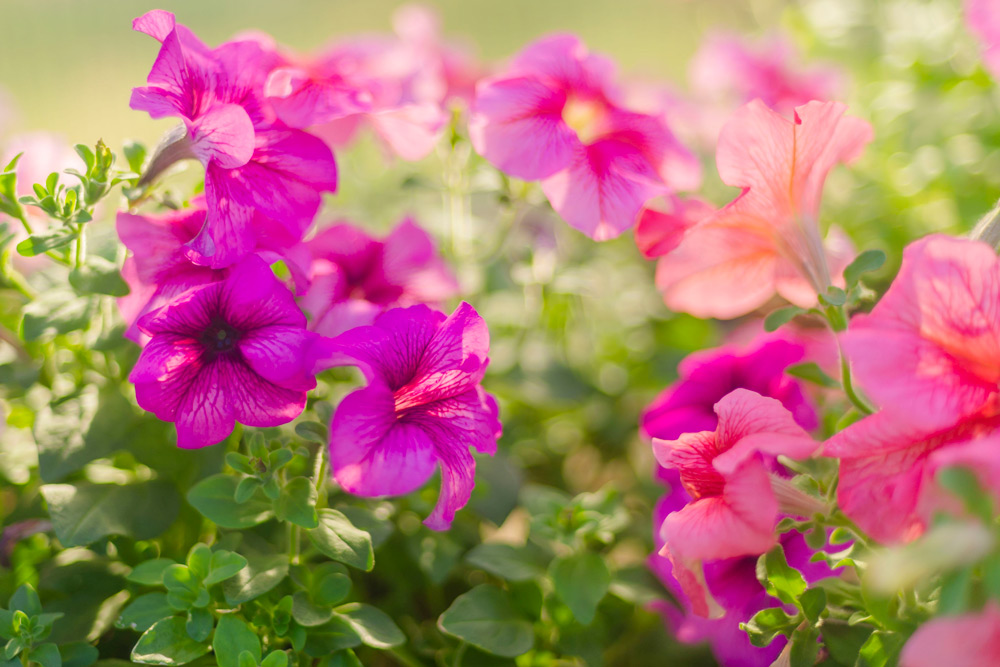
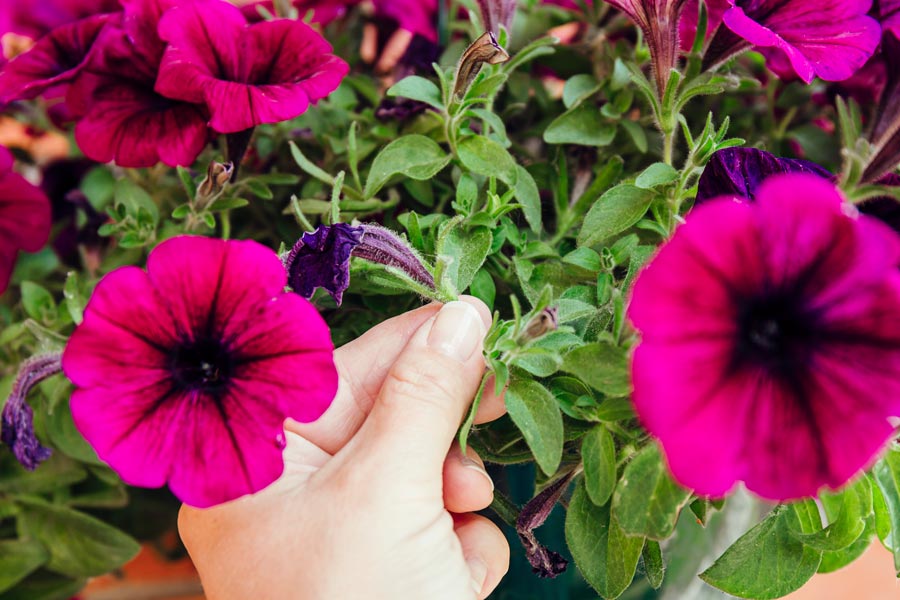
Find a straight stem that is 3-4 inches in length. You will want at least 2 to 3 leaf nodes planted under the soil. Follow the stem down and cut below a leaf node.
I place my cuttings in water at this point as I continue to work and collect more stems. Lay your cutting flat on your gardening table and remove all leaves and blooms. You can remove all, but I tend to leave 2-3 leaves at the top but no more than that. You can either pinch them or cut them off. At this point, I dip the bottom end of the stem into the rooting hormone. You will want to pour a little out into a separate container. This will ensure you don't transfer disease or fungus into your primary container.
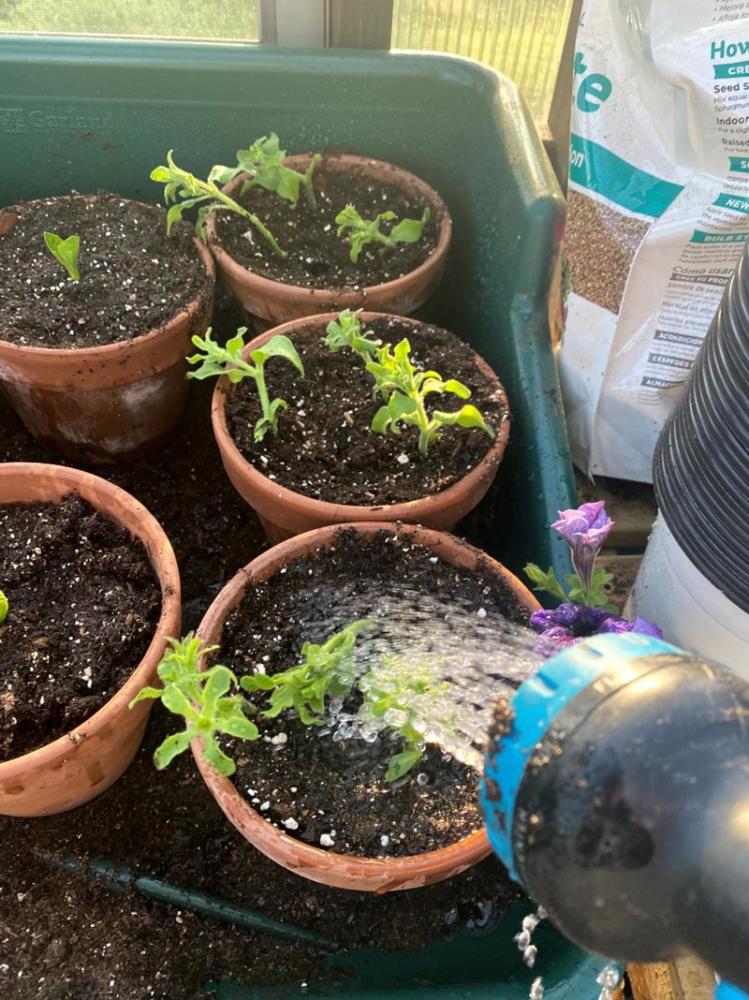
Next, take a dibber, pencil, or sharpie and make a hole in the soil. Make it deep enough to accommodate the leaf nodes you want under the soil. I use a six-inch pot and plant three stems in each pot. Place the stem into the hole, pat the soil firmly around the base of the stem, and water well.
If it's during winter, I will place it on a heat mat. Some opt to use a humidity dome; I do not. After about three weeks, I remove it from the mat. They will need filtered light (greenhouse) or grow lights to assist in the process. During warmer months, I will not be use a heating mat.
When you water, allow the top of the soil to dry out, water to the point the water runs through. Then let the top inch of the soil dry out again and repeat.
Tips to remember:
- It is hard not to "peek" to see how the roots are forming. (I'm guilty!) However, it is best to disrupt them as little as possible. If they are growing and producing more leaves and blooms, you can trust they are rooting well.
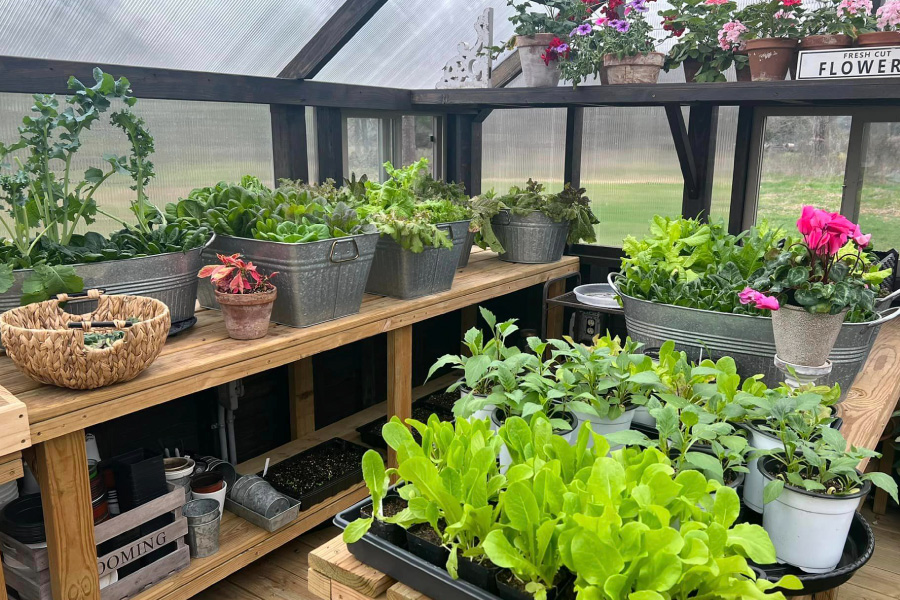
- Do not put the cuttings in direct sunlight as they prefer bright but filtered. They also don't like being overly hot. I've only started them during the winter months but will start more cuttings in April and possibly throughout the summer. I will take extra care to keep them cool with fans, open windows, plenty of water, and the bottom gardening table shelf.
- If you have warm temperatures, they may need to be watered twice daily.
- Petunias LOVE to be fed. I start feeding mine a diluted solution of Miracle-Gro once the roots have been established. And, go full strength once I pot them up.
- You can easily overwinter petunias in a greenhouse. But, as they grow, they need a lot of space or become tangled. I will overwinter some, but primarily only to get spring starts. But, if you have the space, they will do very well with appropriate winter care.
- During the summer months, they can get leggy around July. This is also another great time to take cuttings for new starts as fall goes into winter.
I hope that helps you grow loads of petunias. I've come full circle in ever overlooking their loveliness again. Of course, you can do this without a greenhouse, but a greenhouse makes it so easy.
I hope your spring and summer (and fall and winter) are filled with the sweet fragrance of this amazing plant!

